• Skip to primary navigation
  • Skip to content
  • Skip to primary sidebar
  • Skip to footer

Eatentions

Organic * Local * Sustainable

  • Home
  • About Us
  • Recipes
  • Culinary Socials
  • CSM – Community Sourced Meals
  • Contact
  • Nav Social Menu

    • Facebook
    • Instagram
    • Pinterest
    • RSS
    • Snapchat
    • Twitter

Michelle Michelotti-Martinez

Blistered Shishito Peppers

June 25, 2015 by Michelle Michelotti-Martinez

Blistered Shisitos

Shisitos

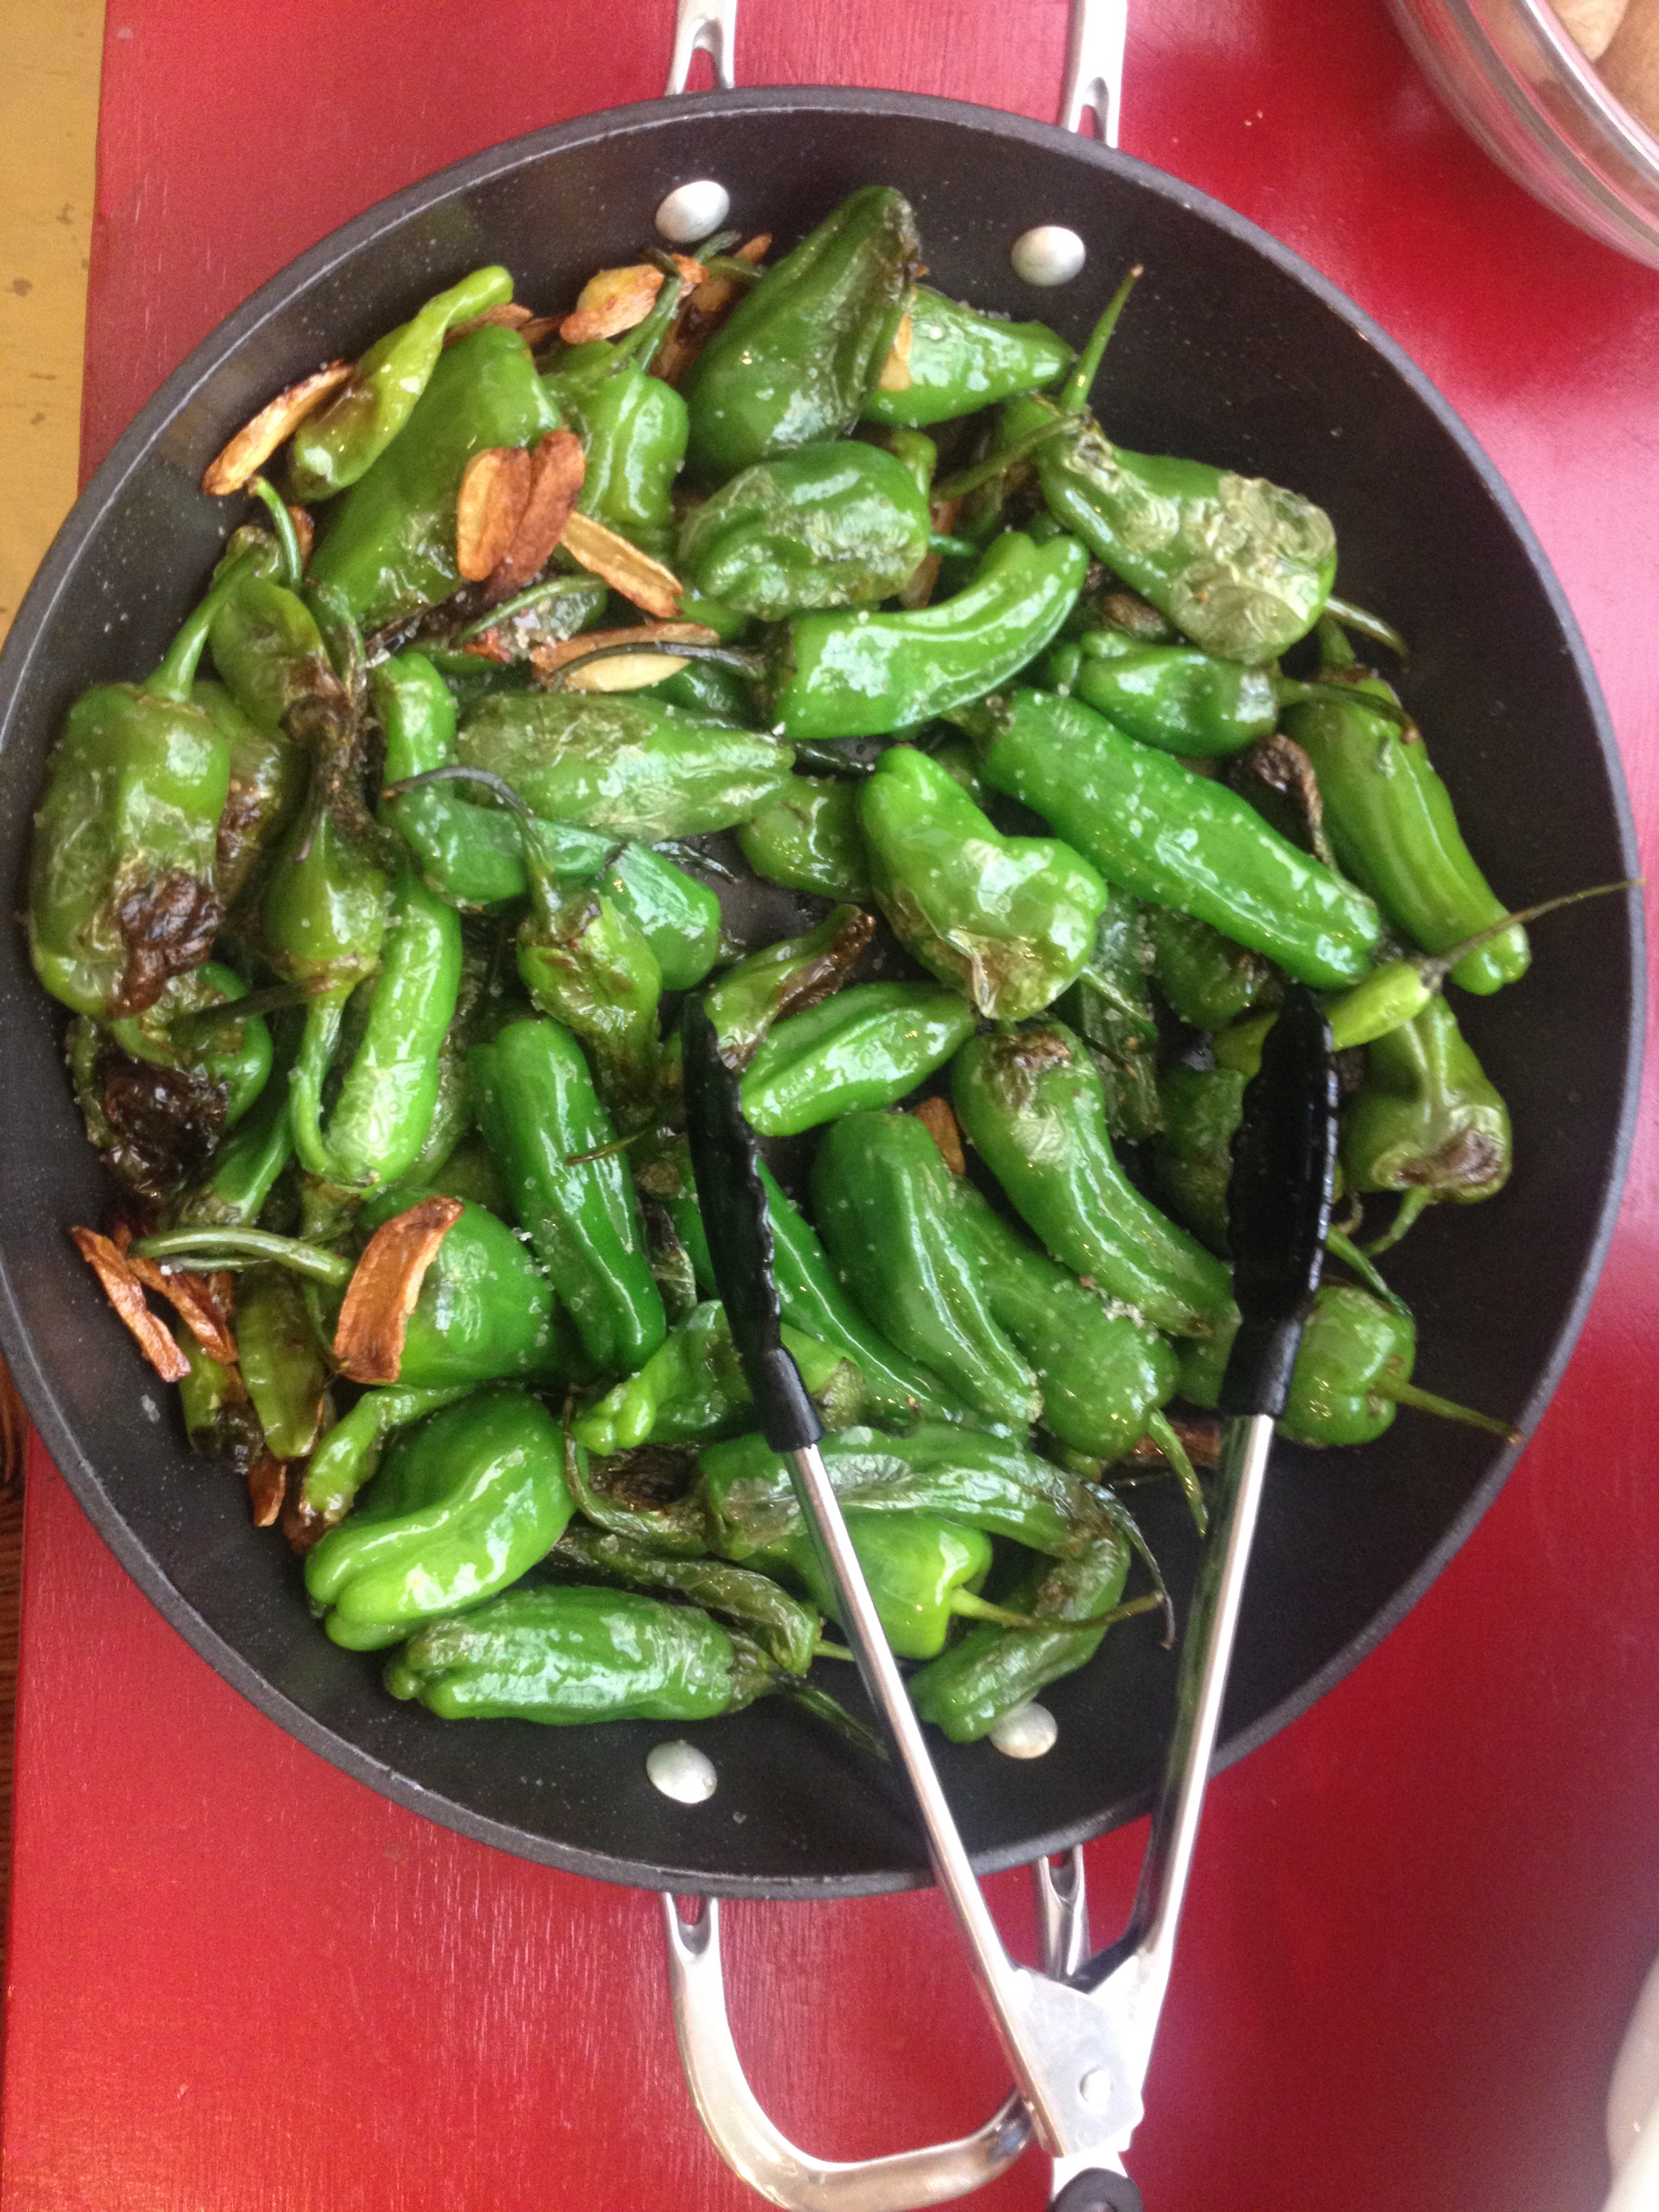
What is there to really say about blistered shishito peppers? All there really is to brag on is how truly yummy they are, especially in the height of the harvest season. They have the same texture as padron peppers without the spicy heat so if you are serving some “chile sensitive people”, these are the ones to pick.

I serve them continually while they are available because they are so quick to prepare, mostly sweet, expect for the “occasional spicy one”, and people adore them. I ALWAYS do them during our summer paella parties as a tapa but I have chosen to frequently add them as an appetizer to ANY cuisine.

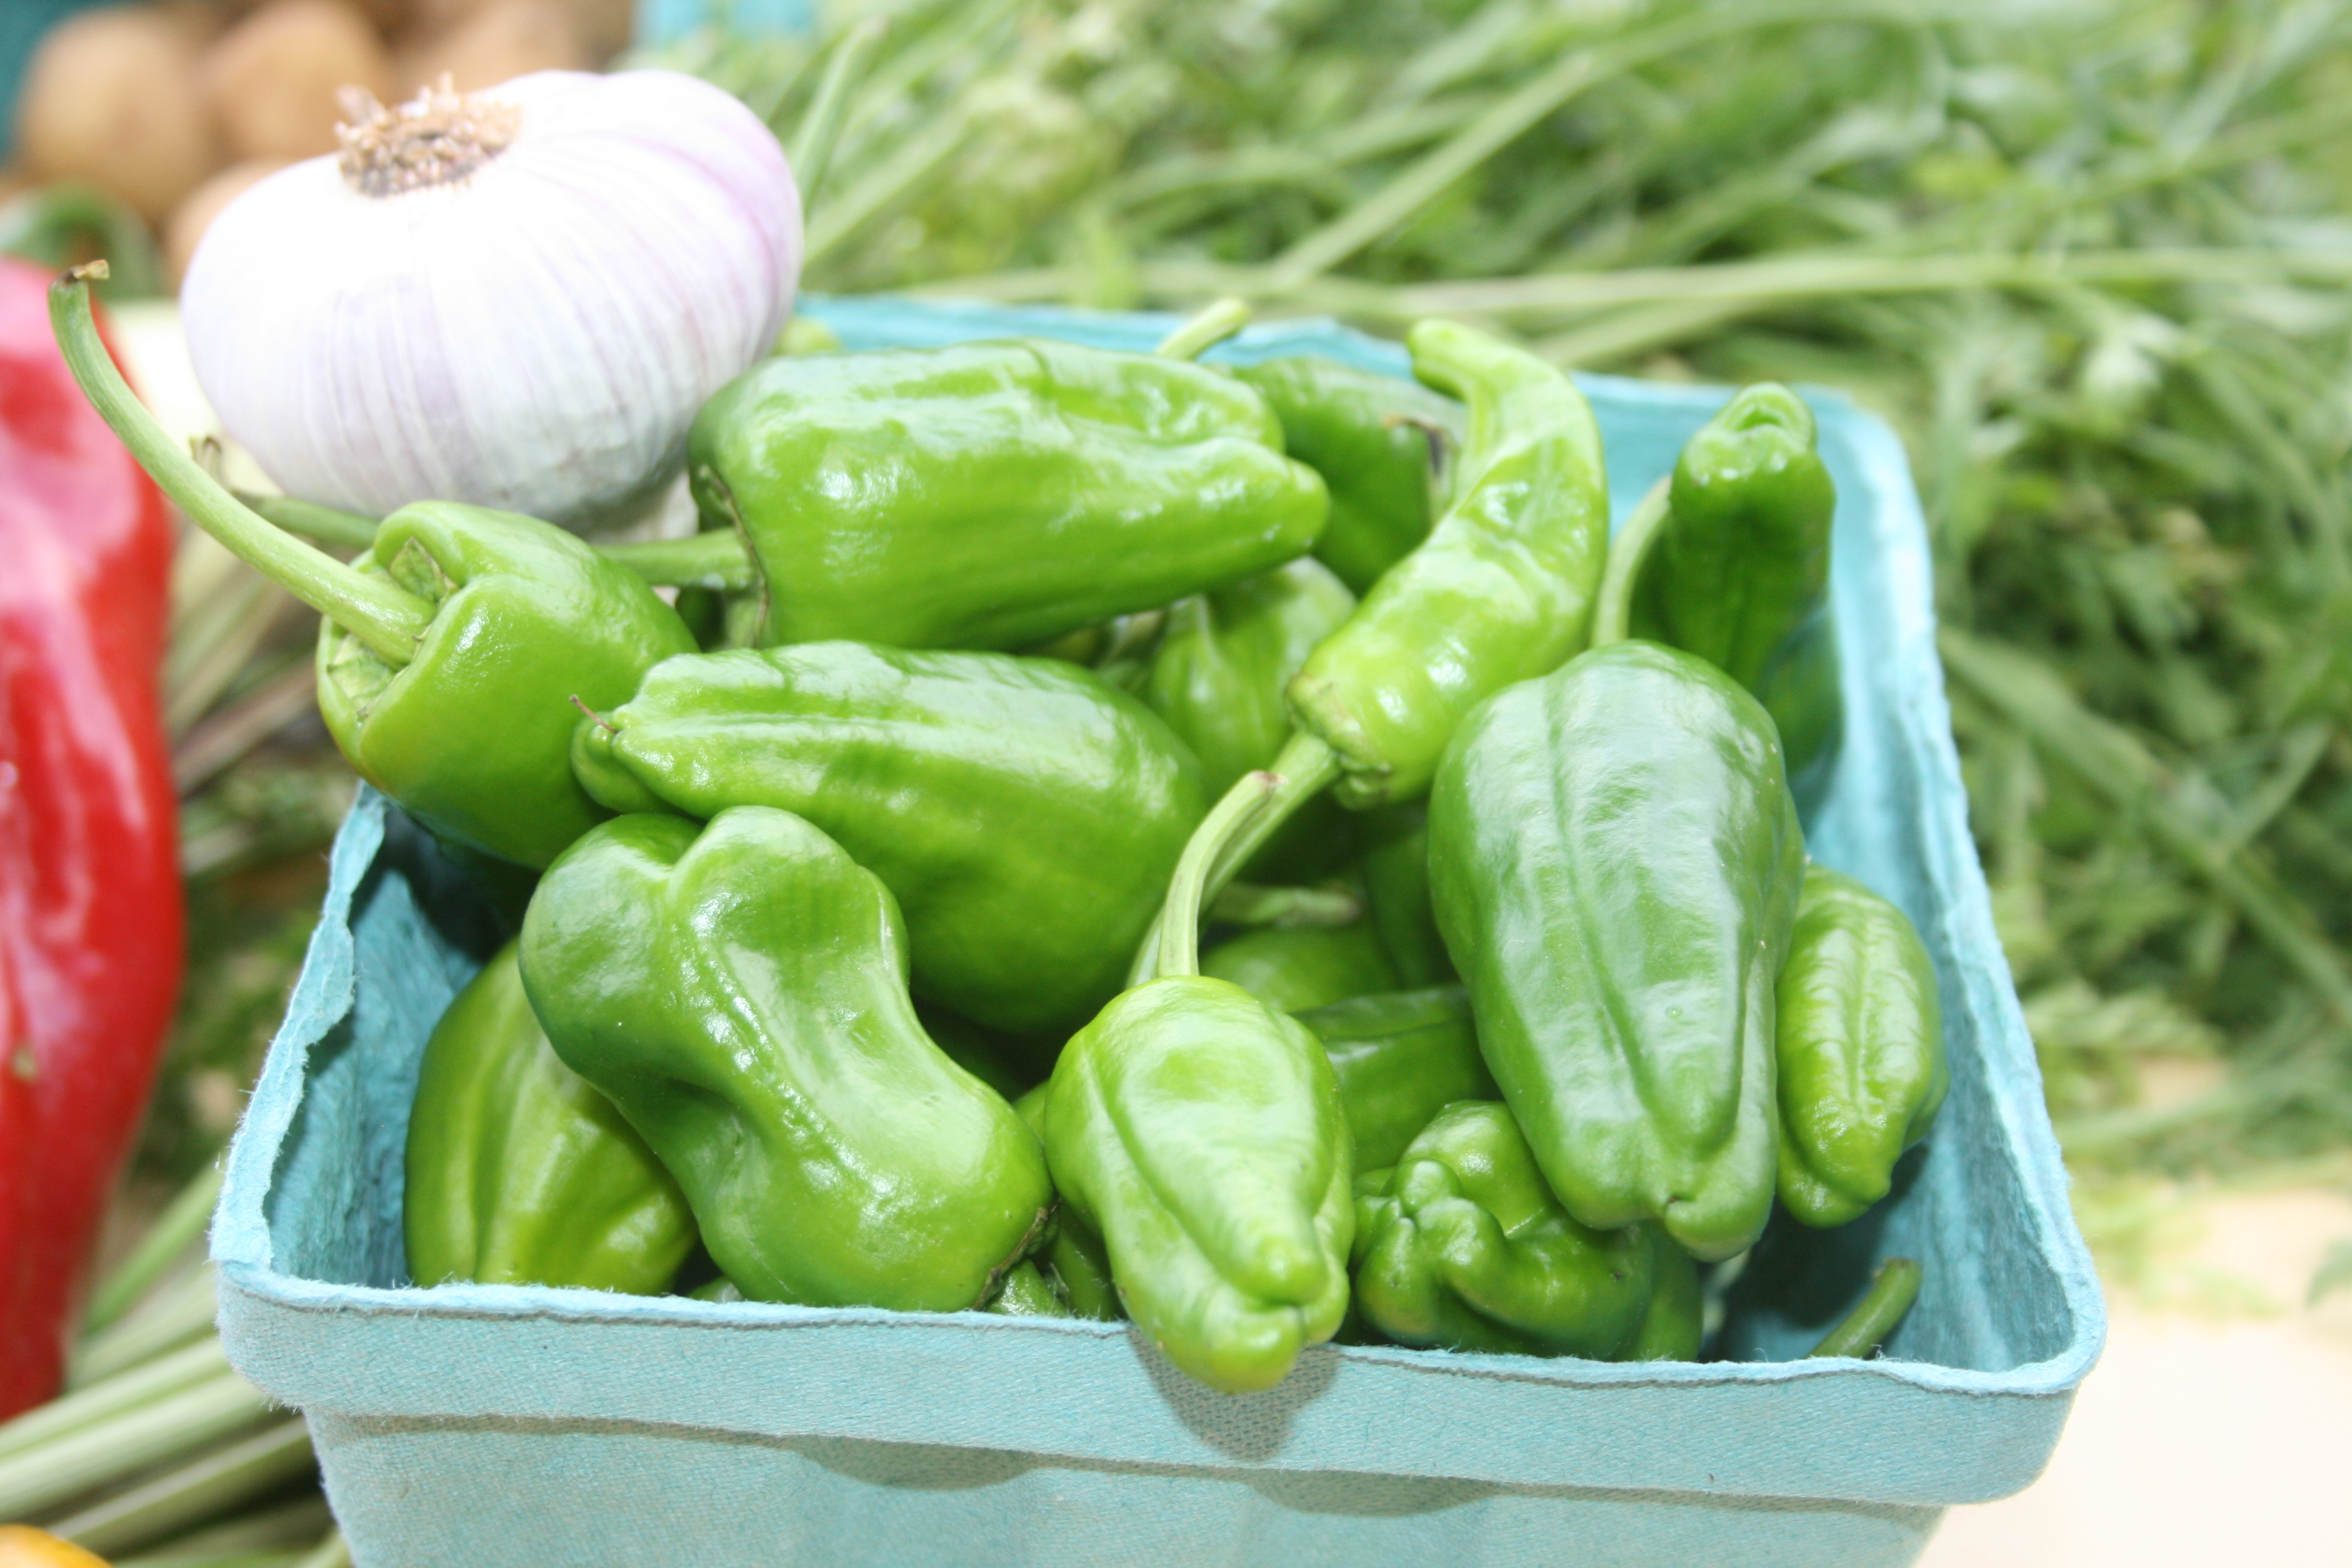
If you have a farmers market in your area, now is the time you will start to see these pop up at the stands so I just encourage you to grab a couple of cartons and either do them on the stove OR grab a grill basket and maximize the summer flavor of your outdoor cooking and combine them with skirt steak or seafood….that’s my favorite choice!

Blistered Shishito Peppers
 
Print
Prep time
5 mins
Cook time
10 mins
Total time
15 mins
 
Author: Michelle Michelotti-Martinez
Recipe type: Appetizer
Serves: 4
Ingredients
  • 1 pound shishito peppers
  • 8 cloves of garlic, sliced
  • olive oil
  • salt
Instructions
  1. In a medium saute pan over medium heat, add about 4 T olive oil. Add garlic and stir for 30 seconds. Add shishitos and let them cook until "blistered. Turn frequently to help the garlic brown and not burn.
  2. Remove from heat and toss a little more olive oil if needed and top with good sea salt. Serve immediately.
3.3.3077

Shisitos 1


Filed Under: Appetizers Tagged With: Garlic, peppers, shishito

Fried Root Greens with Radishes

June 18, 2015 by Michelle Michelotti-Martinez

Fried Root Greens with Radishes

How about those radishes? What do you do with these come harvest time? Personally, I totally love them raw….right out of the ground (washed of course) and chomp chomp…..bam that spicy heat just gets me every time…it’s SOOO addicting! This recipe has a whole other style because it cooks the radishes and uses the green tops; the fancy name is fried root greens with radishes.

Now if you are both a gardener and a farmers market attendee, these roots are in full swing and you can quickly be inundated with them so maybe some other ways to prep are in the works and much needed in your repertoire of recipes!

First time I had blistered radishes I fell in total love…..then I had them roasted and fell in love again. I guess it’s sorta like having a romance renewal with your husband……falling in love different ways, all the time…..

Anyway, both blistering and roasting takes that “edge” off of the radish. While I LOVE that flavor and that addictive “hit”, sometimes it just works to have them prepared in a way that complements great seasonal proteins and other root veggies.

This recipe of fried root greens with radishes is ridiculously easy and I serve it often with grilled lamb chops or braised lamb breast but it would totally work with a wonderful grilled flank steak, pork loin chop, or roasted whole chicken…your choice or come up with your own pairing……that’s half the fun anyway, isn’t it?

So while there is an abundance of these, try out some different recipes and give this one a shot and if you have a little dash of some WONDERFUL aged balsamic vinaigrette, even more of a reason to experiment!

Fried Root Greens with Radishes
 
Print
Prep time
5 mins
Cook time
20 mins
Total time
25 mins
 
Author: Michelle Michelotti-Martinez
Recipe type: Side Dish
Serves: 2
Ingredients
  • 1 bunch of radishes, tops removed, washed, and radishes quartered
  • 4 scallions, sliced in half and some of green tops removed
  • Olive oil
  • Sea salt and Pepper
  • Good aged Balsamic Vinaigrette
Instructions
  1. In a saute pan over medium heat, heat 2 T of olive oil and put in scallions and cook until browned a little on all sides, remove and keep warm. Add radishes and a little more olive oil. Cook until "blistered" and a bit soft. Remove and keep warm. Add a little sea salt to both
  2. In a dutch oven, fill bottom about 1 - 1½ inches and heat to about 375 or slightly bubbly. Quickly add the whole green tops of the radishes and cook for 1-2 minutes. Scoop out and put on a plate lined with a paper towel, allow to drain, and sprinkle with sea salt.
  3. To assemble:
  4. On a plate, place some of the green tops and place a few radishes and green onion halves. Drizzle balsamic vinaigrette and cracked black pepper. Serve right away.
3.3.3077


Filed Under: Vegetables, Vegetables Tagged With: balsamic vinaigrette, green onion, green top, radish, radishes, scallions

Layered Salad with Bibb Lettuce, Beets, Eggs, Avocado, and Feta Cheese

June 10, 2015 by Michelle Michelotti-Martinez

Layered Salad of Bibb Lettuce, Eggs, Beets, Avocado, and Pepitas 1

Layered Salad of Bibb Lettuce, Eggs, Beets, Avocado, and Pepitas

Layered Salad of Bibb Lettuce, Eggs, Beets, Avocado, and Pepitas 2

Grilled Chicken Paninis with Roasted Red Peppers and Tallegio Cheese

I think layered salads in a jar are the prettiest dish to take on a picnic and one of my favorite’s is made with bibb lettuce, roasted beets, eggs, avocado, feta cheese, and pepitas.

On our anniversary this year, we decided the one thing we wanted to do was to pack the most delicious and beautiful picnic lunch we could create and the layered bibb salad was the focal point on the menu. After all, how often do you get to eat your salad out of a glass jar? That’s half the fun along with how everyone looks at you with envy and awe. If I didn’t want them to think I spend hours I might blow my cover and let them know that it really takes less time to make than a regular salad but, we will leave it at the envy and awe….that’s just how I decided to roll.

While we did have a few other goodies in the picnic basket and I could add them to this blog post, I decided just to focus on the salad in the jar. It is totally fun to pick whatever lettuce suits your taste buds and layer away with fresh or roasted veggies, proteins, eggs, dried fruit, nuts, and so on…. the more colorful, the more fun to eat and the more fun to eat, the more often you might venture into jarred salad creations!

Since I had made some yummo panini to go with our layered salad I figured something a little simpler would work best so I chose bibb lettuce, roasted beets, eggs, avocado, feta cheese, and pepitas. I did make a simple balsamic vinaigrette to accompany but if you wanted, you could grab a jar of your favorite dressing off the shelf of the grocery store and go that route; it’s great either way.

When the food was prepped, we packed it up in the car and  headed off to a special place called Tent Rocks. Tent Rocks is located in northern New Mexico and about 45 minutes from our house (I am a bit embarrassed to admit I had never wandered there in the 44 years I have lived here but we wont harp on that one). The point is that it was SIMPLY AMAZING and after an incredible hike through these lava rock formations, we sat down for our pretty (and delicious) picnic; both of these things I thoroughly believe made it taste that much better.

As we made our way through the array of panini, chips, and layered salad, we were lucky to have a visitor join us for some treats…..it was awesome to have our little buddy stuff his cheeks with our salty chips and scurry away to bury them for later and return for another load. This alone made our day and united us with a little more than our picnic lunch under the pinon tree.

Squirrel at Tent Rocks

Tent Rocks

Layered Salad of Bibb Lettuce, Eggs, Beets, Avocado, and Pepitas 4

Layered Salad with Bibb Lettuce, Beets, Eggs, Avocado, and Feta Cheese
 
Print
Prep time
1 hour
Total time
1 hour
 
Author: Michelle Michelotti-Martinez
Recipe type: Salad
Cuisine: American
Serves: 2
Ingredients
  • 1 Head of Bibb Lettuce or 1 Bag of Bibb Lettuce, torn into pieces
  • 4 Fresh Golden Beets
  • 2-3 Hardboiled Eggs, sliced in a cutter
  • 1 Large Avocado, diced
  • Fresh Feta Cheese
  • Roasted, Unsalted Pepita Seeds
  • 2 large glass Weck jars
  • Balsamic Dressing, preferably homemade
  • 2 cloves garlic, minced
  • ½ shallot, diced
  • ¼ cup balsamic
  • 2-3 T dijon mustard
  • ⅛ cup extra virgin olive oil
  • salt and pepper to taste
Instructions
  1. To Make Beets:
  2. Heat oven to 400. Wrap loose beets tightly in foil and place in oven. Cook for 1 hour or until easily pierced with a fork. Take out, cool, peel, and diced or chunk into desired size. (This can be done day before)
  3. To Make Dressing:
  4. In a blender or food processor, put in garlic, shallot, balsamic, dijon, and a little salt and pepper. Pulse until blended. Put blender or processor on low and add oil slowly to emulsify. Season more to taste
  5. To assemble salad:
  6. In the bottom of the Weck jars, add a little salad, then begin layering with beets, egg, and avocado, repeat until almost at top and finish with feta cheese and pepitas.
  7. Pack or eat immediately with desired amount of dressing!
3.3.3077


Filed Under: Salads Tagged With: avocado, balsamic dressing, beets, bibb lettuce, Eggs, feta cheese, pepitas, recipe, Salad

Eggs over Black Forest Ham and Gruyere Cheese

May 19, 2015 by Michelle Michelotti-Martinez

Eggs over Blackforest Ham and Grueyer Cheese 3

Sometimes you just need an idea for a yummy meal and this one of eggs over black forest ham and gruyere cheese is high on my list. Not only is it simple but also the flavors are spectacular and when you add the egg on top, it becomes a “version” of a Croque Madam done in 10 minutes without the béchamel sauce. Can you beat that? No.

We often have this dish of on Sunday mornings, especially come summertime when we can sit outside, watch the birds in the feeder, see the hummingbirds dance around in the air, and gaze at our garden; it makes for an awesome way to start the day.

I do find the key to this is to find your favorite artisanal bread (mine is an onion loaf from a French bakery), GREAT black forest ham from a deli, and delicious gruyere cheese from a local cheese monger and then you don’t have to worry about the béchamel unless you can’t live without it. This version of eggs over black forest ham and gruyere cheese gives you an excuse to not have to add on another 20 minutes to make the sauce which leaves more time to indulge wherever you heart takes you!

Eggs over Blackforest Ham and Gruyere Cheese
 
Print
Prep time
10 mins
Cook time
10 mins
Total time
20 mins
 
This can be a breakfast, lunch, or dinner. The KEY to this is ingredients, the fresher, the better and let them shine...
Author: Michelle Michelotti-Martinez
Recipe type: Breakfast
Serves: 2
Ingredients
  • 4 slices of artisanal bread of your choice (I enjoy an onion loaf with this)
  • 1 lb of good black forest ham
  • ½ lb gruyere cheese, grated
  • Good dijon mustard
  • 4 farm fresh eggs
  • Tarragon for garnish or broken over top of eggs
Instructions
  1. Toast Bread
  2. Grate Cheese
  3. Turn on broiler on low
  4. Assemble:
  5. Put mustard on each slice and bread and then black forest ham and top with gruyere cheese
  6. Put under broiler until melted, remove
  7. In saute pan on stove, turn on medium and melt a little butter
  8. Cook eggs, sunny side up and season with salt and pepper
  9. Carefully place an egg on each piece of assembled bread and decorate or garnish with tarragon or herb of choice and serve with dijon, if desired
3.3.3070

Eggs over Blackforest Ham and Grueyer Cheese 2

Filed Under: Sammies Tagged With: black forest ham, bread, croque madam, dijon, Eggs, gruyere cheese

  • « Previous Page
  • Page 1
  • …
  • Page 7
  • Page 8
  • Page 9
  • Page 10
  • Page 11
  • …
  • Page 18
  • Next Page »

Primary Sidebar

Meet Michelle and Enrique

Eatentions is a way of being with our food experience. It is a thought-filled process starting with connection to source all the way through the finished creation. We like to call it "from root to experience". Its the entire thing, its that conscious. Thank you for popping by and welcome to our life.

Let’s Connect!

Archives

Categories


My Favorites

Arancini|Eatentions

Arancini

Torta Caprese

Torta Caprese

Lemon Pasta with Broiled Salmon and Charred Lemon|eatentions

Lemon Pasta with Broiled Salmon and Charred Lemon

Footer

Instagram

Instagram has returned invalid data.

Follow Me!

Connect With Us

  • Email
  • Facebook
  • Instagram
  • Pinterest
  • RSS
  • Twitter

We believe in celebrating amazing people, delicious food, great conversation, sustainability and experience. For us,our lives have always been about love, family, friends and sharing all things together. Connecting with people through food, sharing stories and supporting one another to live our dreams and our purpose is what inspires us daily.

My Favorites

Arancini|Eatentions
Torta Caprese

Copyright © 2026 · Foodie Pro & The Genesis Framework