• Skip to primary navigation
  • Skip to content
  • Skip to primary sidebar
  • Skip to footer

Eatentions

Organic * Local * Sustainable

  • Home
  • About Us
  • Recipes
  • Culinary Socials
  • CSM – Community Sourced Meals
  • Contact
  • Nav Social Menu

    • Facebook
    • Instagram
    • Pinterest
    • RSS
    • Snapchat
    • Twitter

rice

Arancini

December 1, 2017 by Michelle Michelotti-Martinez

Arancini|Eatentions

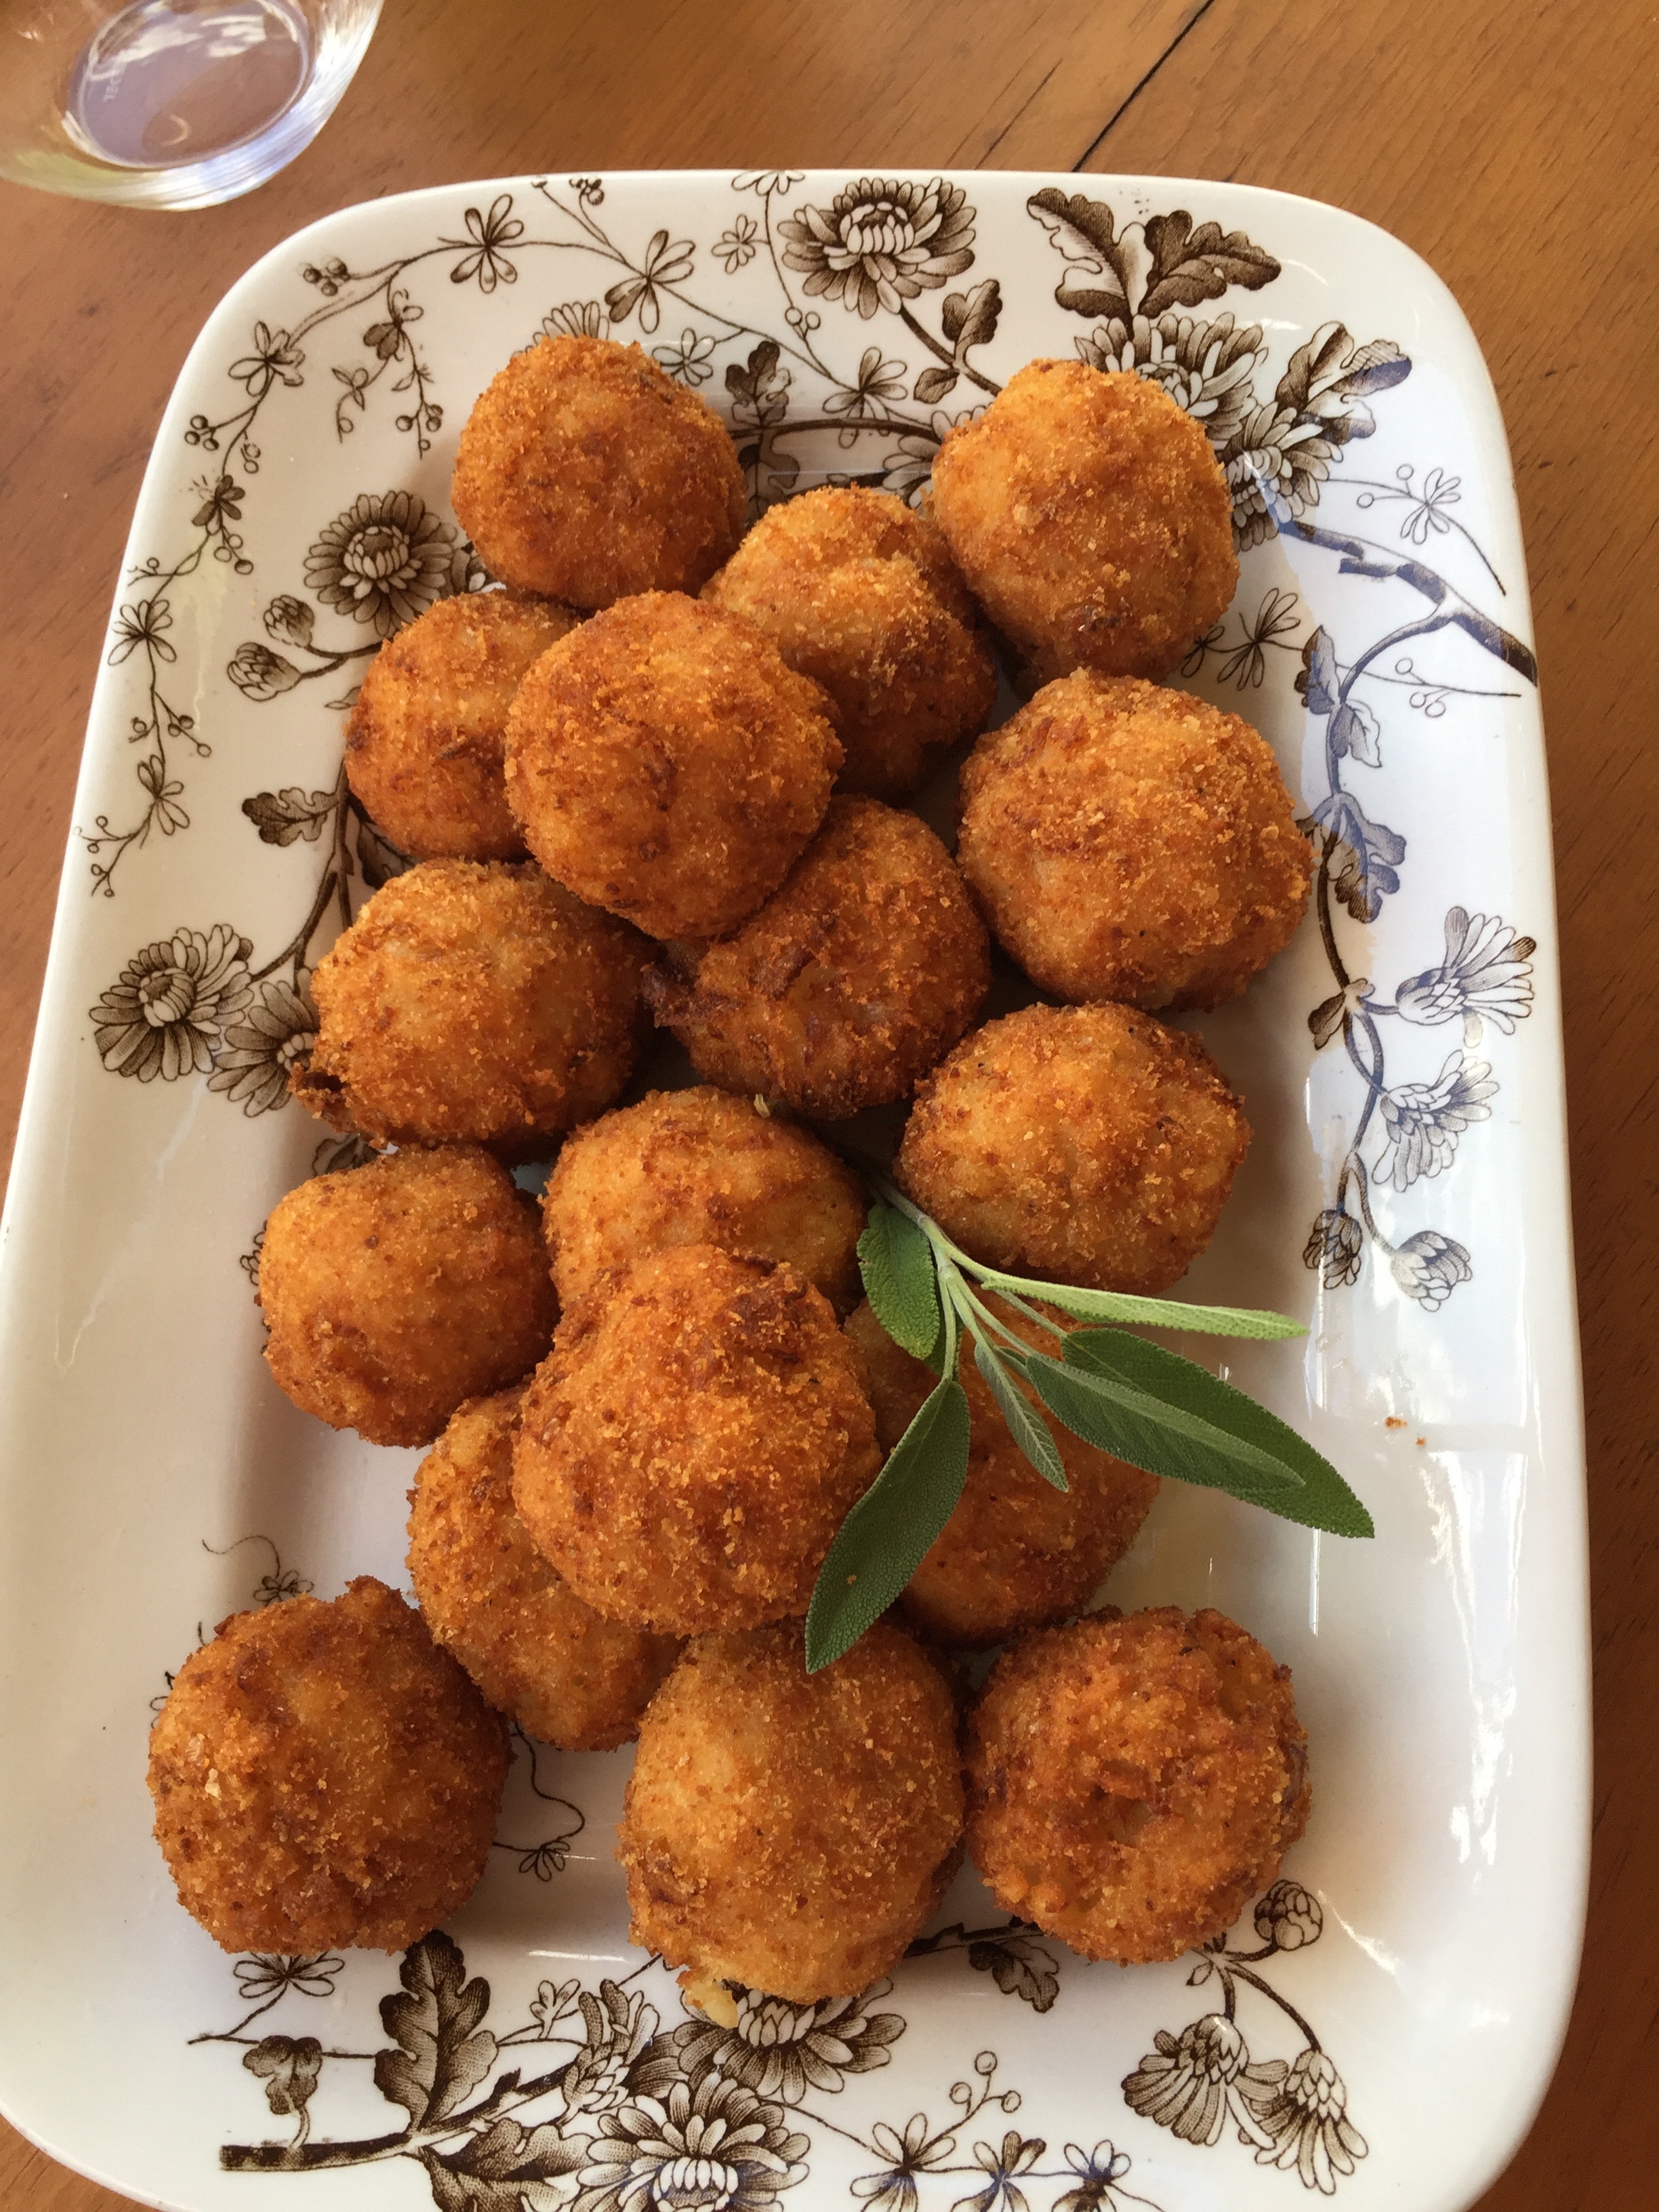
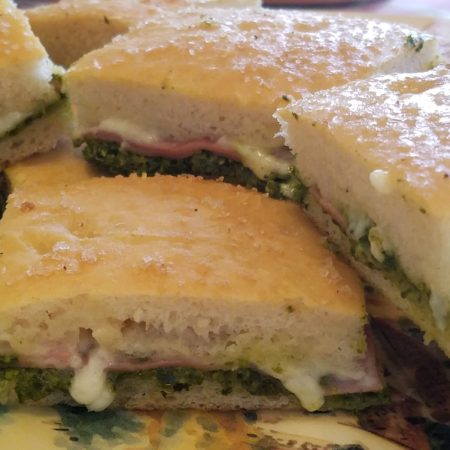
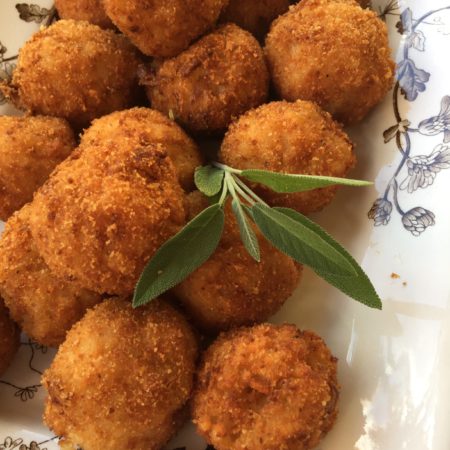
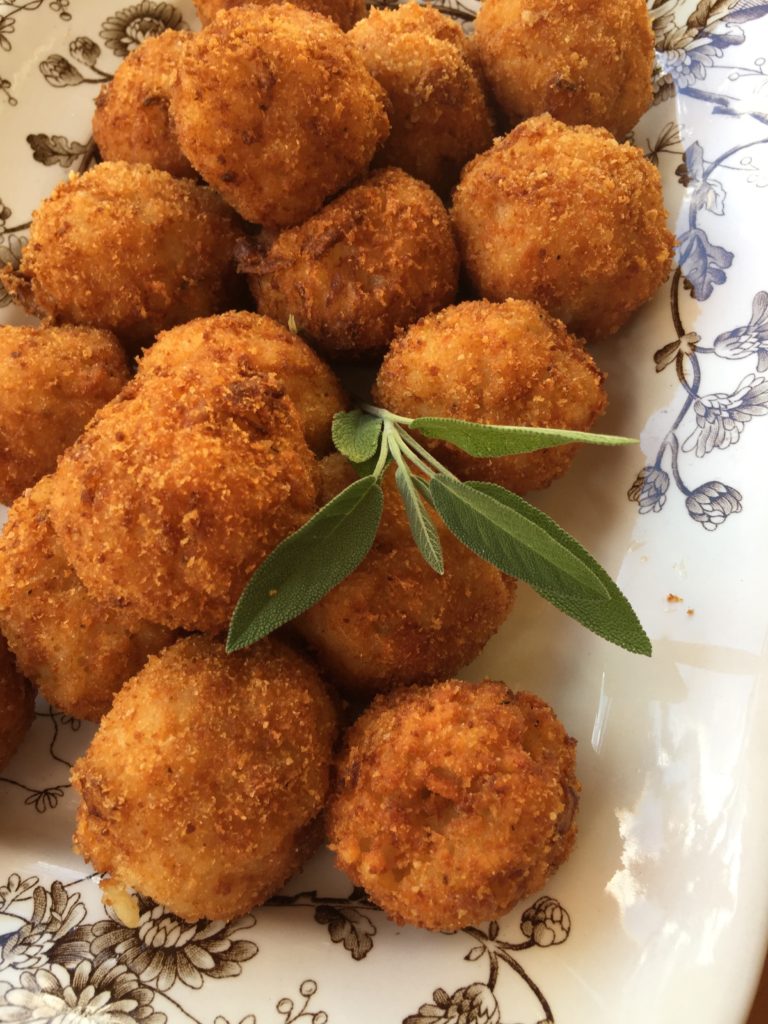
Arancini, risotto rolled into a ball and filled with gorgonzola dolce cheese and fried. The memory takes me right back to Roma and my favorite food vendor, Gabriel. Each day, he was parked close to the infamous Spanish Steps and the enticing aromas floating from his wooden cart, drew me as we passed by.

After our exchange of friendly greetings, he would offer me one of his hand made arancini balls, the famous fried rice balls of the area. In his thick but seductive accent, he would describe these heavenly bites he made fresh each day. Each time I took a bite, the crunch coupled with the soft melted cheese and al dente risotto created a melody in my mouth one can only experience. Simple but utterly delicious, I looked forward each day to sample (and of course purchase) his famous arancini.

We became fast friends, exchanging stories of travel and his recommendations of sights to see, all of which never failed as we were directed to the local delights in both food and culture. Our days directed us because of Gabriel and my pre-planned itinerary was quickly erased upon the realization that there is no google search for the memories he helped create for us. I will never forget the experience.

So as I write the blog and recipe for these arancini, I fondly remember Gabriel and our journey through Roma and happiness he and his wooden cart gave to all that took the time to stop, sample, and listen. Grazie Gabriel, this is an ode to you…..

Arancini
 
Print
Author: Michelle Michelotti-Martinez
Ingredients
  • For Risotto:
  • Extra-virgin olive oil
  • 1 Large Onion, cut into ¼-inch dice
  • Kosher salt
  • 2 cups Carnaroli or Arborio rice
  • 4 cups Chicken Stock, kept HOT
  • 1 to 1½ cups Dry White Wine
  • 2 tablespoons Butter
  • ¾ cup grated Parmigiano-Reggiano
  • For Arancini:
  • Canola oil for frying
  • Breadcrumbs
  • 4 ounces Gorgonzola Dolce
  • fryer or dutch oven with 3 inches of oil and heated to 375
Instructions
  1. For Risotto:
  2. Coat a large saucepan generously with olive oil over medium heat. Add the onions and salt and sweat them until translucent, about 5 minutes. Bring the pan to a medium-high heat. Add the rice and cook for 3 to 4 minutes, letting the rice slightly stick to the bottom of the pan and scraping it off. It should also sound crackly.
  3. Add the wine to the pan until it covers the surface of the rice. Season with salt and cook over a medium-high heat, stirring continuously until the wine has absorbed into the rice. Add chicken stock, 1 cup at a time, to the pan. Cook over a medium-high heat, stirring continuously until the stock has absorbed into the rice. Repeat this process with the hot saffron chicken stock.
  4. When the third addition of the stock has absorbed and the rice is very creamy, bite a couple grains of rice to be sure it is cooked perfectly. If it is still a little crunchy, add a little more stock and cook the rice for another couple of minutes. When the rice is cooked perfectly, remove it from the heat. (Want it al-dente)
  5. Toss in the butter and Parmigiano-Reggiano and "whip it”. The rice should be creamy but still flow and hold its own shape. Cool and refrigerate 4 hours or upto overnight.
  6. For Arancini:
  7. Take risotto out of fridge. Heat oil in dutch oven or heat fryer to 375.
  8. Pour some breadcrumbs in a bowl. Line a baking sheet with parchment paper.
  9. Take ⅛ cup or so of risotto and roll into a ball. Put in a little gorgonzola dolce in middle of ball and re-shape. Roll in breadcrumbs and place on cookie sheet.
  10. Repeat with remaining risotto and gorgonzola dolce
  11. Put into fridge til ready to fry or fry right away.
  12. Put 4 balls into oil and allow to cook for about 3-4 minutes or until deep golden and heated through.
  13. Remove and put on a plate lined with paper towels.
  14. Repeat until done and place into warming oven until ready to eat or eat right away
3.5.3229

Arancini|Eatentions


Filed Under: Appetizers, Uncategorized Tagged With: appetizers, arancini, fried, Parmigiano-Reggiano, rice, risotto

Grilled Vietnamese Chicken over Scallion Rice

April 7, 2016 by Michelle Michelotti-Martinez


Isn’t grilling just one of the 7 wonders of life?

Grilled Vietnamese Chicken over Scallon Rice 6

The smell of the food, the sounds of the sizzle on the grill, the taste only outdoor cooking can give, and most of all the time of year, SUMMER!!! Couple grilling with the longer days, the warmer nights and ahhhh can I really handle the constant pleasure of this time of year? I think so, it makes me feel like a kid in a candy store; free, indulgent, and full of excitement…what a wonderous experience!

I know it technically isn’t summer but the weather is being a major tease and running havoc on my“itch” to be outside breaking in the grill for the season and putting in our garden.

Last Sunday was a BEAUTIFUL 75 degrees and there was just NO WAY I was going to let the opportunity slip away to indulge ourselves to our favorite flavors and satisfying our taste buds; which BTW, were screaming for some grilled Vietnamese chicken along with scallion white rice. (Oh AND we snuck in a fantastic rose to kick the season off but we can talk about that in another post otherwise I’ll get sidetracked and not finish getting this recipe out to you….seriously).

Grilled Vietnamese Chicken over Scallon Rice 8

Thank God I had looked at the forecast and prepped the chicken 24 hours ahead in a delicious marinade because that is the secret to this simple but super flavorful dish. You REALLY need to marinate it for 24 hours, the flavors develop so intensely while breaking down the protein in the chicken and this leaves it sooo moist and yummy….you absolutely CAN’T skip this step…

Now, since I had done MY job, I figured I could kick back (with that rose, did I mention that?) and cheer Enrique on while he cleaned up the grill from the winter slumber (aren’t I just the most supportive wife?). It was needing some attention as it rode through some tough weather days and frigid nights but nothing a little TLC couldn’t fix…..honestly, it really didn’t take too long to get it ready and besides we were so happy outdoors, it didn’t matter if it had.

The old grill started up like a champ and the chicken was ready so the time had come to test out the flame and kick back with a cigar. Ohhh, the first smell of the grill and the first sound of the sizzle for the season is probably my favorite and I just wanted to be there all the while the chicken cooked away.

I set the table outside, put candle in the middle and a bouquet of fresh flowers. We kicked back and chatted, giggled, indulged, and reminded ourselves that we were just at the beginning of the this magical summer season…

5.0 from 2 reviews
Grilled Vietnamese Chicken over Scallion Rice
 
Print
Prep time
24 hours
Cook time
40 mins
Total time
24 hours 40 mins
 
Author: Michelle Michelotti-Martinez
Recipe type: Main
Cuisine: Vietnamese
Serves: 4
Ingredients
  • 6 Chicken Breast, Bone-In
  • 2 Bunch of Scallions, Sliced
  • 1 Small Piece of Ginger, Minced
  • 4 Cloves of Garlic, Minced
  • 2 Stalks of Lemongrass, Sliced
  • 1 Small Bunch of Cilantro, Roughly Chopped
  • 1½ C of Soy Sauce (I use Braggs)
  • ¼ C Olive Oil
  • 2 T Sesame Oil
  • 3 T Chinese Black Vinegar
  • 2 C Jasmine Rice
  • 4 C Low Sodium Chicken Broth (Preferably Home-made)
Instructions
  1. Night Before:
  2. In a ziplock bag, combine soy sauce, vinegar, olive oil, sesame oil, garlic, ginger, lemongrass, small handful of scallions, and cilantro. Put in chicken breasts and mix around well. Set in a glass container (in case it leaks) and put in fridge for 24 hours.
  3. Day of Preparation:
  4. Remove chicken, put on tray, and discard marinade. Take off any large pieces of cilantro, lemongrass, and scallion. Leave out for 30-40 minutes to bring to room temperature.
  5. While chicken is coming to temperature, heat grill on high. Before putting chicken on, turn down to medium and brush grill with a papertowel soaked in olive oil so chicken won't stick. Start with skin side down and grill, turning frequently until done, about 30-35 minutes.
  6. While chicken is grilling, put rice to a pot on stove and add broth and a pinch of salt, stir. When broth comes to boil add scallions, stir, cover, and turn down to simmer until broth is absorbed, about 30-35 minutes (check absorption starting at 20 minutes). Once broth is absorbed, quickly open cover and put on a dishcloth, cover again, and turn off heat and leave on stove for 10 minutes.
  7. When chicken is done, let rest for 10-15 minutes. Slice into medallions slices and put over scallion rice. Serve with additional soy sauce for those that want it.
  8. *Note - Don't add salt or pepper to this recipe, marinating breaks down proteins to keep chicken moist AND adds a lot of salt.
3.5.3208

Grilled Vietnamese Chicken over Scallon Rice 3

Filed Under: Meat and Poultry Tagged With: breasts, chicken, Garlic, Ginger, grilled, Lemongrass, marinated, olive oil, rice, Scallion, Sesame Oil, Soy Sauce

Delicata Squash Boats with Pancetta, Porcini, and Fried Sage Risotto

November 13, 2014 by Michelle Michelotti-Martinez

squash boats 2

For me, risotto is one of those simple life pleasures. It’s a comfort food on a cold day or the perfect side dish to any grilled meat in the summer. The only trick with risotto is making sure it is “al dente” and not mushy hence the necessity to hover over the stove stirring and tasting consistently, adding liquid very slowly.

I was so lucky to learn to make risotto from my Italian aunt in the Piedmont area of Italy. I mean, that is risotto country so I better learn from the best or not carry a Northern Italian last name, simple as that, period.

We were on one of our jaunts to visit the family and I made the “casual” comment about loving risotto. Well, let me tell you, don’t ever make a “casual” comment about anything food related to an Italian relative. I had no idea what I had released.

First came the phone calls to the other family relatives “intensely” communicating something about “non hai fatto risotto per la famiglia? Mai????? Mama mia! Then the phone slams down and another call is made, same question but this time the phone slams down with “Ah Madonna!” And the list continues…..each time the same question and the ending disgust. Yikees, all I mentioned was that I liked risotto, I didn’t need any relatives killed over some cooked rice.

We sat quietly as my aunt stomped around, shooed her children to the small grocery store down the street, and mumbled obscenities to herself. At this point, I just wanted a drink.

After about 30 minutes the children arrived and my aunt gazed out into the room where I sat and said, “viene qui!” and I quickly obeyed and came into the kitchen.

What ensued next was a sheer blessing in disguise, an afternoon filled with loving determination to show me (and feed us) the perfect risotto dish. The instruction began with a description of every ingredient (the proper ones) to use to make risotto. The rice, the homemade stock, the onions, the wine, the butter, the parmigiano cheese, this is the base and from here, it’s personal choice what else one wishes to add. During our lesson, she chose veggies from her garden. I took notes like a mad woman and drank in all of her divine wisdom.

As the time progressed, I knew I was receiving something most people wished for, instruction from the true masters of Italian cuisine, the ones that hold the keys to generations before and the knowledge of all that is passed down through the kitchen and I was the lucky recipient.

I learned to use the perfect pot, to heat the stock, to sauté the onions first, (veggies here if desired), add the rice, then the wine, and then patience begins while the stock gets added, ½ cup at a time and stirred until absorbed and tasted. This continues until the perfect “bite” occurs and not a minute before. It is then pulled off the stove, butter added and then parmigiano stirred in……

The final dish is decadent, creamy and piping hot, my mouth was watering. The final demand, risotto HAS to be eaten right away, we were happy to follow command.

My aunt spooned it into a big bowl and topped with a little more parmigiano. I watched as the steam came off the rice and the cheese melted instantly. My mouth was watering. It didn’t take long to devour.

This recipe is an ode to my aunt who took that simple comment and taught me an art form. I will never forget that day and I always hear her instructions every time I recreate her masterpiece.

I decided to add porcini mushrooms, pancetta, and fried sage to her recipe and use roasted delicata squash from our garden to serve it in. It’s a 100% edible and makes for a great presentation.

fried sage


squash boats

risotto 2

Table

A SPECIAL THANKS TO MY NEW FOOD PHOTOGRAPHER, MY NIECE RACHEL! SHE ROCKS!!

Delicata Squash Boats with Pancetta, Porcini, and Fried Sage Risotto
 
Print
Prep time
25 mins
Cook time
50 mins
Total time
1 hour 15 mins
 
This recipe is an ode to my aunt who taught me an art form. I always hear her instructions every time I recreate her masterpiece. I decided to add porcini mushrooms, pancetta, and fried sage to her recipe and use roasted delicata squash from our garden to serve it in. It’s a 100% edible and makes for a great presentation.
Author: Michelle Michelotti-Martinez
Recipe type: Side Dish
Cuisine: Italian
Serves: 8-10
Ingredients
  • 4 delicata squash, cut in half, seeded, and roasted, can use acorn or other squash
  • 2 cups of carnaroli rice, can use arborio rice
  • 2 shallots, diced
  • 8 slices of pancetta, diced
  • 15 porcini mushooms, sliced thin, can use shitake mushrooms
  • 15 sage leaves, fried in a little truffle oil, 5 broken into pieces and others left whole
  • 7 cups of homemade chicken stock, can use canned
  • ½ cup pinot grigio wine
  • salt and pepper to taste
  • olive oil
  • 2 T butter
  • Freshly grated parmigiano cheese
Instructions
  1. Turn oven on to 350. Place cut squash, face down and roast til soft when fork is inserted. Set aside
  2. In a pot that is wider than it is tall, turn onto medium heat.
  3. Add 2 T olive oil and heat.
  4. Add shallot and pancetta and stir with wooden spoon until shallot is translucent.
  5. Add mushroom and stir.
  6. Add a little salt and pepper.
  7. Cook until mushroom begins to soften and add broken sage pieces.
  8. Add rice and stir.
  9. Add wine and stir til dissolved.
  10. Start adding stock, ½ cup at a time and stir til dissolved. Keep tasting until rice reaches "al dente"
  11. Pull off stove and add butter, stir
  12. Add ½ cup of parmigiano
  13. Spoon into each half of squash, top with some more cheese and one piece of whole sage leaf. Repeat til all squash are filled.
  14. Serve immediately
3.2.2802


Filed Under: Grains and Starchy Sides, Vegetables Tagged With: Chicken Broth, Delicata Squash, italian, Mushrooms, pancetta, Parmigiano, Porcini, rice, risotto, Sage, Shallots, White Wine

Classic Valencia Paella

November 7, 2014 by Michelle Michelotti-Martinez

IMG_4493

Madrid Spain is one of my favorite cities in the world. Cosmopolitan and full of history, outstanding museums and sites, and INCREDIBLE FOOD (the male flamenco dancers are pretty amazing too but we will leave that for another post :)!!!

The coolest thing about the Spanish is that they start their day at about 10, stop for lunch around 1, siesta from 2-4, work from 4-8, and then their evening begins. They adore being out and about, young and old, it doesn’t matter. It is SO refreshing to see kids playing in the streets while the parents visit and take in a meal or a stroll. I totally dig it.

Typically, they don’t just hit a restaurant for dinner although, that may be slowly changing with the influx of tourism but instead, start out by “tapa-hopping”. This is so awesome….they go to a local tapa bar, order a sangria or drink of choice, pick a tapa or two (small appetizers), share with friends and then off to the next spot. This goes on till about 10 or 11 when it comes time to gather at a restaurant for the main course. After this, dancing till 2 or 3……gotta love it!

On my first night in Madrid, we decided to try this ritual; I mean, “When in Rome, do as the Romans do, right?” Plus we are suckers for trying whatever is new and part of the culture. Anyway, we made it through with flying colors for the first 4-tapa stops and I am thinking “seriously, this rocks, I must have been a Spaniard in my last life!” Partying for 6 hours every night? What????

Time came for the main course and our hotel concierge led us to the direction of paella, the infamous rice dish of Spain. We pranced off to the hot spot only to be stopped about a block away with a line of giddy and hungry patrons. We asked the group in front of us if this was “normal” or should we try another place less busy? They looked at one another and giggled, I am sure thinking….AMERICANS, and answered back that all of Madrid comes out at night so hunker down and grab another sangria! NICE!! I can follow directions…

Another 2 sangrias and we finally made it into the restaurant to be seated at a cozy table bustling with laughter and pan after pan of mouth-watering paella. We were salivating!

We perused the menu consisting of 50+ varieties of paella, each one made to order, and realized we probably still were at least an hour away from chow time and it was nearing midnight. It wasn’t helping that the flowing glasses of sangria throughout the tapa bars and in line were finally catching up to me and my eyes were getting so heavy that it felt like someone was standing on the lids. Great, I see it now, the paella comes and I fall face first into it, what a rock star partier. Pathetic.

I managed to somehow stay awake and sober up and when the paella was presented to us, we were ready to devour! We stayed classic and ordered the Valencia paella, laced with chorizo, chicken, seafood, veggies, and topped with huge mussels and clams. Not only did it look delicious it was a culinary art piece. It was colorful and carefully crafted and each piece of food was meticulously placed in a methodical order, it was amazing…no wonder it took an hour, it was worth it and we hadn’t even taken a bite. We look at each other and decided if it tastes as good as it looks, we are moving in.

It did and more. We finished it all, it was 2am and dancing would have to wait.

IMG_4496

Classic Valencia Paella
 
Print
Prep time
1 hour 30 mins
Cook time
1 hour
Total time
2 hours 30 mins
 
This is one of my all time favorite dishes to cook for a party along with a bunch of tapas and the evening can carry on as though we are on the streets of Spain. Cava On!
Author: Michelle Michelotti-Martinez
Recipe type: Entree
Cuisine: Spanish
Serves: 10
Ingredients
  • 10 cup Paella Pan
  • 6 cups chicken broth
  • ½ ounce saffron (about 8 threads)
  • ½ tsp sea salt
  • ⅛ tsp black pepper
  • 2 red bell peppers
  • ¼ cup olive oil
  • 10 skinless chicken thighs cut in thirds
  • ¾ lb pound Spanish chorizo sausage
  • 1½ pounds med-sized shrimp (raw)
  • 1 pound sea scallops cut in thirds
  • 3 cloves garlic chopped
  • 1 med sweet onion chopped
  • ½ tsp turmeric
  • 2 cups arborio or bomba rice
  • ½ cup white wine (Sauvignon blanc preferred)
  • 4 med ripe tomatoes (cut in half, grate, and discard the skin)
  • 2 tsp sweet paprika
  • 25 mussels or clams
  • ½ cup peas, fresh or frozen
  • Lemon wedges for garnish
Instructions
  1. Heat chicken stock on stove in large pot with saffron, salt and pepper. Steep on low heat until adding it to paella.
  2. Roast peppers under broiler until charred on all sides, remove and put in plastic bag to steam, about 5 to 10 minutes. Remove and gently peel, remove seeds and veins. Slice in strips and set aside.
  3. In paella pan, either on stove, barbecue, or paella burner, add olive oil until somewhat hot. Add chicken and cook until 80 percent done. Add a little salt and pepper to start building flavor. Remove and cover. Add sausage in same oil until flavor is distiller into oil. Remove and save. Add shrimp and cook until there is color. Remove and cover. Add scallops and cook till translucent. Add a little oil if needed.
  4. In same oil add garlic for about 20 seconds and then onion. Add a little salt and pepper. Stir until translucent.
  5. Take measured rice and create well, add turmeric and spread over onion and garlic. Add grated tomato and paprika and stir. Now this is all being flavored with ingredients that went into oil, flavor will flow into rice as paella cooks. Cook this for 3 minutes. Add wine and stir. Raise temp underneath pan for a couple of minutes and then add stock, stir. Turn heat down until liquid has mixed well with other ingredients.
  6. Start putting in chicken and mussels or clams, spread evenly. Add sausage, shrimp, and scallops the same way.
  7. Observe at rate liquid is absorbing the rice, if too watery at beginning, fine. You want low simmer so paella cooks evenly.
  8. Cover with foil and simmer for about 45 minutes. DON'T STIR!
Notes
ADDITIONAL TIPS:
DRY VS MOIST
The paella can stay moist for about 20 minutes, if left too long on fire, it will dry. A lot of Spaniards like it crusty on bottom and some soupy, you choose.
FINISHING TOUCHES
Just 5 minutes before done, put on bell peppers and peas. Place decoratively for color. Place on table and eat out of pan or buffet style and serve with lemon wedges
PREPARATION
The French have a wonderful saying, mise en place, meaning to have everything in place and chopped, cleaned, and ready.
SEAFOOD
Keep clams or mussels closed and cold before using them by immediately running them under cold water and washing them when you return from store. Use a wire mesh colander. Place a large plate underneath and put in fridge with a wet cloth over them, this keeps them moist and breathing. You want the shells closed, they will open during cooking. If they don't, throw them away.
SUBSTITUTIONS
You may substitute other shellfish and various vegetables to match to your liking be creative!!!
SHOPPING TIPS:
Shopping can be done 2 days ahead for all ingredients except for chicken and seafood, purchase these the same day you cook paella. It is essential to use arborio or bomba rice, other types don't hold up to cooking.
3.2.2802

Filed Under: Entrees, Fish and Seafood Tagged With: bell peppers, chicken, clams, mussels, paella, peas, rice, saffron, seafood, spanish, valencia

Primary Sidebar

Meet Michelle and Enrique

Eatentions is a way of being with our food experience. It is a thought-filled process starting with connection to source all the way through the finished creation. We like to call it "from root to experience". Its the entire thing, its that conscious. Thank you for popping by and welcome to our life.

Let’s Connect!

Archives

Categories


My Favorites

Arancini|Eatentions

Arancini

Torta Caprese

Torta Caprese

Lemon Pasta with Broiled Salmon and Charred Lemon|eatentions

Lemon Pasta with Broiled Salmon and Charred Lemon

Footer

Instagram

Instagram has returned invalid data.

Follow Me!

Connect With Us

  • Email
  • Facebook
  • Instagram
  • Pinterest
  • RSS
  • Twitter

We believe in celebrating amazing people, delicious food, great conversation, sustainability and experience. For us,our lives have always been about love, family, friends and sharing all things together. Connecting with people through food, sharing stories and supporting one another to live our dreams and our purpose is what inspires us daily.

My Favorites

Arancini|Eatentions
Torta Caprese

Copyright © 2026 · Foodie Pro & The Genesis Framework