• Skip to primary navigation
  • Skip to content
  • Skip to primary sidebar
  • Skip to footer

Eatentions

Organic * Local * Sustainable

  • Home
  • About Us
  • Recipes
  • Culinary Socials
  • CSM – Community Sourced Meals
  • Contact
  • Nav Social Menu

    • Facebook
    • Instagram
    • Pinterest
    • RSS
    • Snapchat
    • Twitter

pasta

Lemon Pasta with Broiled Salmon and Charred Lemon

June 22, 2017 by Michelle Michelotti-Martinez

Lemon Pasta with Broiled Salmon and Charred Lemon|eatentions

Lemon Pasta with Broiled Salmon and Charred Lemon|eatentions

Lemon Pasta with Broiled Salmon and Charred Lemon|eatentions

It’s hot. 100 degrees plus, to be exact, and we are scheduled for an outdoor lunch party. What sounds good in 100-degree weather other than a siesta and a glass of rose? Unfortunately, that wasn’t an option, the afternoon was committed to viewing 2 Italian films where siesta’s and rose are what we watch, not what we do.

As I pondered, I began to pull from my travel memory bank and back to Capri, Italy on a hot summer afternoon. While sitting on our terrace made of white stucco and trimmed in bright blue we watched the sailboats dance on the ocean water. As I fell into a semi-hypnotic state, I stared as the ocean became the canvas for the vast array of colors from the individual sails. As the moments slipped by, I sipped on my chilled glass of rose and pondered what beautiful dish would satisfy my quench of hunger.

I don’t know how much time went by before I heard the gentle knock at our crooked wooden door, which was carefully etched into the architecture of the wall and pulled me back into the realization of the moment.

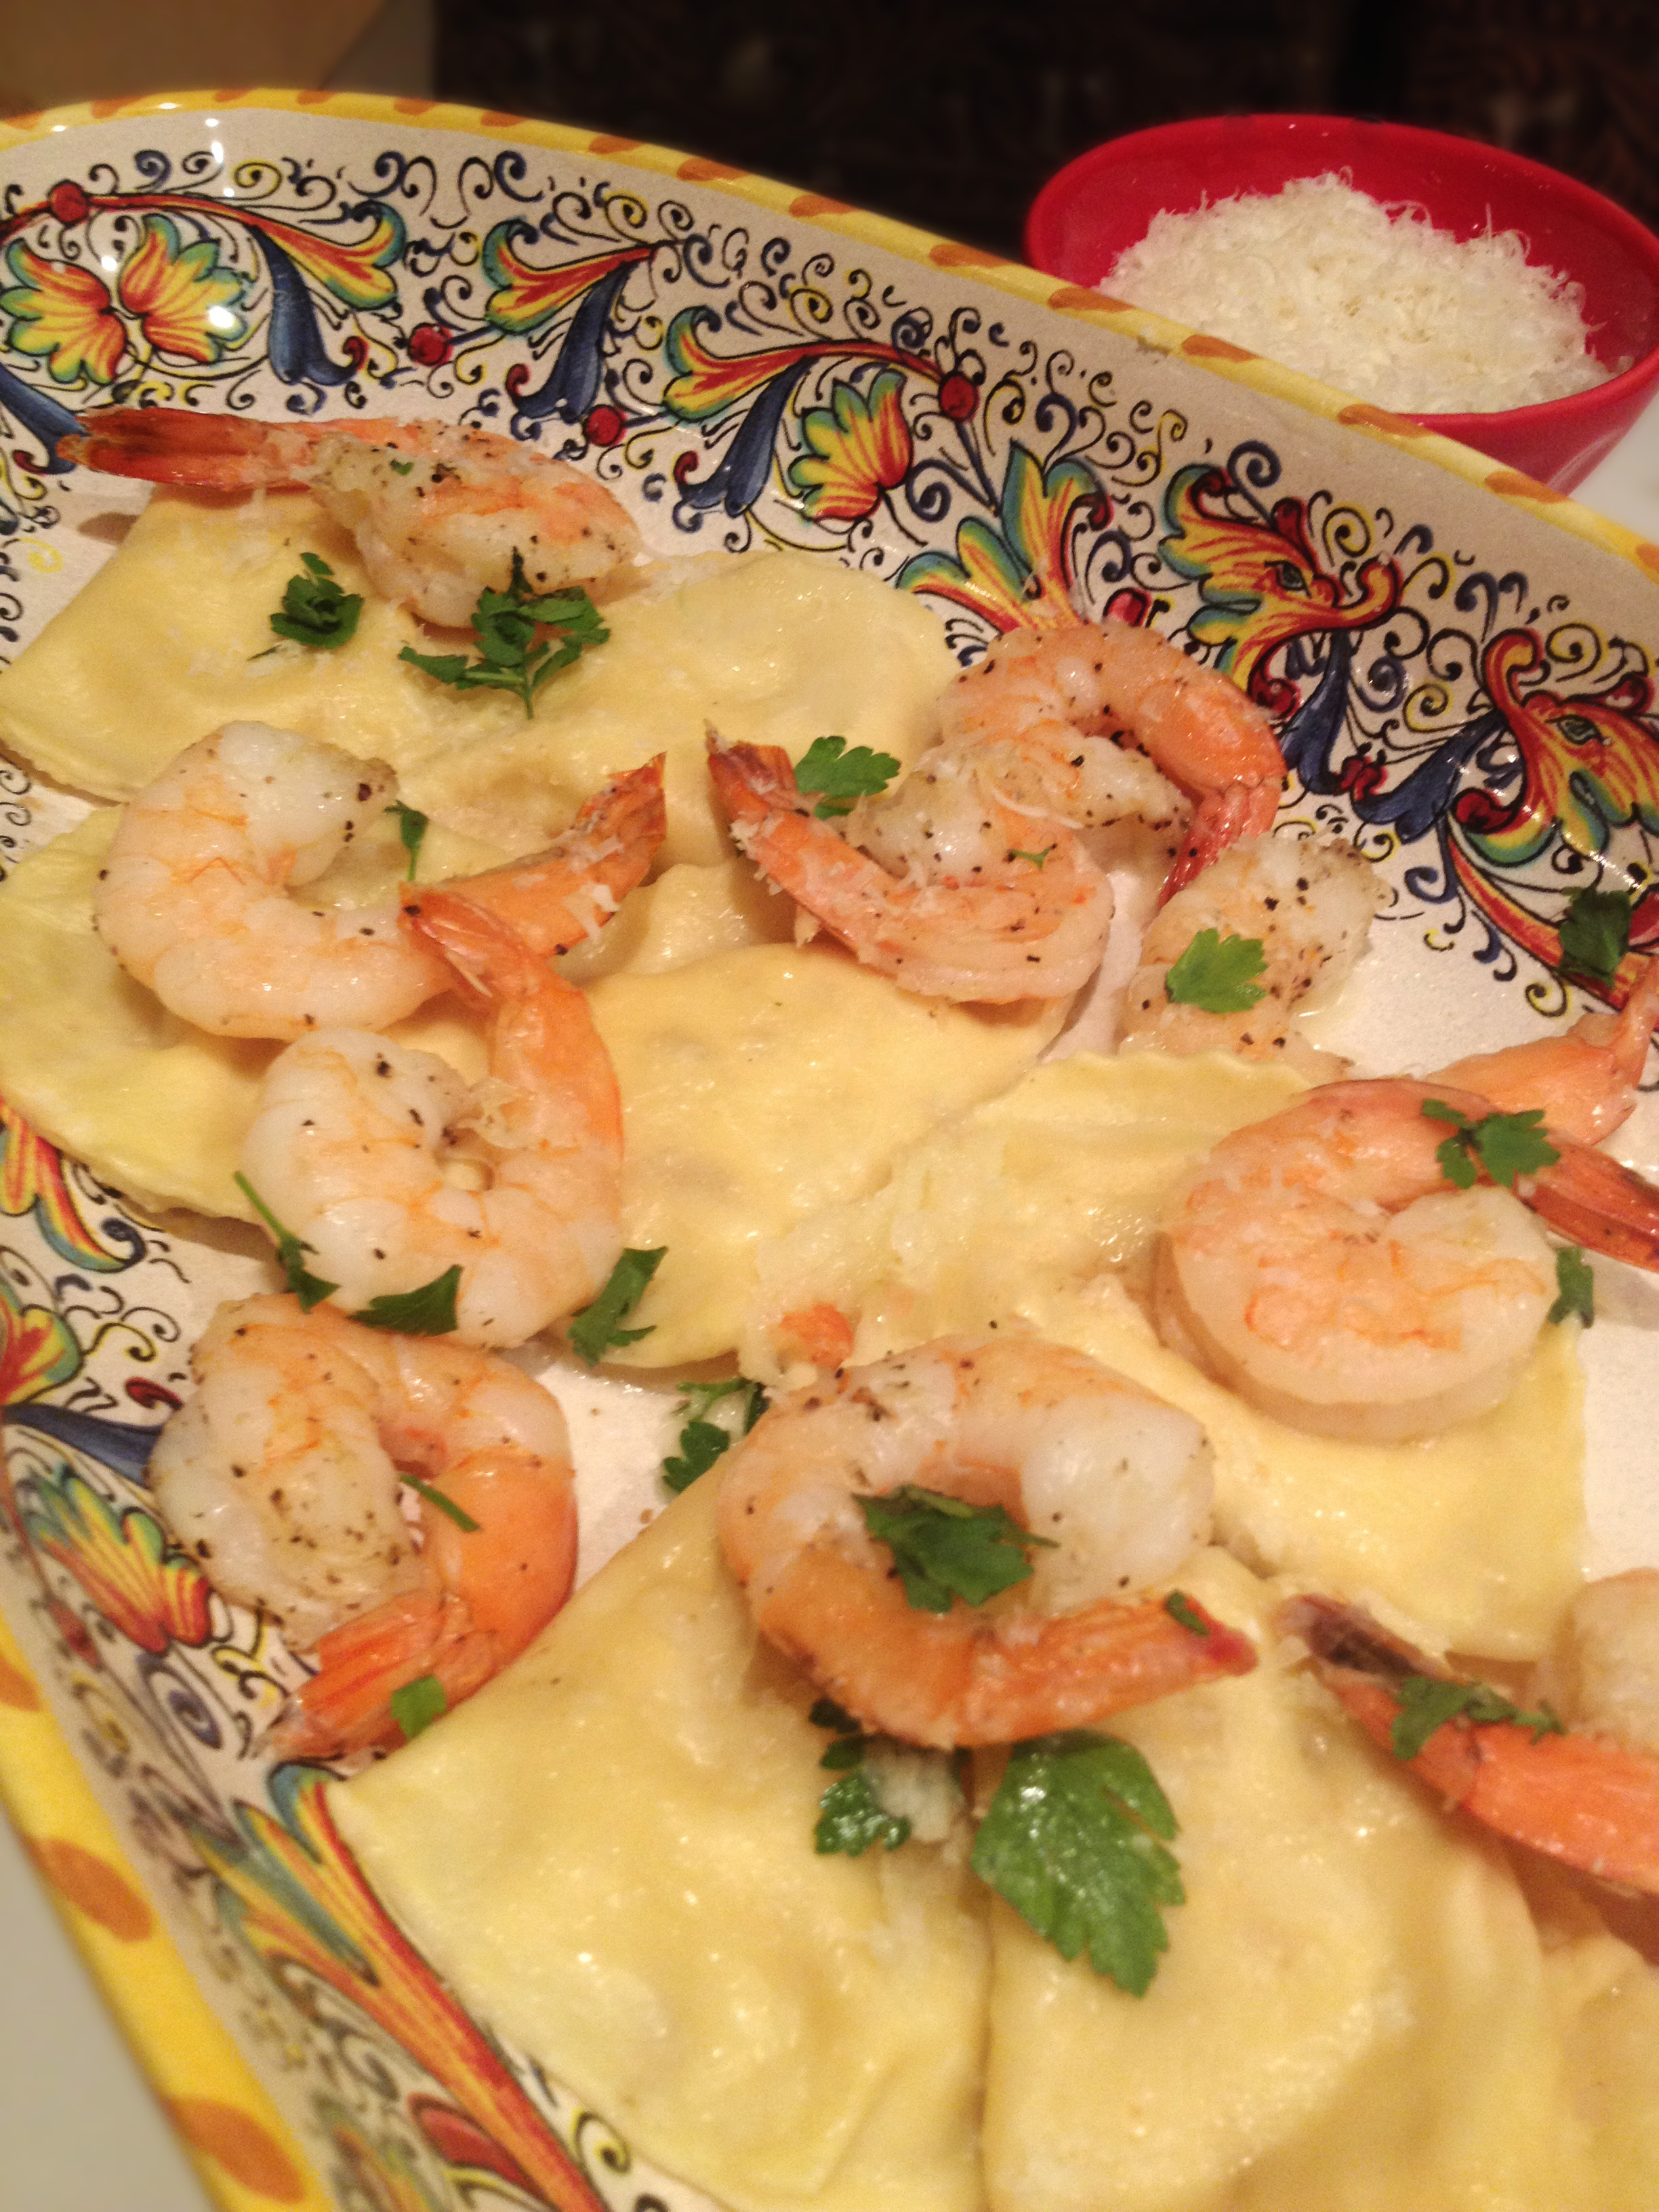
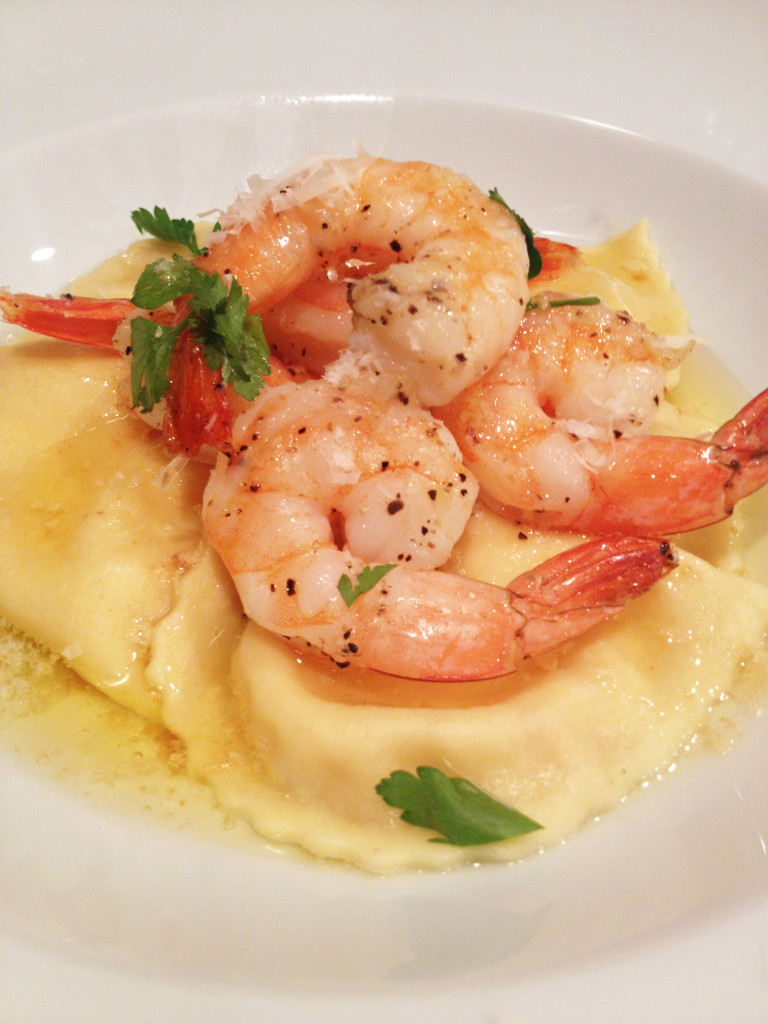
Gabrielle, son of the proprietor, must have read my mind as he stood in the doorway holding 2 antique ceramic pasta bowls that coddled a nest of freshly made pasta tossed in a light white wine sauce and topped with butter braised sea bass caught earlier that morning. He spoke to me with his beautiful Italian accent, “Signora, may I offer you something light to eat while you enjoy your view?” I quickly stepped aside as I responded, “per favore, grazie Gabrielle e grazie alla tua mamma”. He looked down at the wooden floor and smiled.

We positioned ourselves underneath the small, sun-bleached umbrella as a light breeze relieved us from the afternoon sun. We both glanced at the masterpiece in front of us and admired the simple elegance of the dish. We swirled our forks in unison as the aromas of lemon, dill, and garlic filled our senses and tempted our pallets. One bite was all it took as we savored delicious flavors and the perfect texture of the pasta. We breathed a sigh of culinary joy and realized the mastery we had both just experienced. We remained silent as we solely communicated through the pleasure on our faces…..surely there couldn’t be a more perfect culinary culmination…..

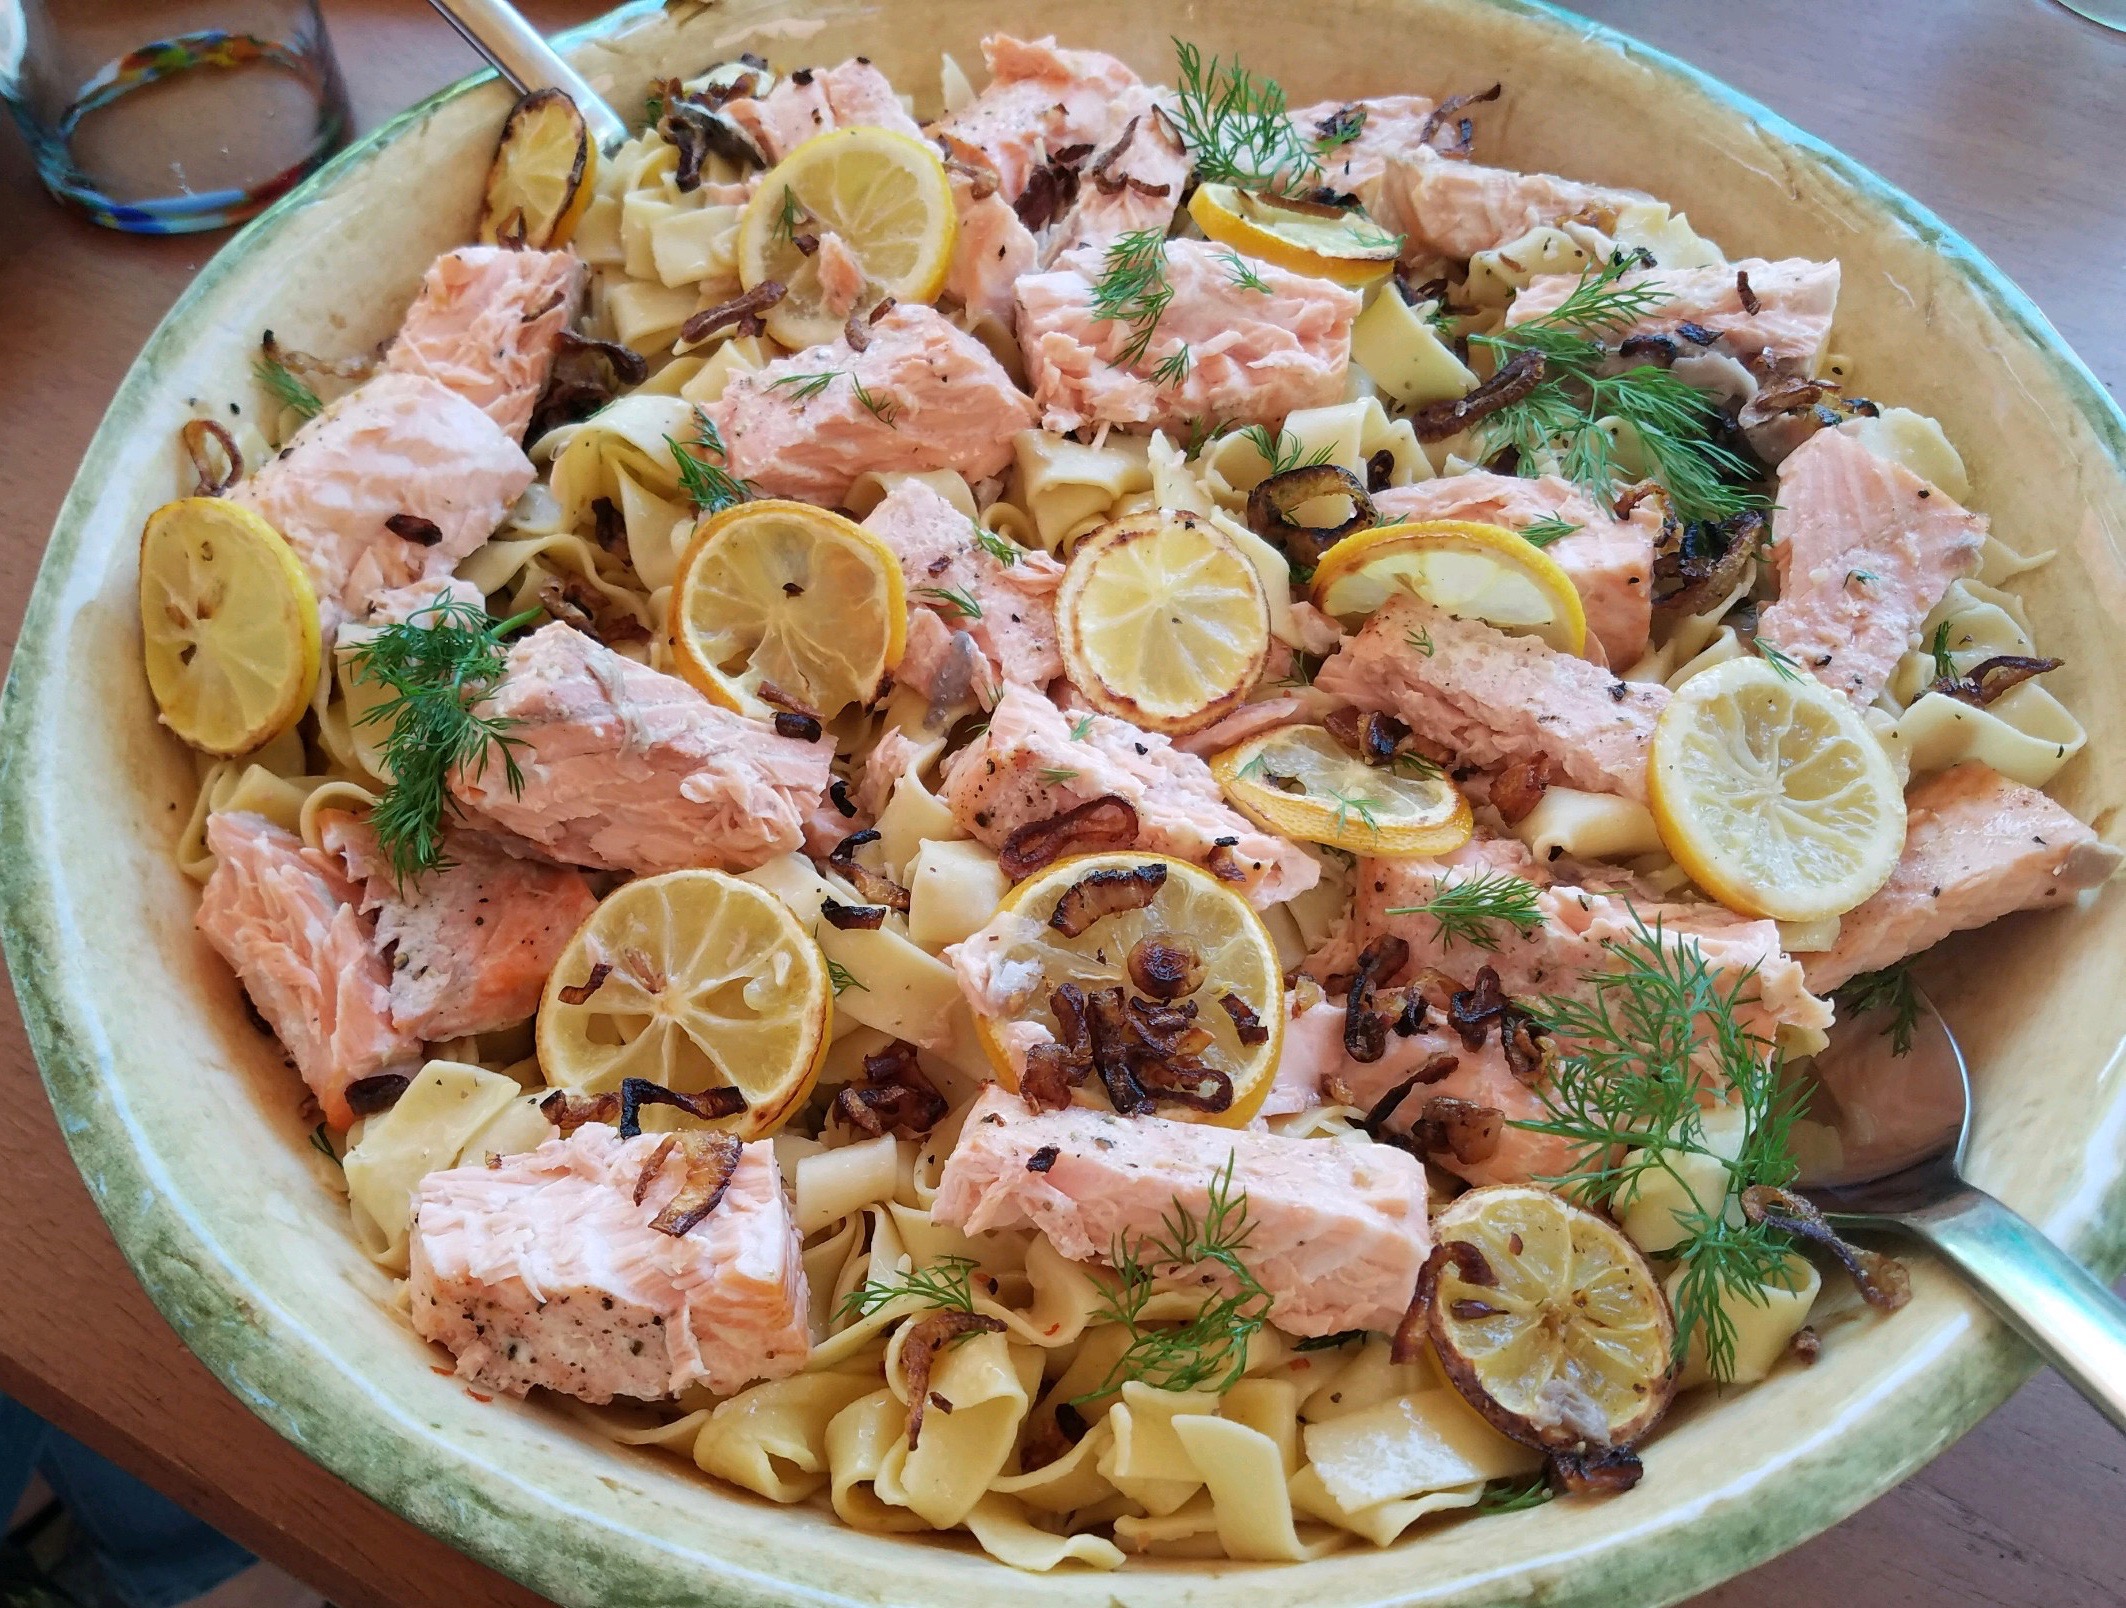
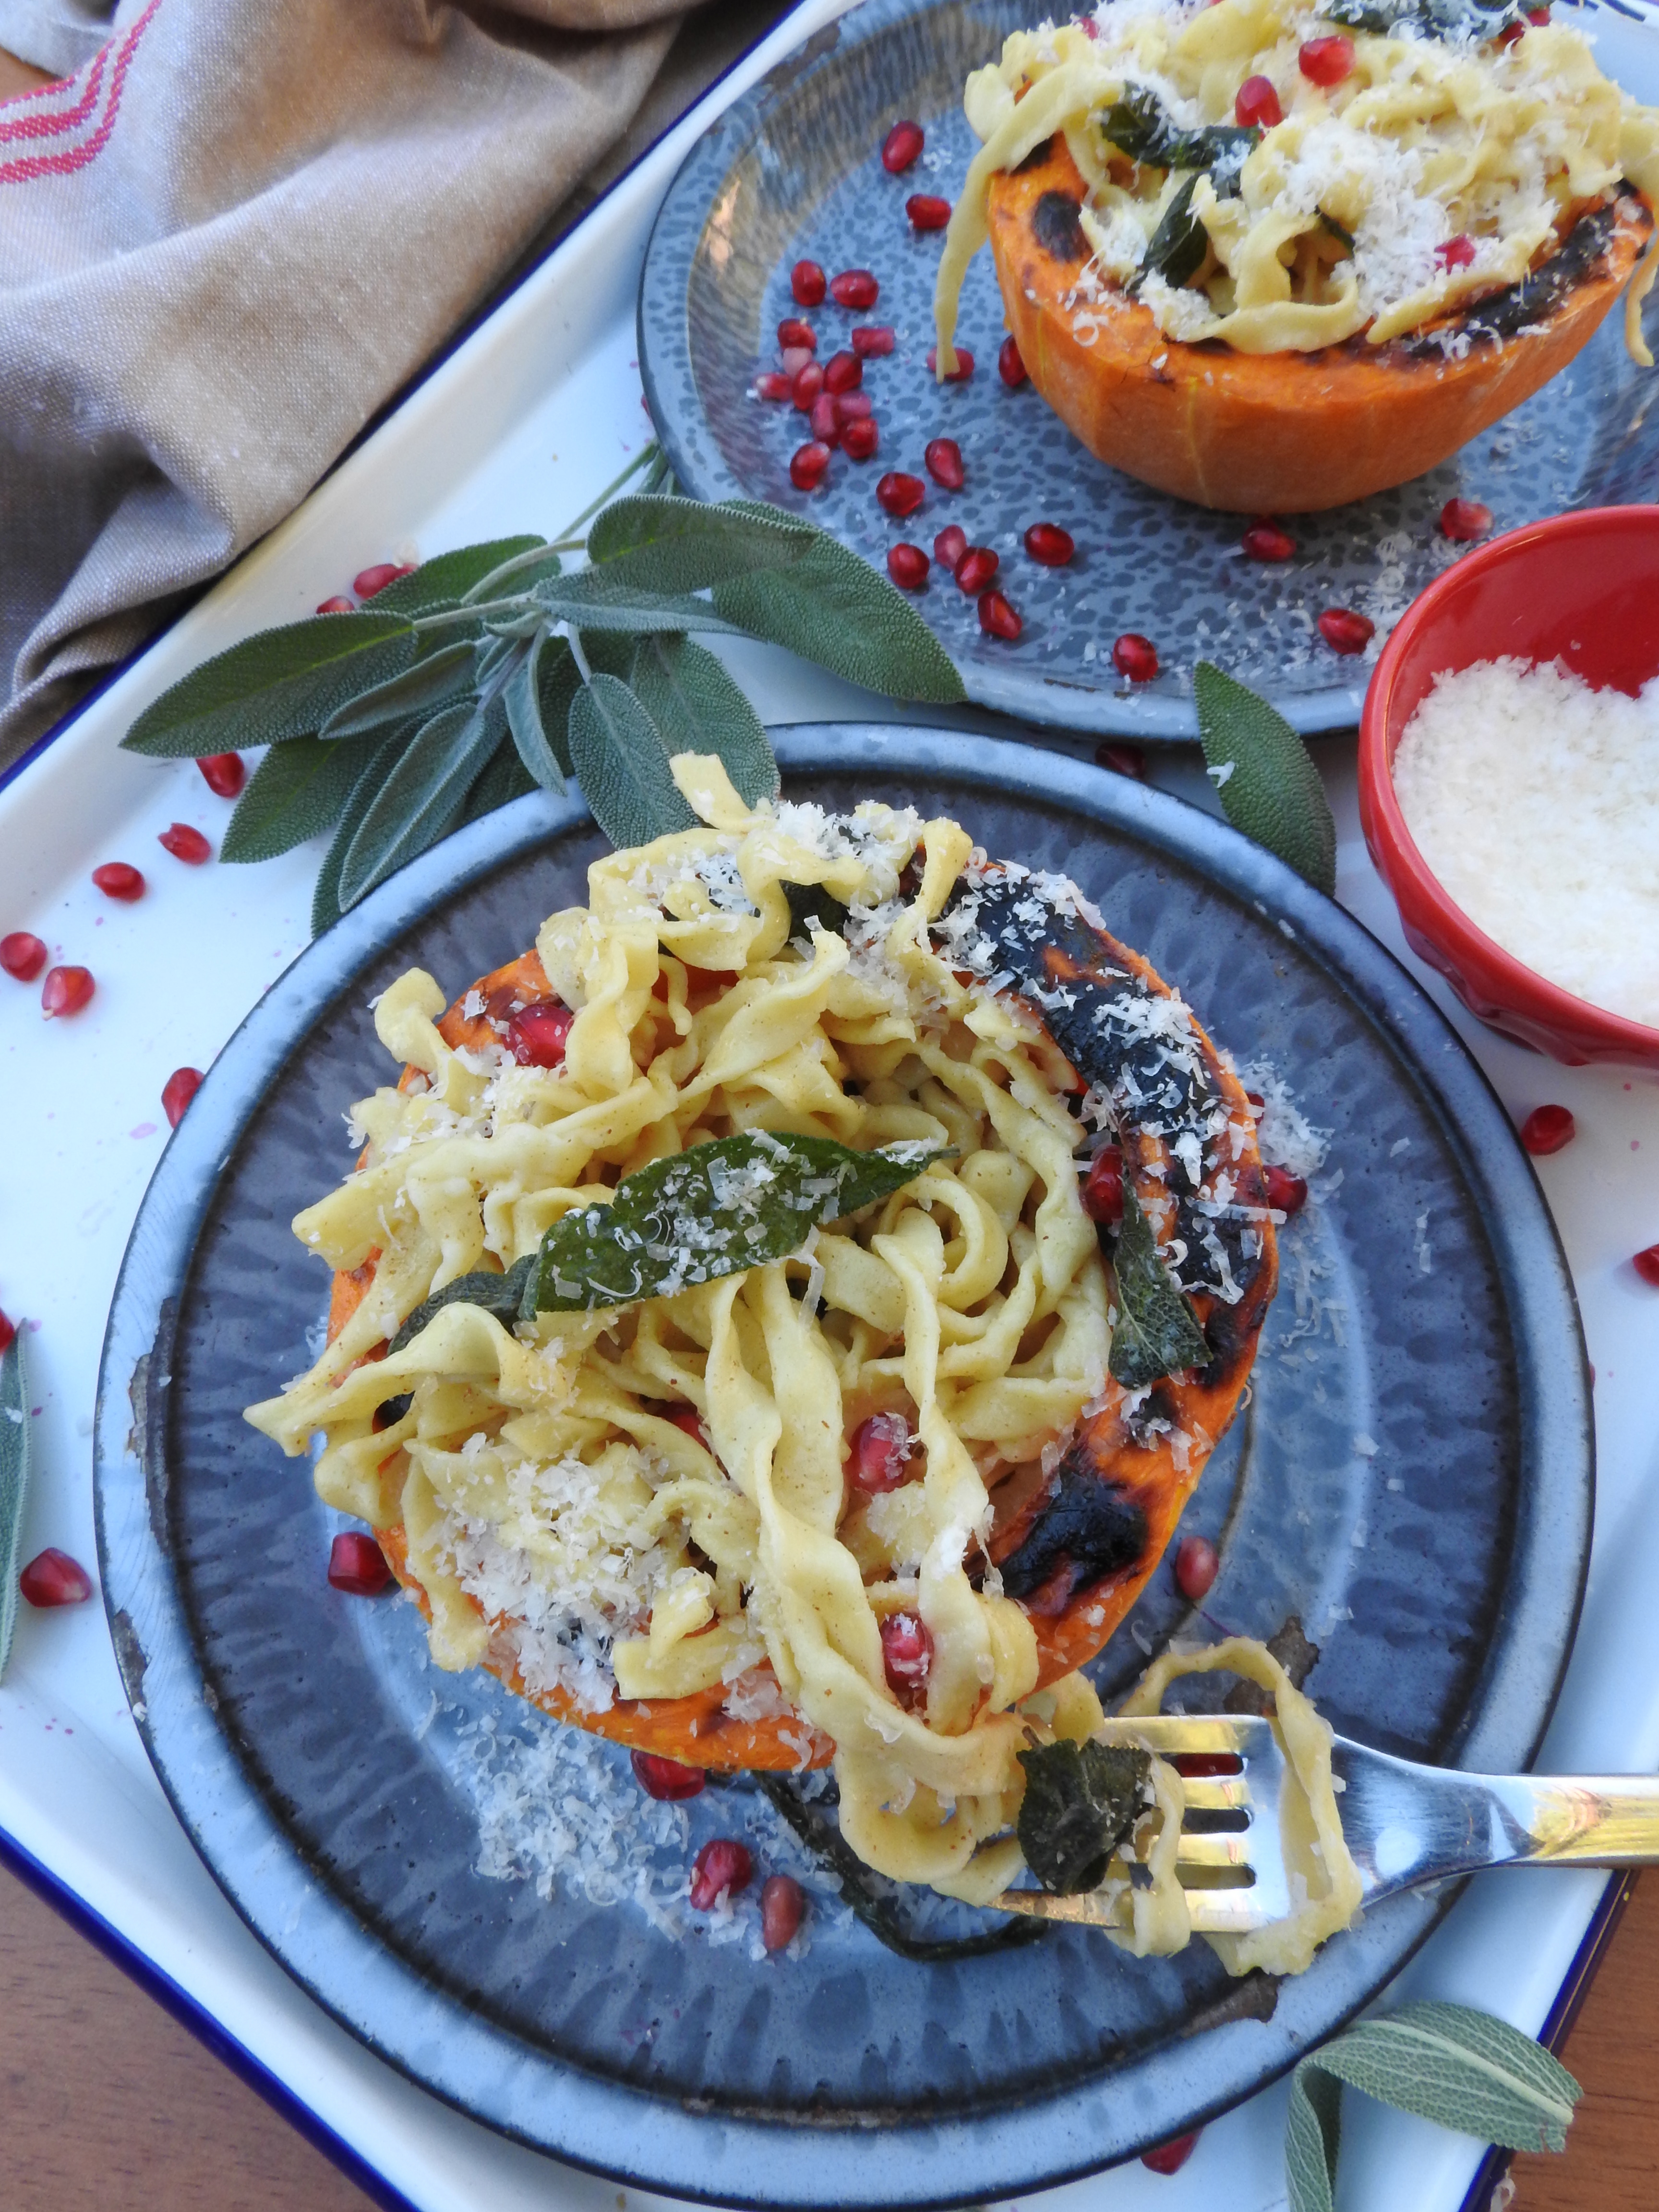
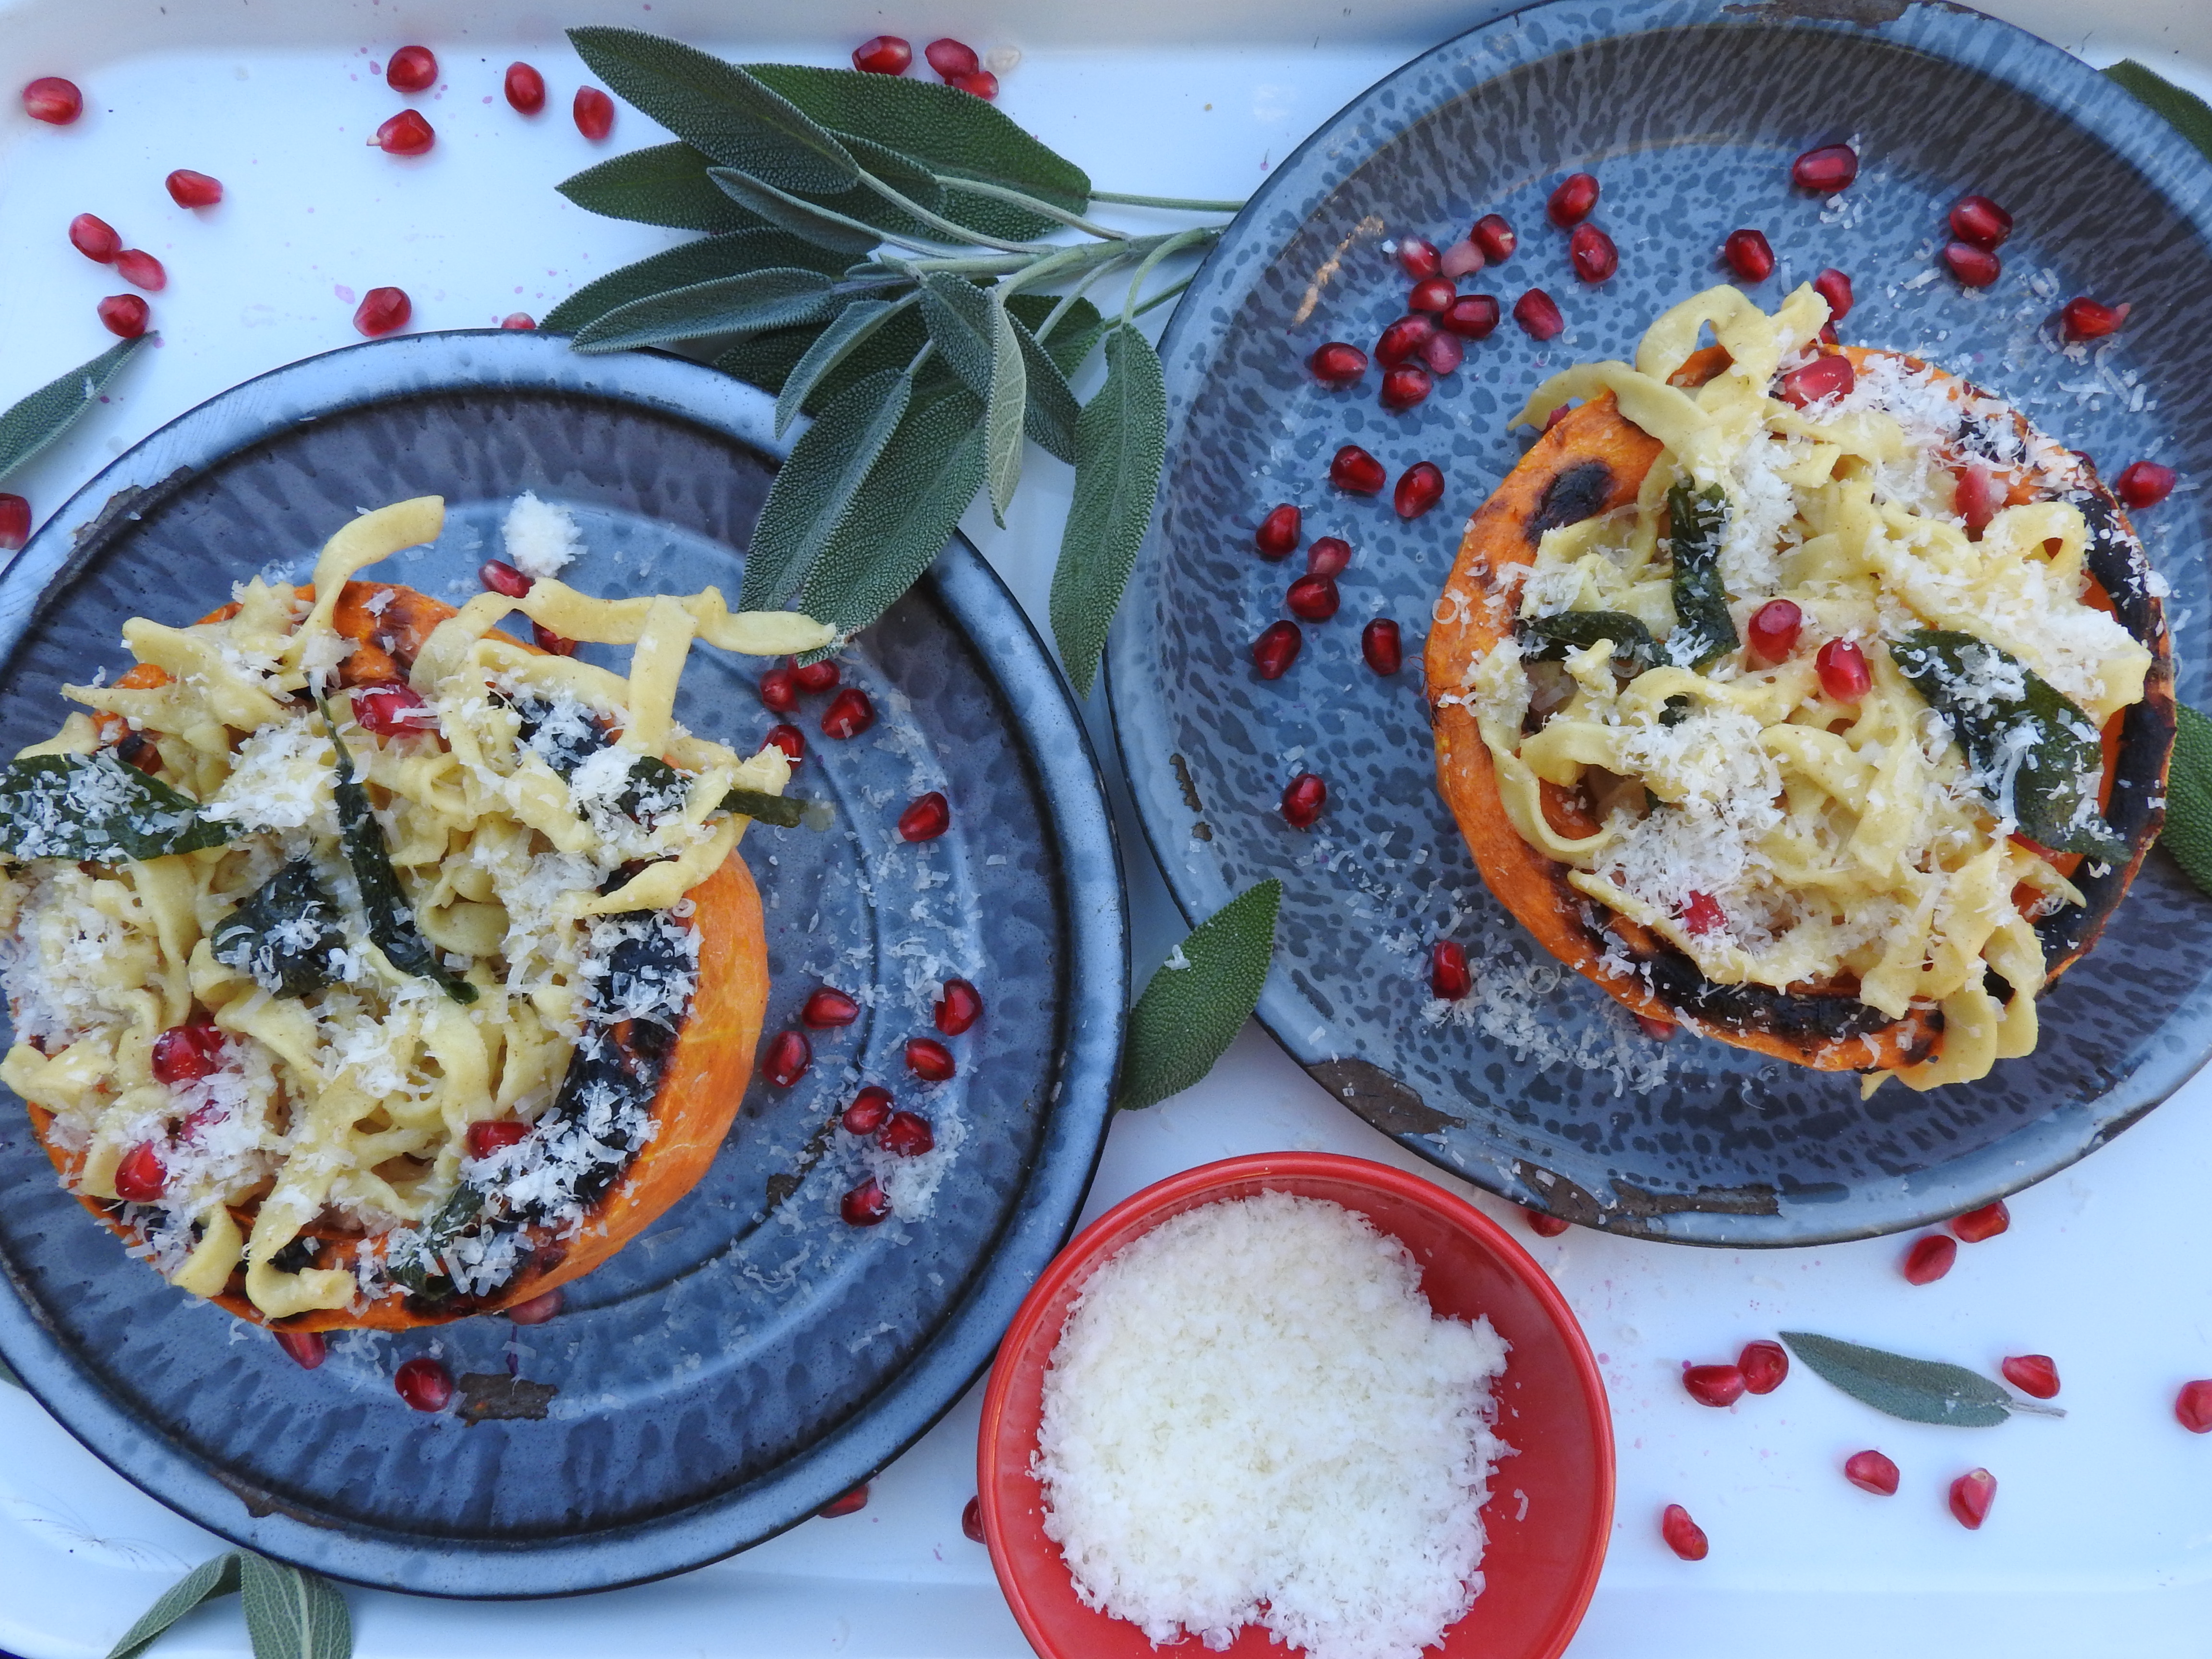
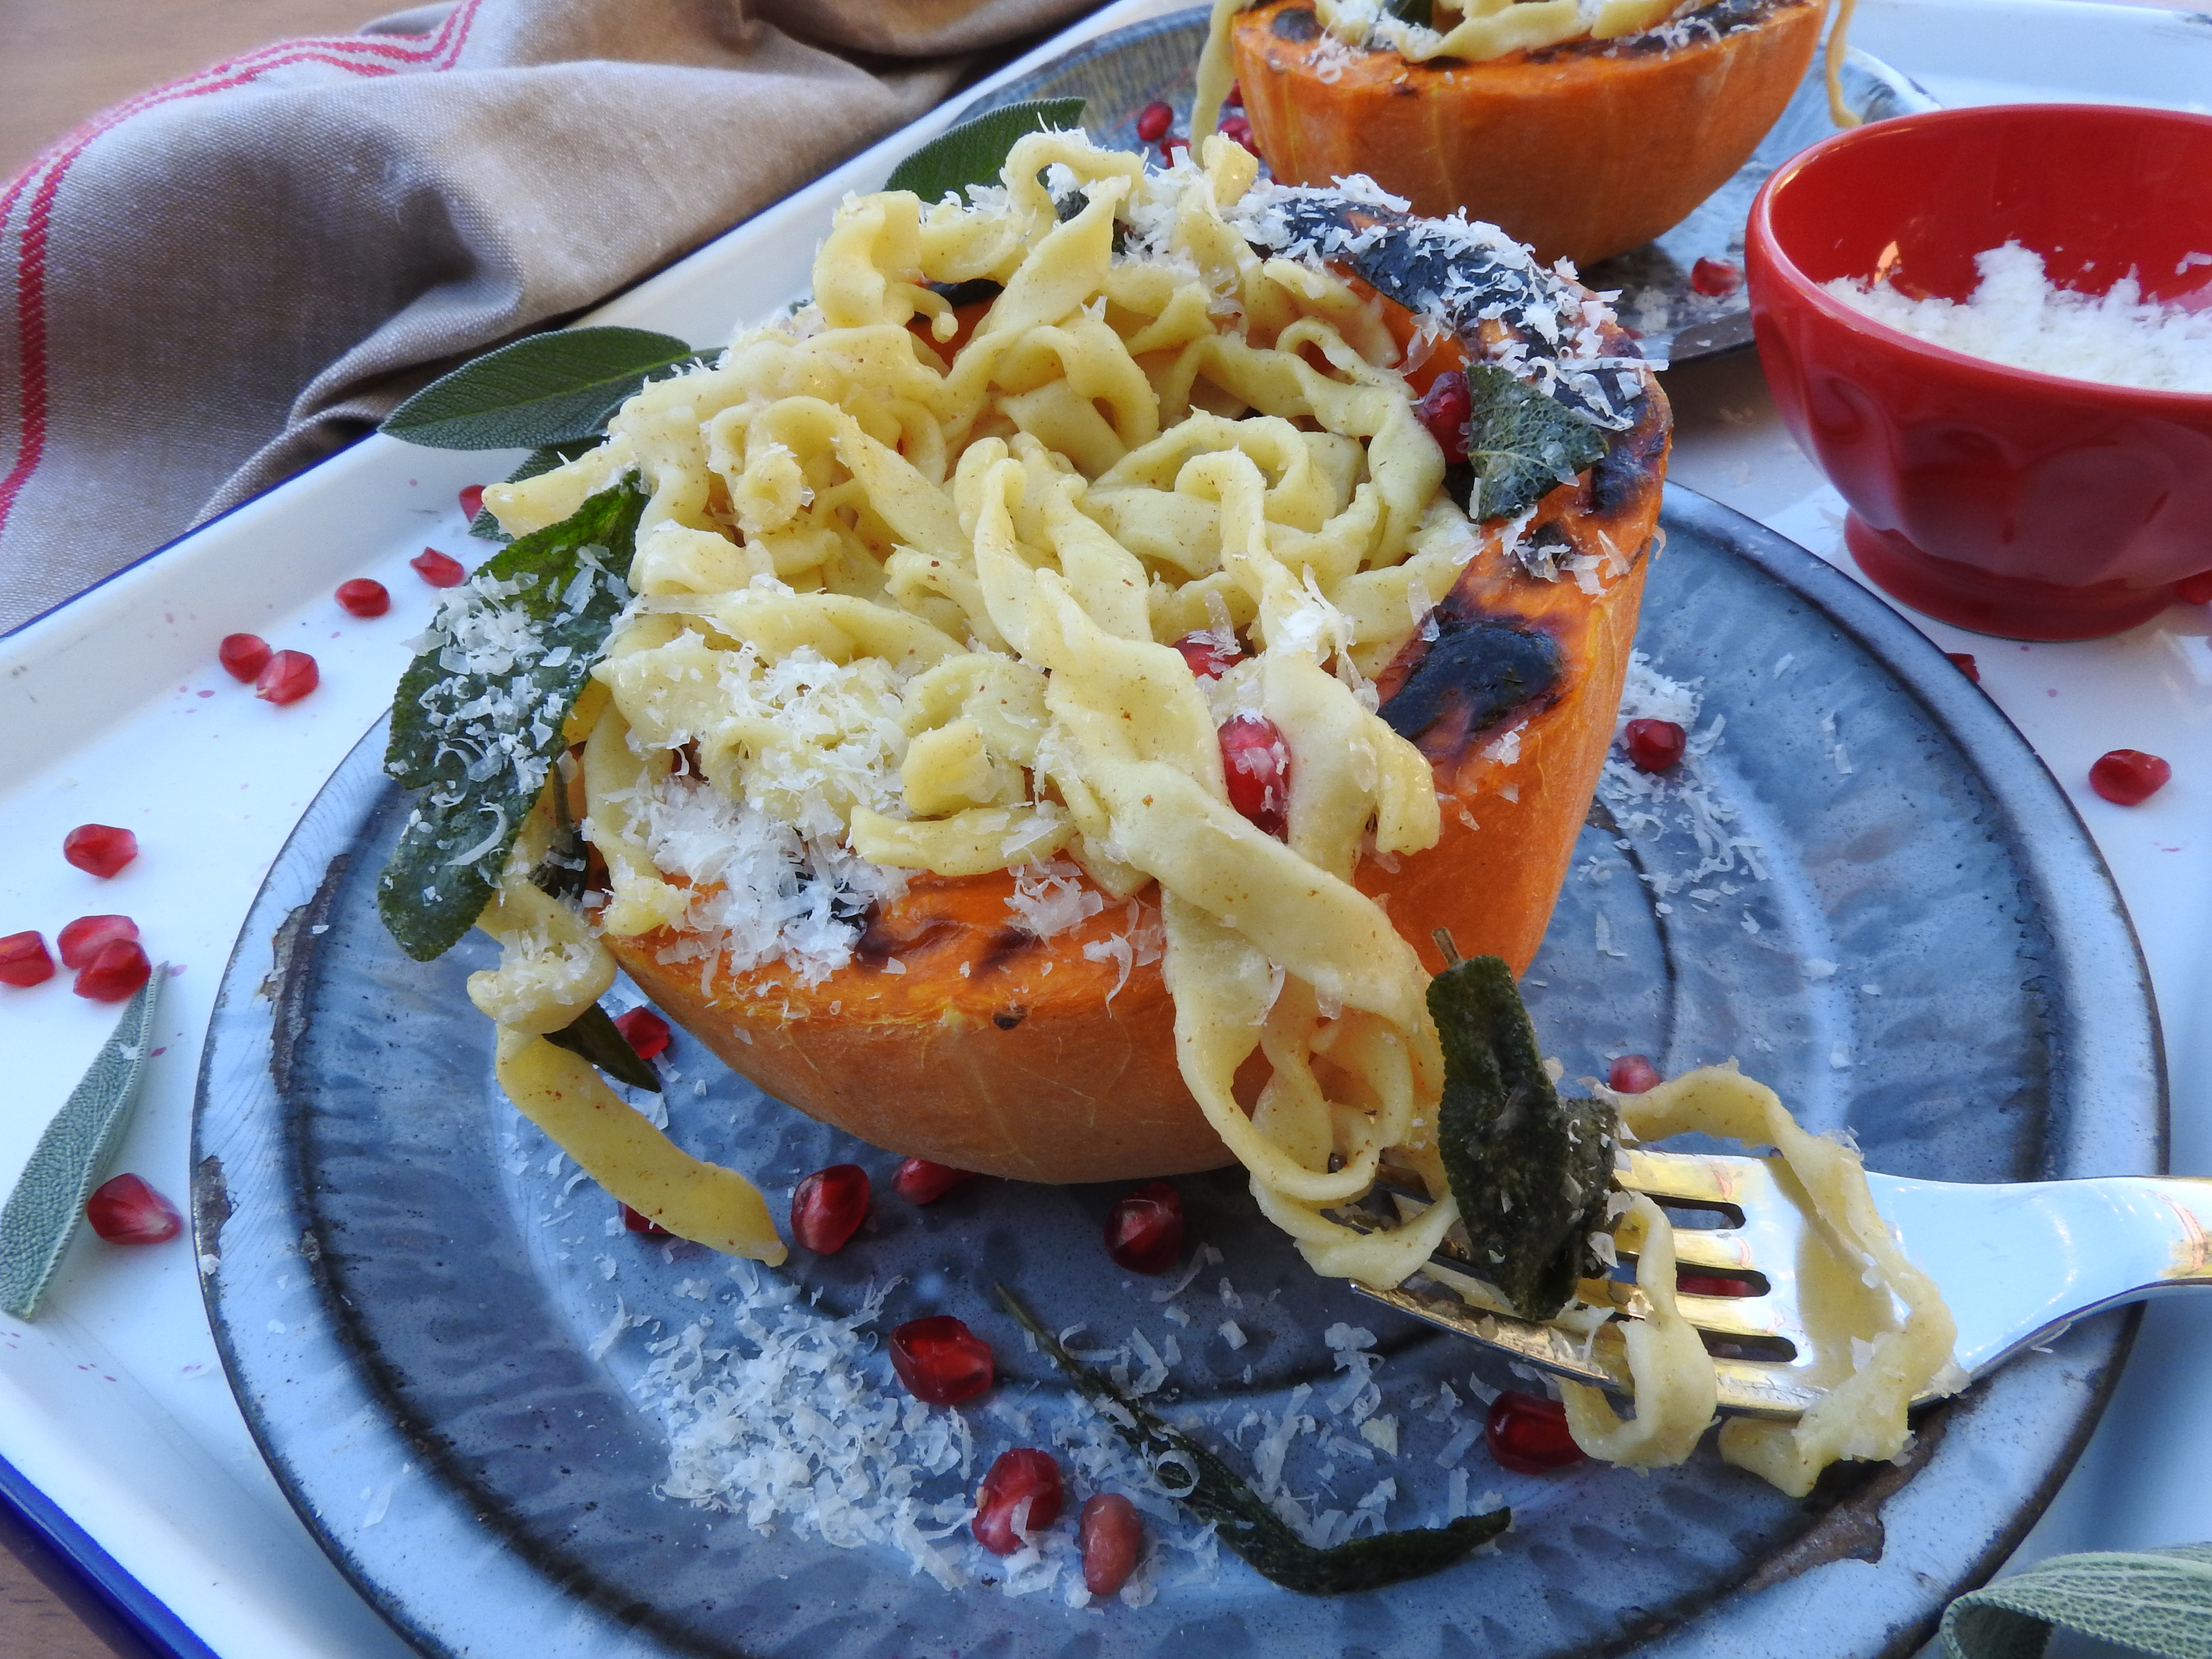
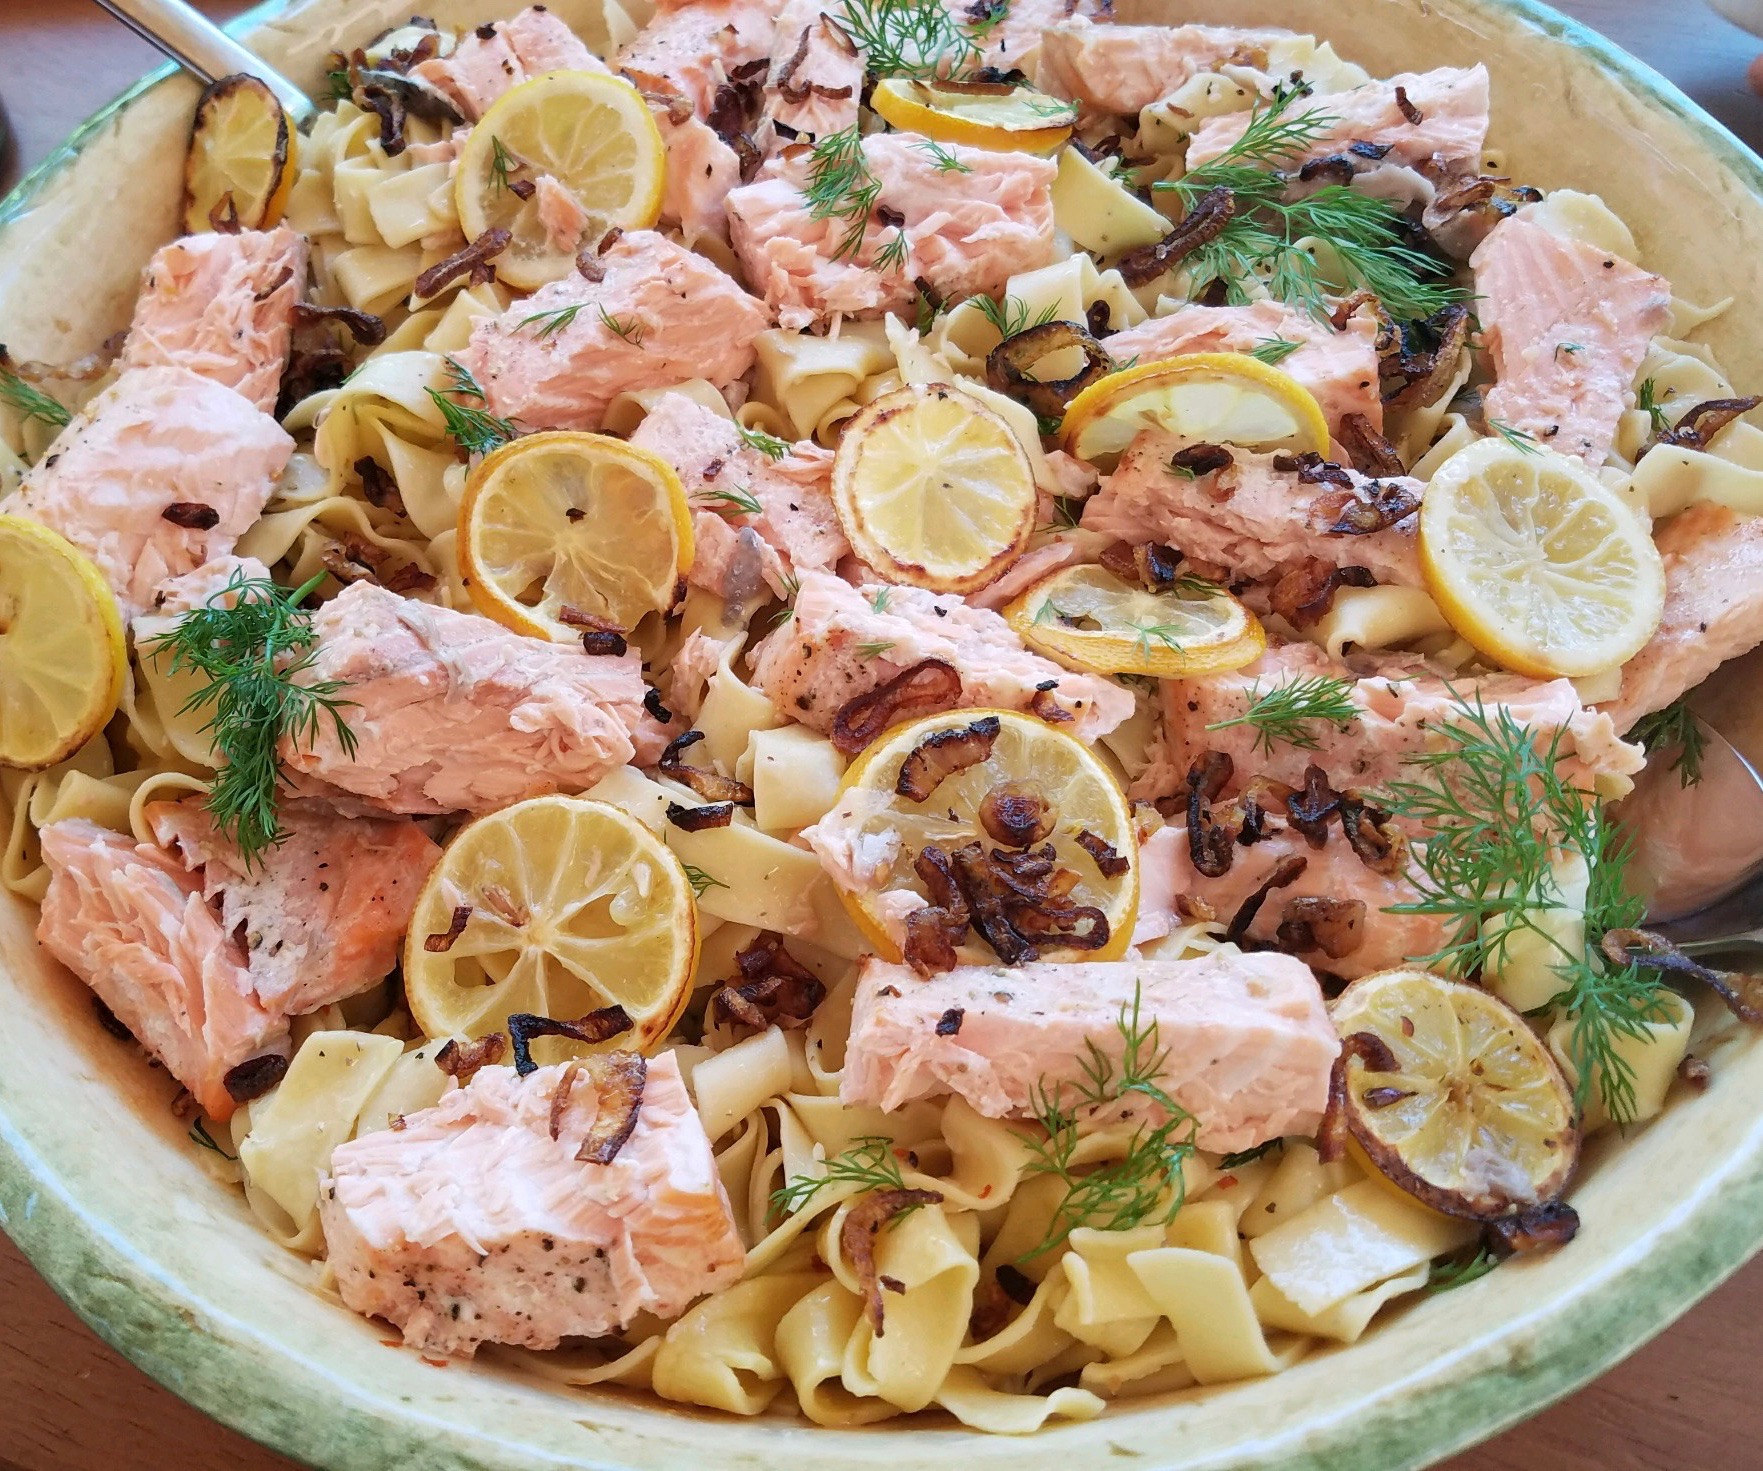
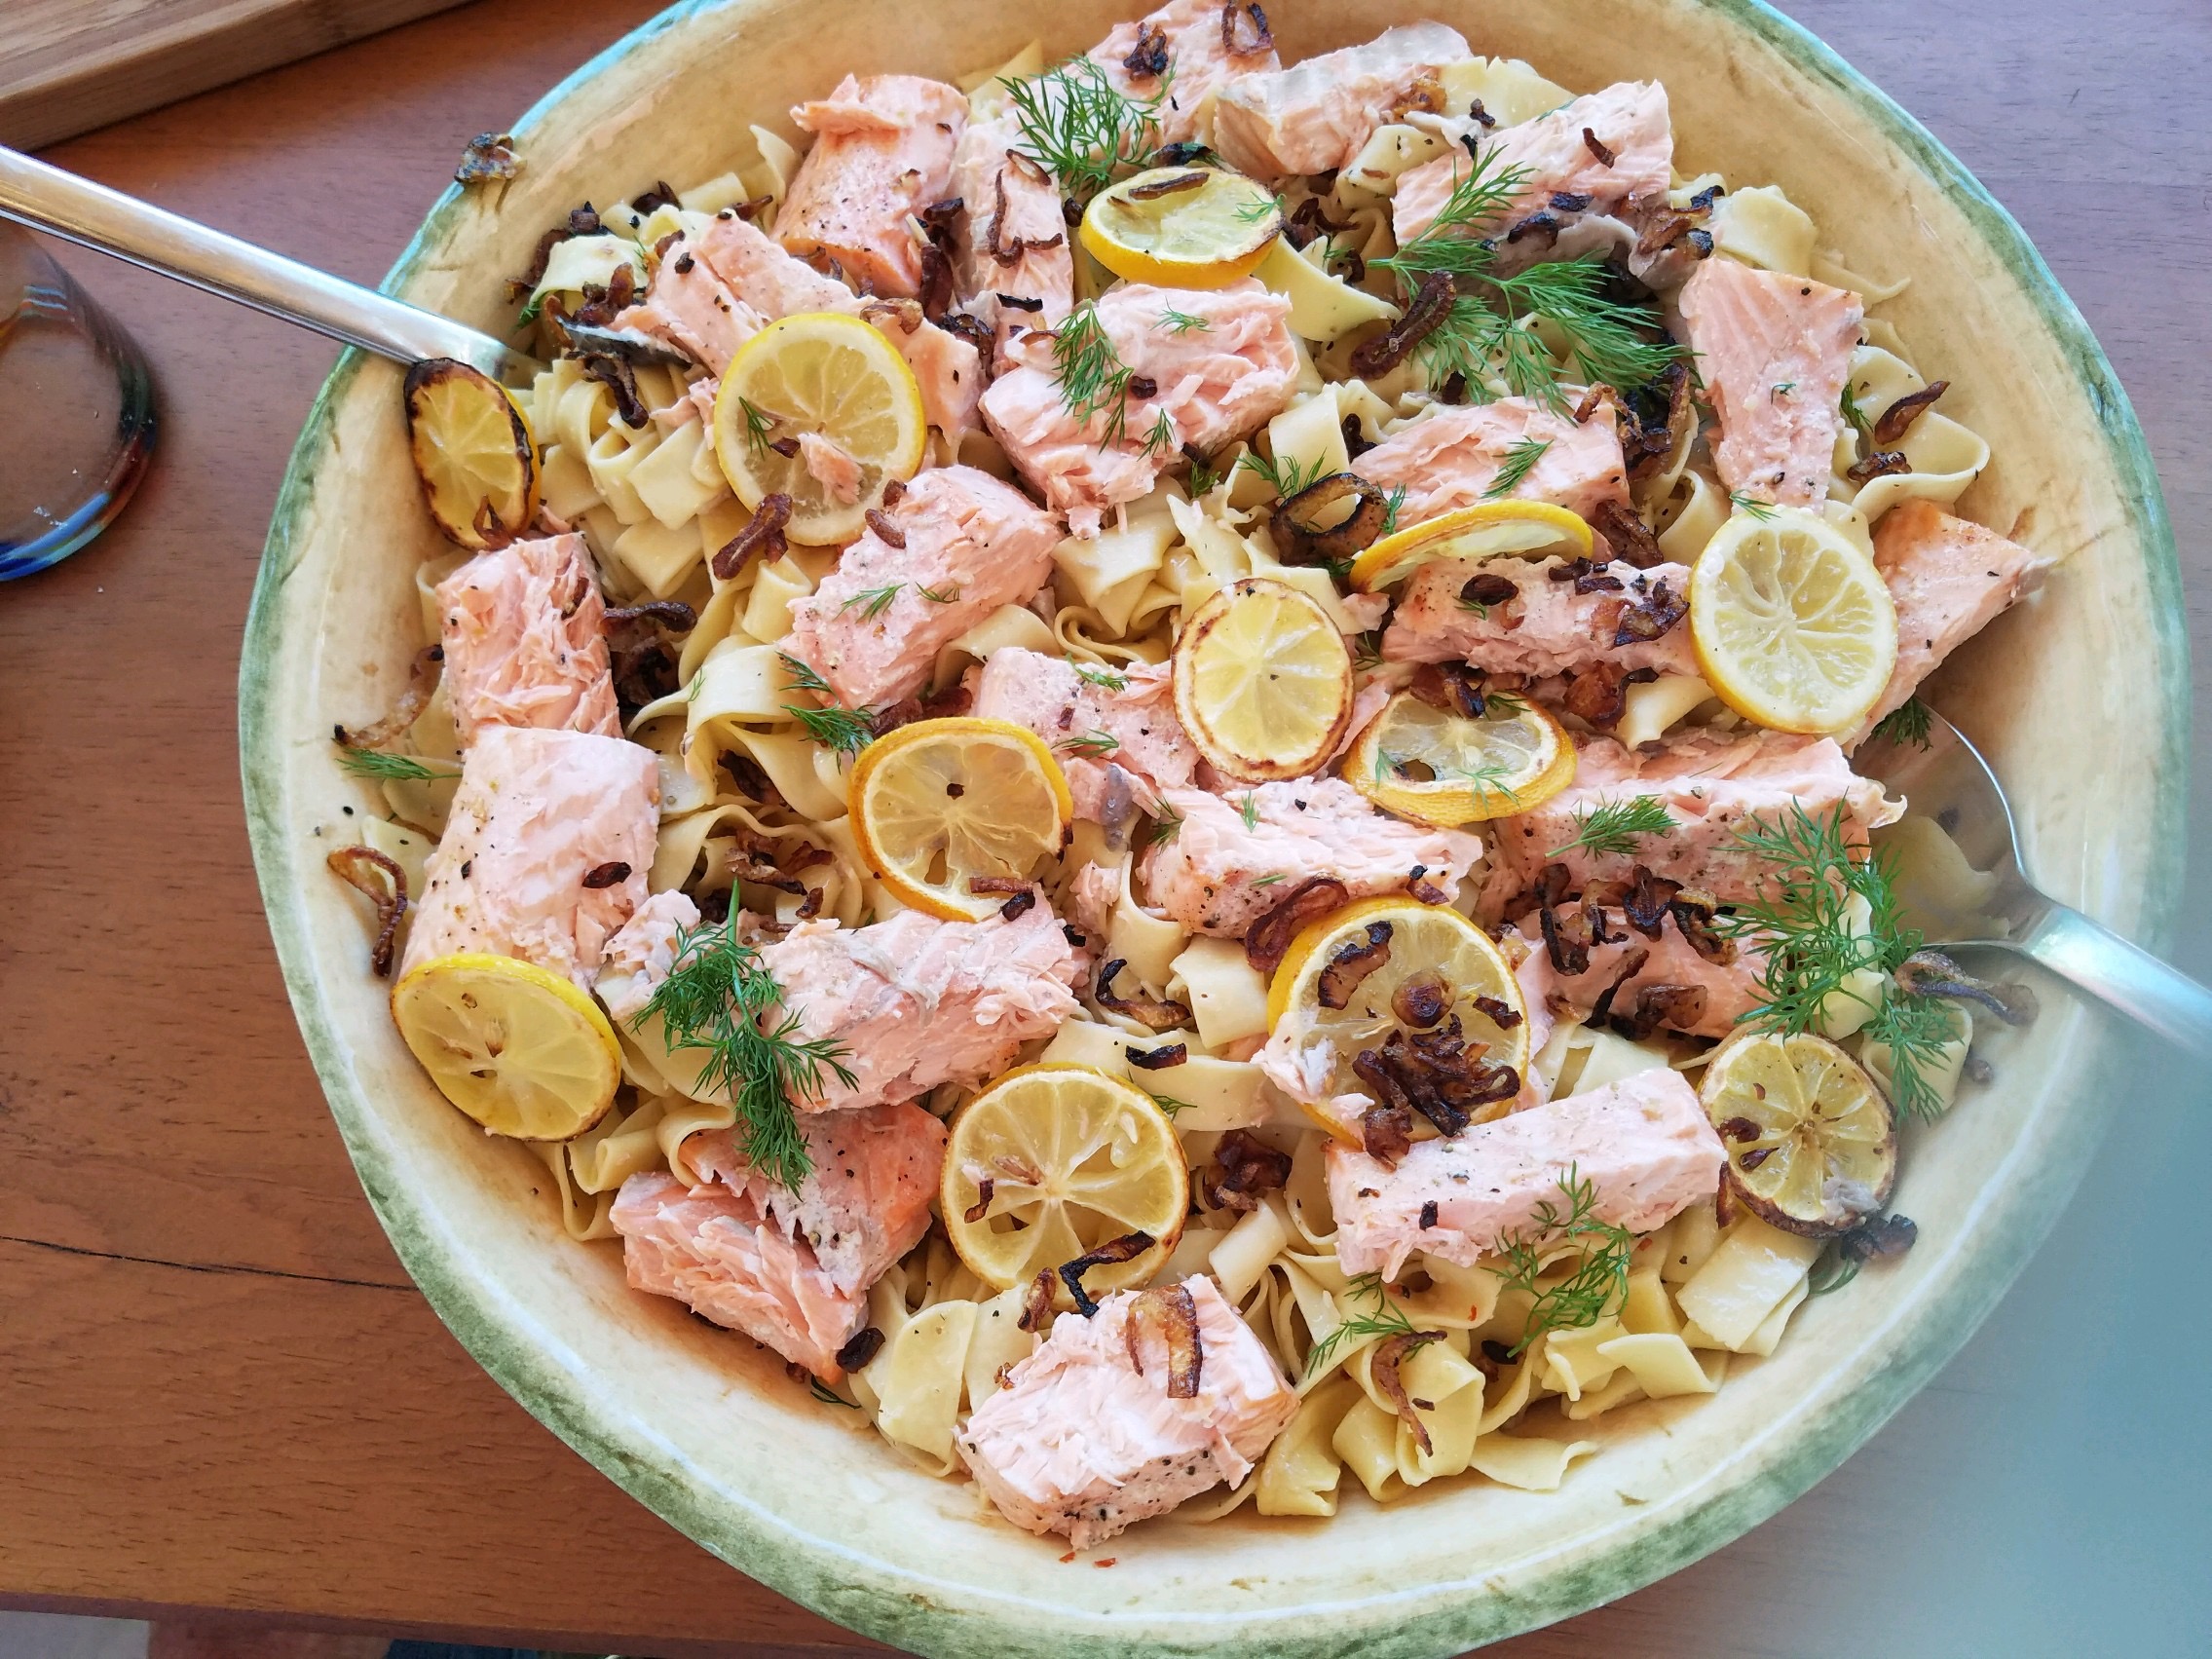
Here’s to my best afternoon on Capri and my best effort at recreation…Lemon Pasta with Broiled Salmon and Charred Lemon

Buon Appetito!

 
Print
Prep time
15 mins
Cook time
30 mins
Total time
45 mins
 
Author: Michelle Michelotti-Martinez
Serves: 8
Ingredients
  • For Pasta, (Can use store bought lemon pasta or regular pasta):
  • 3 cups pasta flour
  • 5 eggs
  • salt
  • lemon oil, to taste
  • For Salmon:
  • 6 pieces of center cut salmon
  • 2 lemon
  • butter for brushing
  • salt and pepper
  • For Sauce:
  • 1 stick butter
  • ⅛ cup olive oil
  • 8-10 garlic cloves, crushed
  • 1 cup white wine
  • chicken broth, if needed
  • red pepper flake
  • juice of 1 lemon and zest
  • salt and pepper
  • dill, for garnish
  • ½ cup parmigiano-reggiano plus more for serving
Instructions
  1. For Pasta:
  2. Make a well inside the flour, add a dash of salt, the eggs, and ¼ tsp lemon oil (more if needed). Mix together until combined. Knead dough for 10 minutes and set aside.
  3. With a kitchen aide attachment or hand crank, start with widest setting. Cut pasta into quarters. Cover the other pieces with saran wrap. Run the dough through and fold and run through (do this 3 times). Run through 4 times on widest setting. Change setting and run through 2 times, change setting and run through 2 times, change setting and run through 2 times, change setting (should be #5 or 3rd from last setting) and run through once. Repeat with remaining dough.
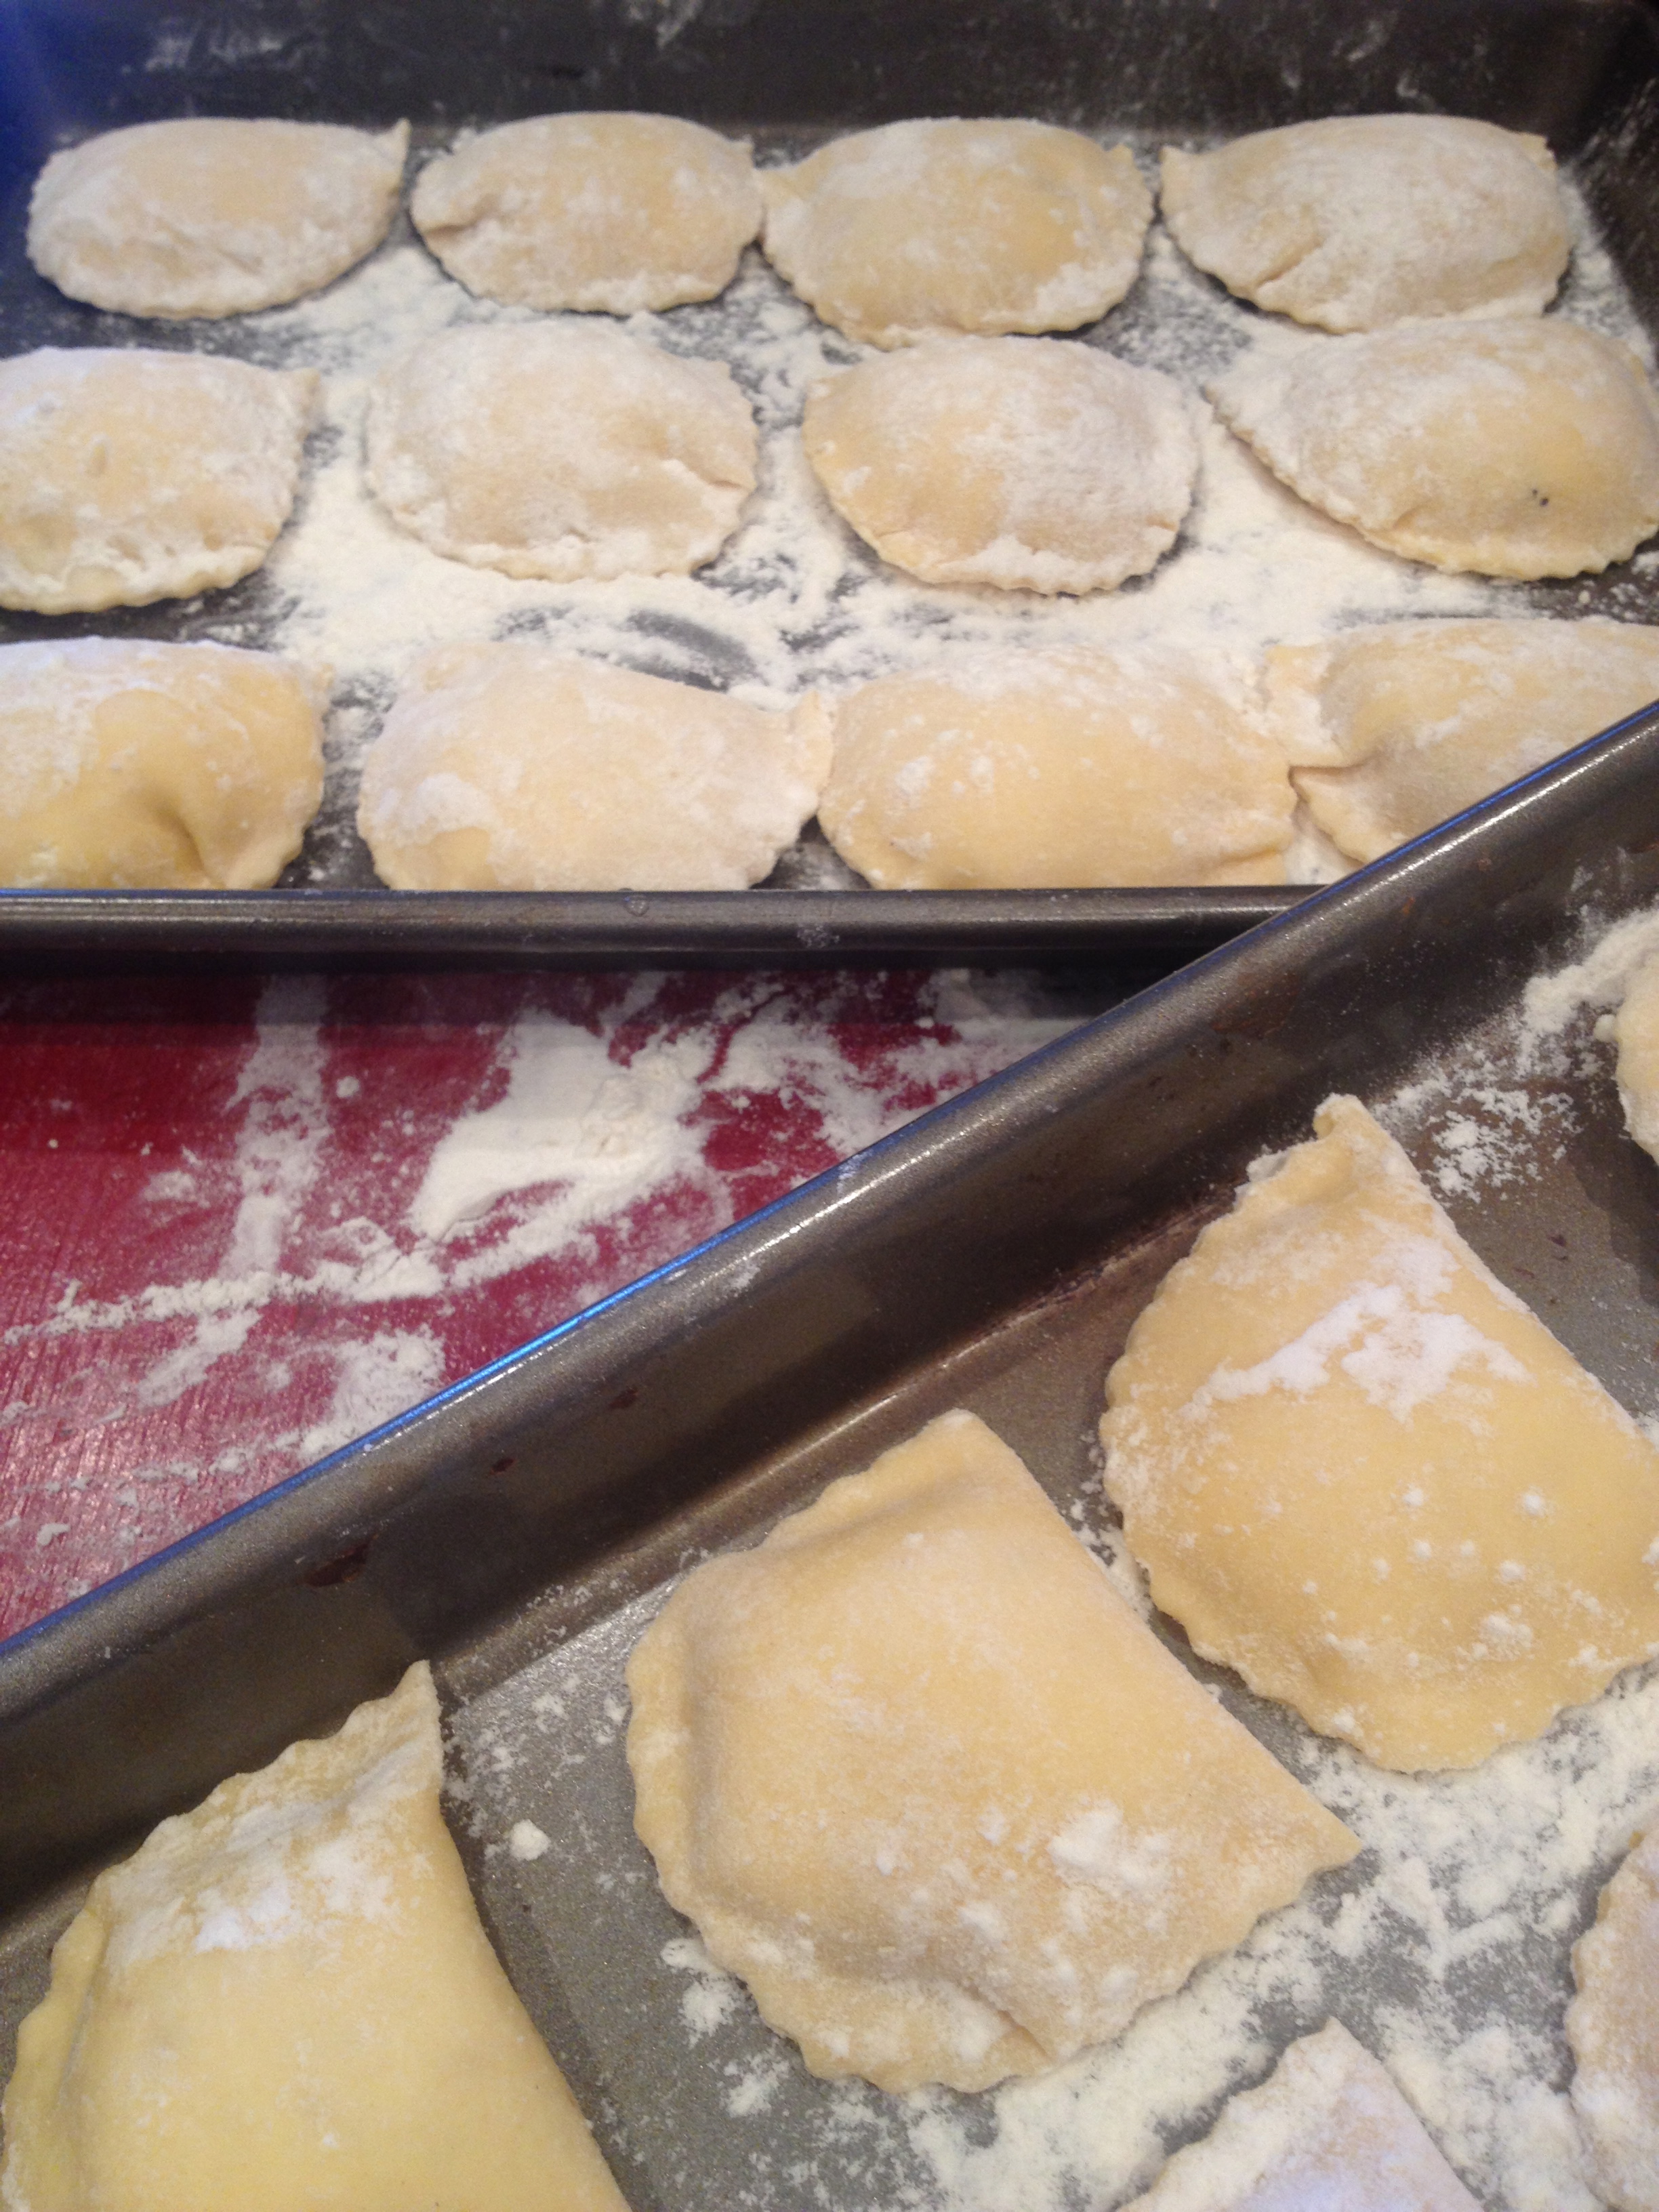
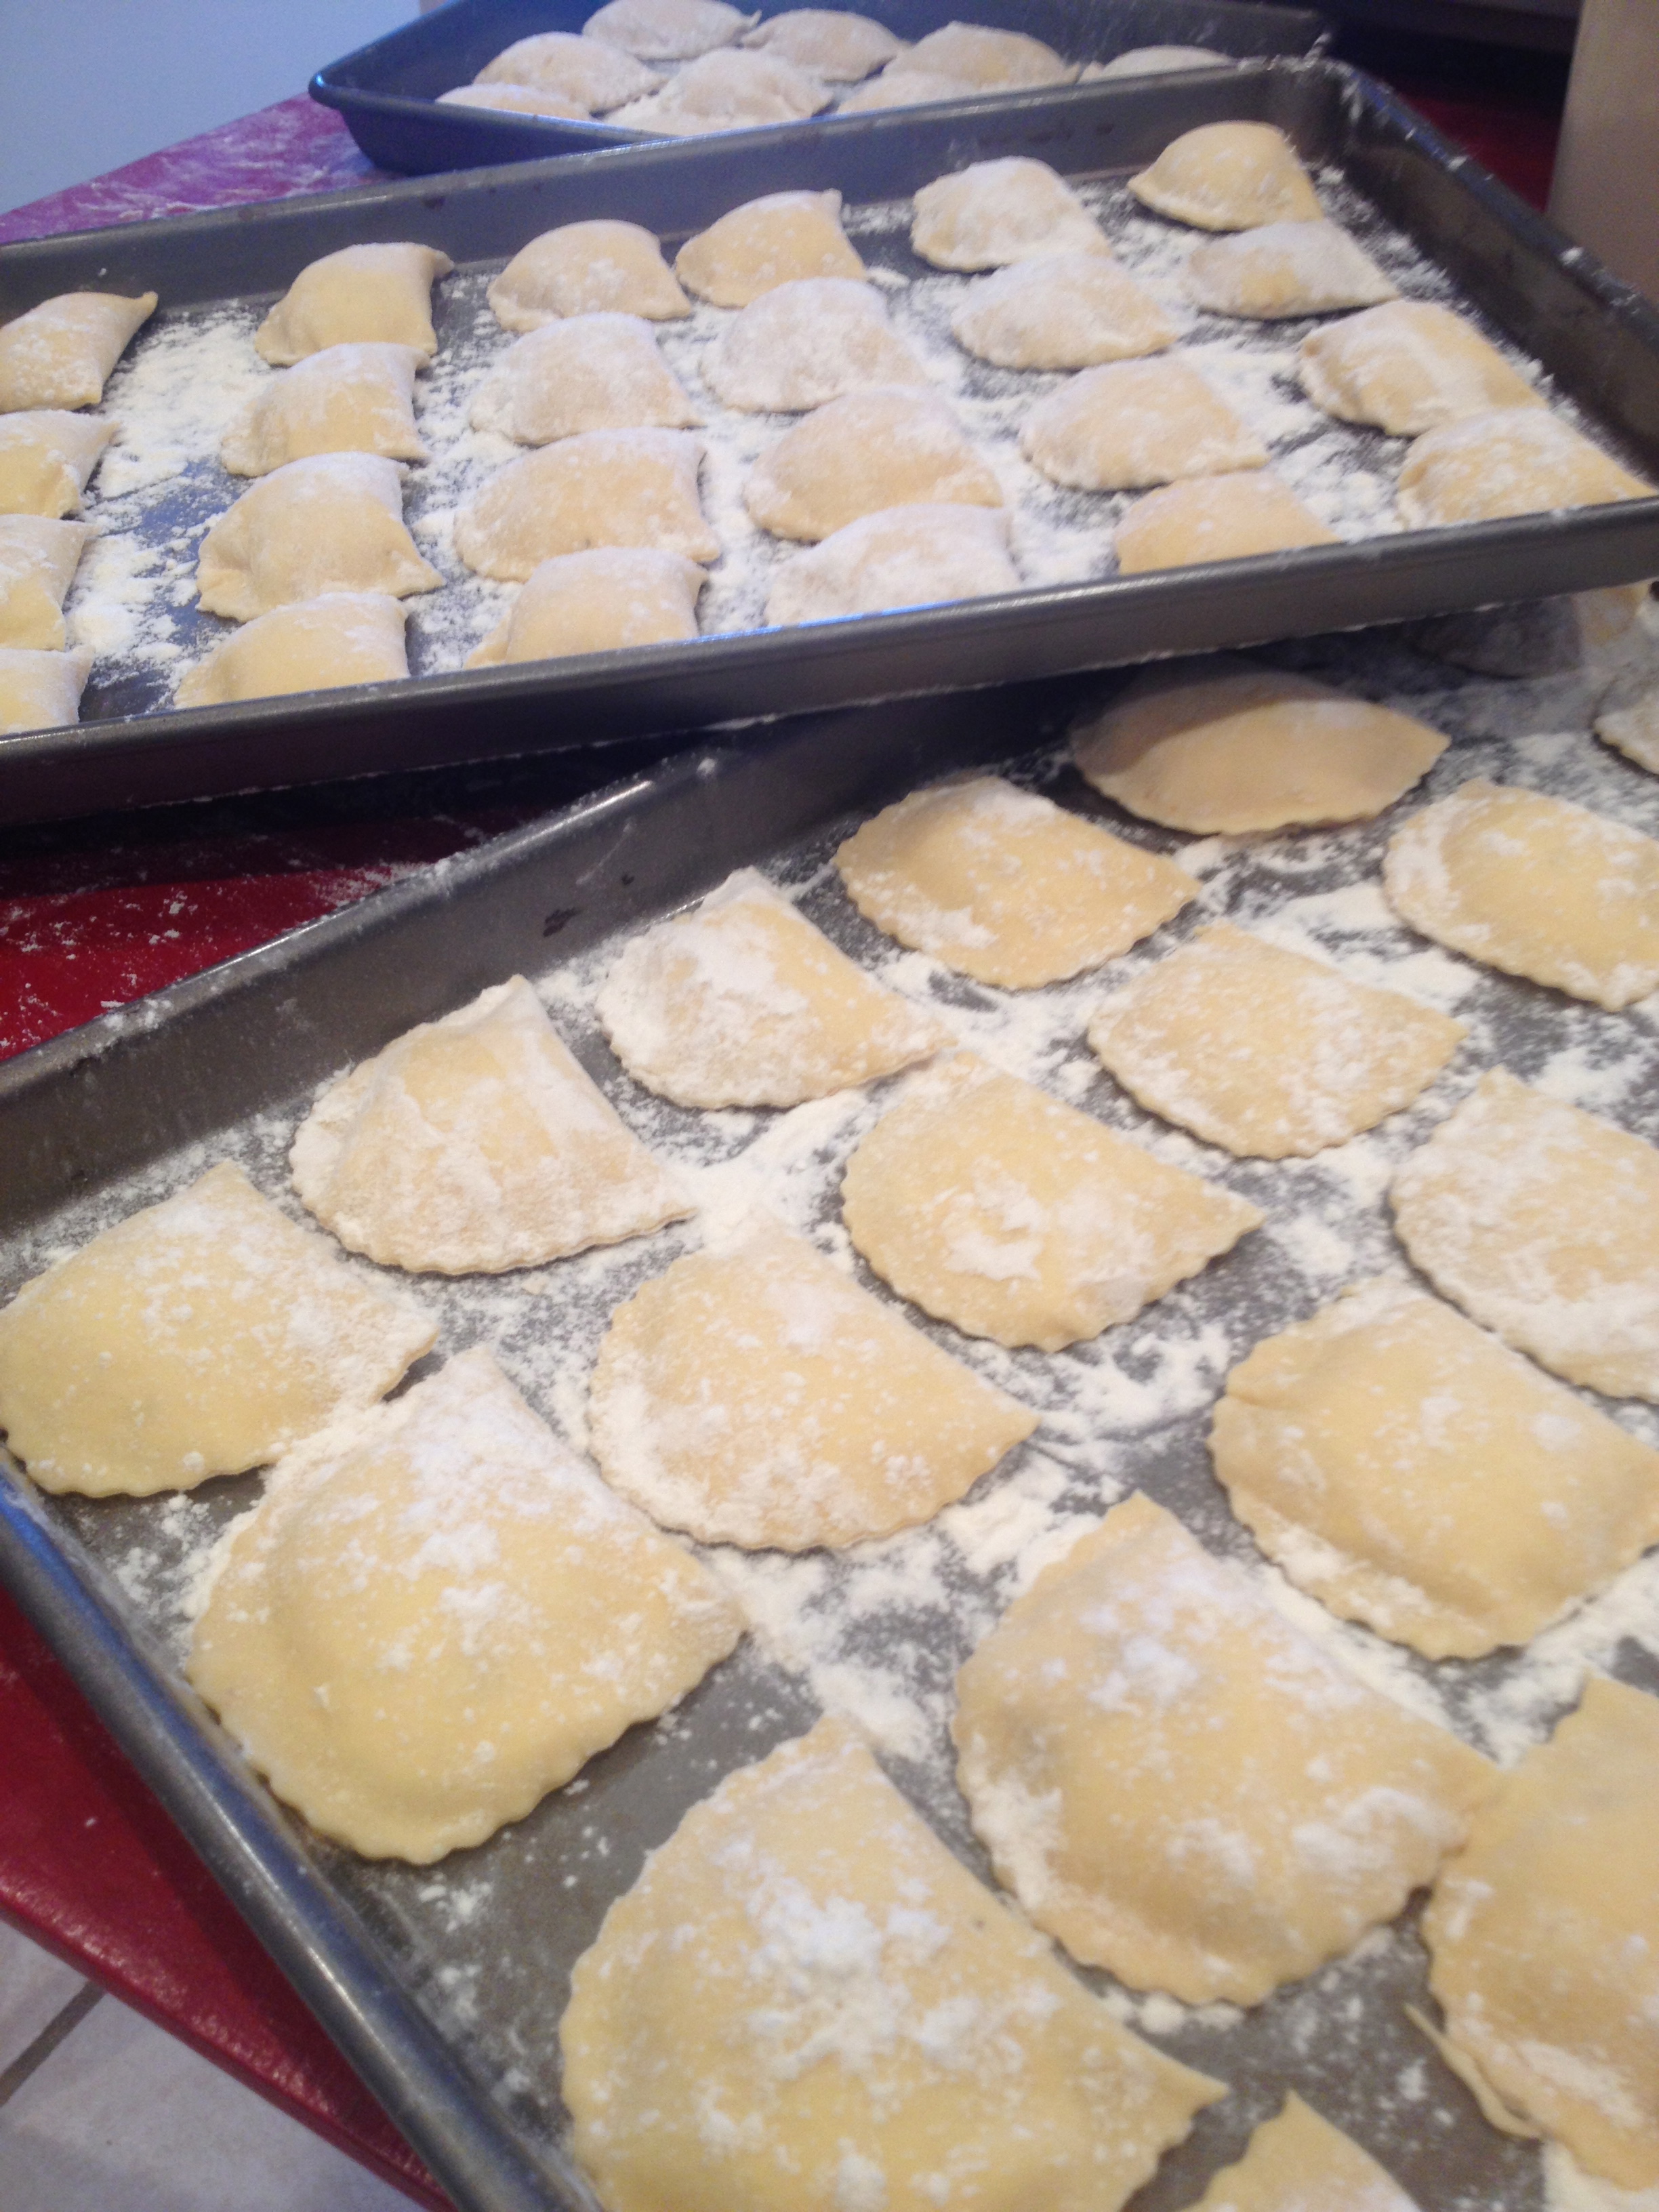
  4. With wide cutter, cut each sheet and place on a cookie sheet lined with semolina flour and dry a bit.
  5. For Sauce:
  6. On stove in large sauté pan, add oil and butter and melt. Add all ingredients, garlic, cook for 1-2 minutes. Add wine and cook for 2-3 minutes. Add lemon, red pepper, salt, and pepper and a little chicken broth. Turn heat down and set it simmer, covered. Adjust seasonings and add a little more butter, if out of balance.
  7. For Salmon:
  8. Turn oven on broil on low. On a broiler sheet, line with foil. Put pieces of salmon and season with butter, salt, and pepper. Place 2 pieces of lemon on each piece.
  9. Broil for 13-14 minutes or until done. Break into large pieces.
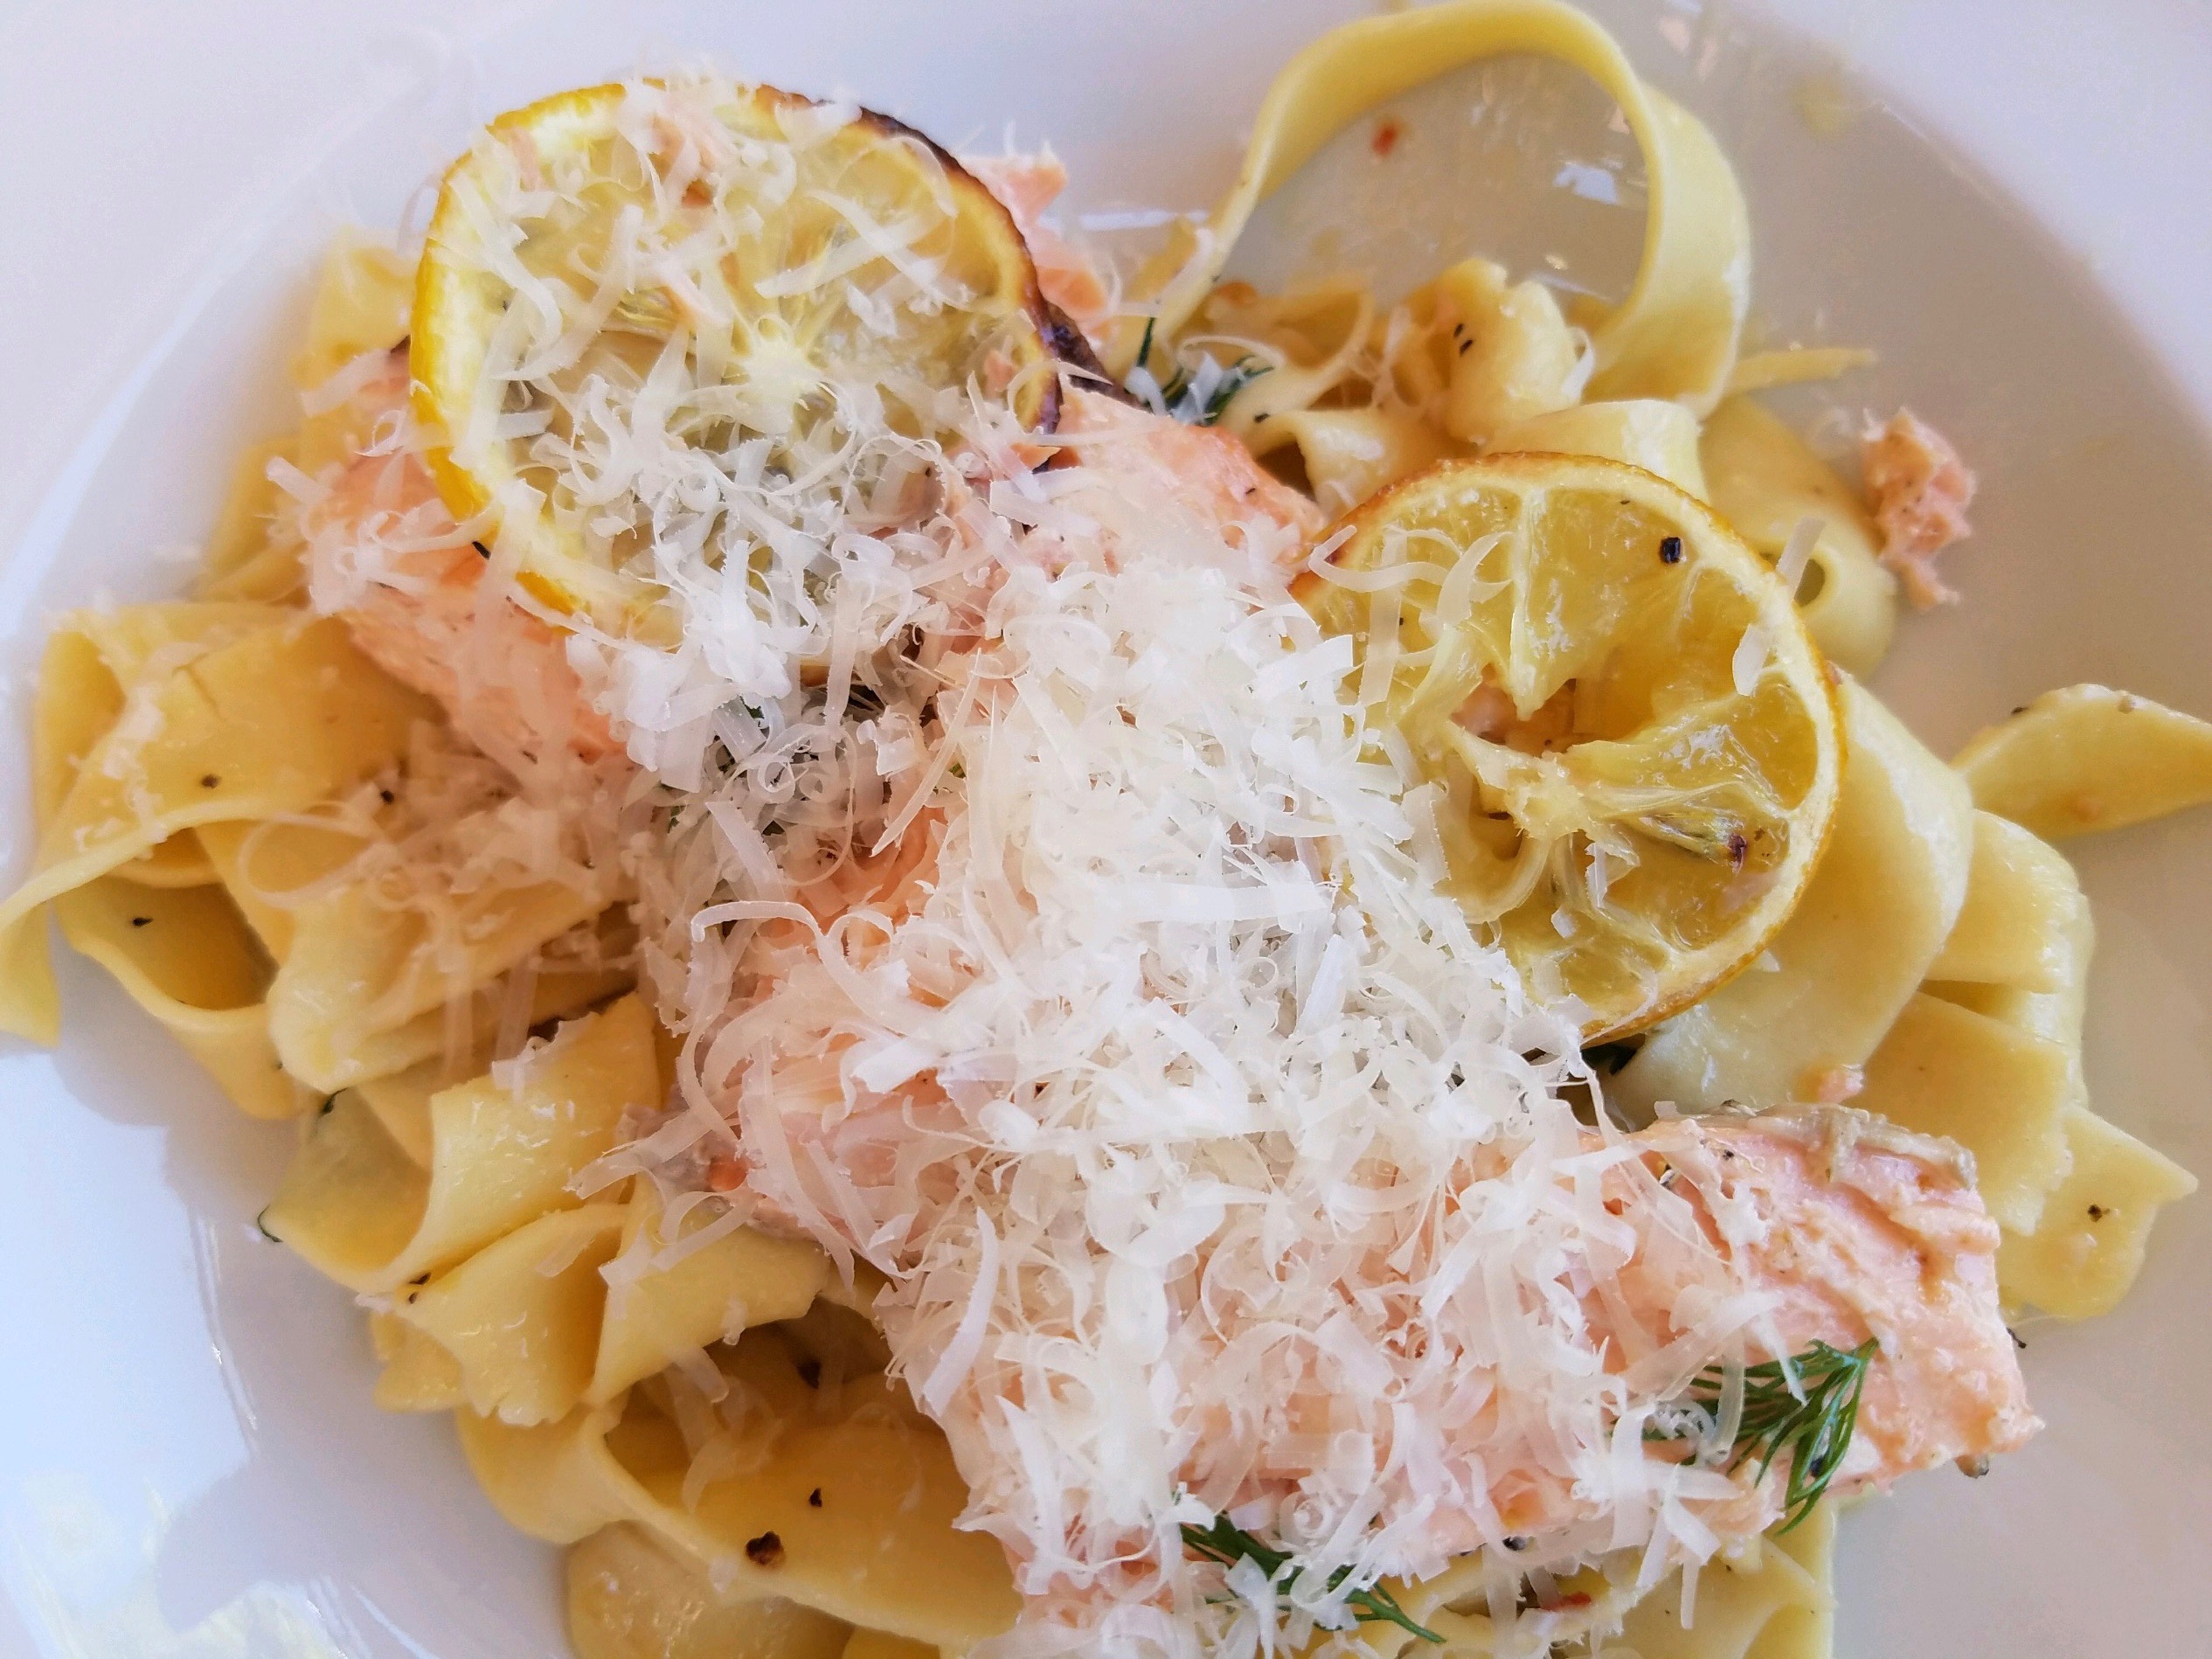
  10. When ready to cook, boil a large pot and salt water. Put in pasta and cook 2-3 minutes, or until al dente (or by package instructions). Drain and add to sauce with ½ cup of reserved pasta water, toss with ½ cup parmigiano cheese. Put in a bowl, add dill and arrange salmon and lemon pieces.
3.5.3226

Lemon Pasta with Broiled Salmon and Charred Lemon|eatentions


Filed Under: Pasta, Pizza, and Polenta Tagged With: Butter, charred, Chicken Broth, dill, Fettuccine, fresh, Garlic, healthy, lemon, oil, Parmigiano, pasta, wide

Sweet Potato-Ricotta Cavatelli with White Wine Braised Chicken Sauce

October 27, 2016 by Michelle Michelotti-Martinez 2 Comments

Did someone say, Sweet Potato-Ricotta Cavatelli?

White Wine Demi-Glace Rabbit with Sweet Potato Cavatelli

White Wine Demi-Glace Rabbit with Sweet Potato Cavatelli

Yes, yes, that someone is ME! Something in my being simply calls me to make pasta and to make it often, in fact, to make it as often as possible.

A BIG obsession for me is ricotta cavatelli, its texture and shape just work with my taste buds….now go and mix it up with some seasonal yummies and it easily becomes the perfect food in my world, easily.

Ricotta Cavatelli was a staple when I was growing up. My Nonna would make it at least every Sunday and sometimes during the week if any of us did something extraordinary or just asked (isn’t that how it works with grandbabies?). I’m thinking the latter happened much more often than the former….

Now back to the cavatelli story. For her, she kept the sauces simple, Bolognese or butter, it just didn’t get much fancier than that and it didn’t need to. Honestly, any pasta she made was sensational and frankly, I ate more of it raw than anything (which completely made her crazy but secretly, she really loved it).

Nonna always started with making the ricotta, I am sure it had a lot to do with hovering grandkids waiting impatiently to be fed and acting completely starved to death…..Solution? Easy, triple the batch, make crostini, and let us go to town (and out from under her feet, literally) so she could crank out her cavatelli treasures.

I loved that the air was always filled with fresh cheese and the aroma of her infamous Bolognese sauce, which conveniently simmered all day and comatosed us while we waited for the feast of deliciousness!

Finally, I was old enough to make pasta in my own house and when I first branched out from the traditional and into the “variations”, I was sure I would need a pasta confessional and ask my Nonna for continuous forgiveness but, when I was able to create one I knew she would approve of, I felt redeemed!

I never got the opportunity to make her my sweet potato – ricotta cavatelli but the memory of those days comes to me every time I venture out and make them or any variation……and I never forget to start with the ricotta and crostini…….here’s to you Nonna….

Sweet-Potato-Cavatelli

Print Recipe
Sweet Potato-Ricotta Cavatelli with White Wine Braised Chicken Sauce
This recipe was inspired by my love for ricotta cavatelli. Cavatelli are similar to gnocchi but a bit smaller in size. This recipe birthed from my love of sweet potatoes and ricotta cheese!
White Wine Demi-Glace Rabbit with Sweet Potato Cavatelli
Prep Time 3 hours
Cook Time 20 minutes
Passive Time 10 minutes
Servings
servings
Ingredients
Sweet Potato Cavatelli
  • 2-3 Sweet Potatoes 1 1/2 cups pureed
  • 4 1/2 cups Flour
  • 1 Egg
  • 1/2 pound fresh ricotta preferably homemade
  • 1 T Salt
Fresh Ricotta
  • 3 cups Whole Milk
  • 1 cups heavy cream
  • 1/2 tsp Salt
  • 1 1/2 T white wine vinegar
White Wine Braised Chicken Sauce
  • 1 tsp olive oil
  • 1 small onion diced
  • 3 carrots chopped
  • 3 celery stalks chopped
  • 5 garlic cloves minced
  • 10 sprigs of fresh thyme wrapped with kitchen twine
  • 4 T Flour
  • 1 bottle of pinot grigio
  • 2 pounds chicken legs
  • 4 cups chicken stock
  • 1 T thyme chopped
  • 1 T parsley chopped
  • 1 T thyme chopped
White Wine Demi-Glace Rabbit with Sweet Potato Cavatelli
Instructions
Sweet Potato Cavatelli
  1. Preheat oven to 350. Pearce sweet potatoes all over and place on a baking sheet. Cook for 30-40 min or until soft. Pull out of oven and peel and pass through a food mill or ricer into a bowl. Cool completely.
  2. Combine cooled sweet potatoes, ricotta, egg, and salt
  3. Place flour on kneading board. Make a well and add the above ingredients. Mix to combine
  4. Keep kneading until the dough comes together and has a smooth consistency. If sticky, add some flour. Don't over knead dough or it will become too tough.
  5. Cut off a small chunk and roll it into a rope about ½″ thick.
  6. Roll rope in some flour before cutting in 1 inch pieces. With a gnocchi board, start at the top and press each piece to make and indentation and then roll down the board. (If you want, you can go one step easier and forget the gnocchi board, just roll out some dough into a ½ inch thick rope, indent a line down the middle and cut in 1 inch segments).
  7. Toss with flour and put on cookie sheets. Apply more flour if they are a bit "sticky". Let rest and dry about 2 hours.
Fresh Ricotta
  1. In a saucepan over medium heat, add all ingredients and let come to a light boil. Cook for 15 minutes as the liquid and solid separate. Remove from heat and pour into a fine mesh strainer over a bowl and let drain until all liquid is gone.
White Wine Braised Chicken Sauce
  1. Season the chicken legs on both sides with salt and pepper and in a very large saute pan on high heat with olive oil sear them until they are brown on all sides.
  2. Once they are brown remove them from the pan and place in a cassoulet baking dish.
  3. Add the onions, carrots, celery and garlic into the hot pan where the chicken legs were and caramelize.
  4. Once they are brown, add in the flour
  5. Next, pour in the wine and reduce it by ½, then add in the the rand chicken stock and cook for 30 minutes. Season with salt and pepper.
  6. Pour the entire mixture into the dish with the legs and add the thyme bundle and bake on 300° for 2-3 hours.
  7. After they are cooked, remove the chicken and strain the sauce into a pot and cook until it is reduced by ½ and keep warm. Shred chicken and put back into sauce.
  8. In a bowl combined the chopped herbs and set aside.
  9. Cook pasta in large pot with salted water for 7-8 minutes or until al dente. Drain and reserve 1 cup pasta water. Toss pasta with sauce, herbs, and pasta water, if needed. Top with parmigano reggiano and serve immediately.
  10. Buon Appetito!
Share this Recipe

Filed Under: Pasta, Pizza, and Polenta Tagged With: braised, cavatelli, Cheese, chicken, pasta, ricotta, sweet potato, White Wine

Homemade Fettuccine with Brown Butter and Sage

November 4, 2015 by Michelle Michelotti-Martinez

Fettuccine with Butter and Sage

Fettuccine with Butter and Sage

Fettuccine with Butter and Sage

Fettuccine with Butter and Sage

It’s November, it is really November; clocks even went back so we know we are full on now….only 20 days till Turkey time and the gorging bliss of the holidays begin!

I don’t know why but all this has taken me by surprise. BUT (always gotta jump into the positive aspect) after my post about duck breasts last week and all the comfy food talk, I’m ready to keep embracing the fall flavor profile and post one of my absolute favorite pasta recipes…..fettuccine with butter and sage! If I want it to sound REALLY yummy (and a little sexier) I would say fettuccine con burro e salvia (because everything sounds better in Italian)!

Okay enough with the Italian lesson as we have fettuccine con burro e salvia to talk about! Yep, essentially, flour, egg, butter, sage, parmigiano. Would you ever think that 5 ingredients could create SUCH MAGIC? Well they do and with ALL the pasta I have had over the years with ALL the different sauces, this one reigns at the top. It is perfect (of course it’s perfect, it’s pasta) but seriously, in my little world it’s perfect.

For me, the key to this recipe is to brown the butter and grow your own sage. I know, maybe the growing sage is a stretch but if you have ANY urge to be a little farmer like myself, growing herbs is an awesome starting point.

Why brown the butter? Well, the nutty flavor infuses into the pasta with the sage and the combination is INCREDIBLE, I mean INCREDIBLE! Just be careful not to overbrown because it can get a “burnt” flavor. What I do is to just get it to a “light” brown color and pull it off the burner. Then while the pasta is cooking for a couple minutes in the pot (cuz I like fresh pasta) I put the butter back on to brown up some more and add fresh sage leaves. If you leave them whole, they make a really pretty statement. Remember sage is a strong herb so use on the lighter side. (If you don’t want to make your own pasta, of course fresh pasta from the store works as does dried).

The last KEY step with this (or any pasta dish) is to put the semi-cooked pasta in the saucepan with the butter (or sauce) and let it finish cooking with the sauce (always add a little pasta water to help bind together).

I made this dish for my sister’s birthday dinner last week and served it out of roasted butternut squash bowls. After filling these cute bowls (which when pulled out of the oven are an ingenious way to keep the pasta nice and warm), I just sprinkled the top of the pasta with parmigiano cheese and a hunk of dense, artisanal bread with butter. I presented them to the table and time stopped, it was perfection.

Homemade Fettuccine with Brown Butter and Sage
 
Print
Prep time
1 min
Cook time
10 mins
Total time
11 mins
 
Author: Michelle Michelotti-Martinez
Recipe type: Main
Cuisine: Italian
Serves: 6
Ingredients
  • Fresh Egg Pasta:
  • 4 cups all purpose flour or caputo semolina flour (found on amazon)
  • 4 -5 large eggs
  • ½ teaspoon salt
  • water as needed
  • 2 sticks of butter
  • Handful of sage
  • Parmigiano cheese
Instructions
  1. To Make Fresh Pasta:
  2. Make a mound of the flour in the center of a large wooden cutting board or in a bowl, whichever is more comfortable to you. Make a well in the middle of the flour and add the eggs and salt. Using a fork, beat together the eggs and begin to incorporate the flour starting with the inner rim of the well. As you expand the well, keep pushing the flour up to retain the well shape. Do not worry that this initial phase looks messy. The dough will come together when ½ of the flour is incorporated. If using a bowl, turn out onto a wooden cutting board now and start kneading the dough with both hands, using the palms of your hands primarily. Once you have a dough ball, remove its rom the board and scrape up any left over crusty bits. Lightly flour the board and continue kneading for 3 more minutes. If dry, add 1 T of water at a time and incorporate. The dough should be elastic and a little sticky. Continue to knead for another 3 minutes, remembering to dust your board when necessary. Wrap the dough in plastic and allow to rest for 30 minutes at room temperature. Note: do not skip the kneading or resting portion of this recipe, they are essential for a light pasta.
  3. To cut pasta:
  4. With a hand crank machine or kitchen aide attachment start with setting 1. Cut off ¼ of the ball and flatten out. Dust with flour as to not let it stick while passing through machine (you may have to do this periodically). Pass through once and then fold in thirds, turn and pass again. Do this 2 more times and then pass it straight through an additional 2 times. Put on setting 2 and pass through twice. Repeat with setting 3 and 4. When you get to setting 5, put through once and set sheet aside and repeat with remaining dough.
  5. Put sheets through fettuccine cutter and put onto a floured cookie sheet. Toss to keep strands separate. Do this periodically while drying and add a little flour each time if necessary.
  6. To make brown butter sauce:
  7. In a large sauce pan, place butter. On medium heat cook until a slightly brown color begins. Remove until ready to cook pasta. While pasta is cooking partially (1-2 min), return to heat and add sage. Watch as to not over brown.
  8. To boil:
  9. In a large dutch oven, fill three-quarters of the way full with water and put in salt (salty as the sea). Bring to a boil and add pasta. Cook 1-2 minutes and drain (reserving 2 cups of water) and put immediately into browned butter to finish cooking, about 1-2 minutes more. Serve immediately topped with parmigiano cheese and more to pass at table.
3.5.3208

Fettuccine with Butter and Sage

Fettuccine with Butter and Sage

Filed Under: Pasta, Pizza, and Polenta Tagged With: Brown, Butter, Fettuccine, homemade, italian, Main, pasta, Sage

Fresh Ricotta and Caramelized Marsala Shallot Angolotti with Shrimp Butter Sauce

January 14, 2015 by Michelle Michelotti-Martinez

Shrimp3

I will always go back to pasta whenever I can….. just simply for my personal comfort food bliss. My fixation with ravioli borders obsessive because of the ENDLESS possibilities for the fillings (well and the dough for that matter). I love to work from the inside out when it comes to creating these little masterpieces, it’s almost like building a little sculpture, or at least in my mind…..

Growing up, my family made traditional ravioli that were filled with ricotta and parmigiano cheese and topped with a beef ragu. We didn’t have much variation to choose from and while I still LOVE these, I really dig the endless creations today.

My infatuation with ravioli really began when I owned my fresh pasta manufacturing company. Customers were requesting fresh ravioli so I actually purchased a ravioli machine. My fears and hesitations toward making them were conquered by the purchase of this machine, no doubt. To say the least, the learning curve itself was frustrating but when I made delicious fillings from what the farmers had for the week, it was ALL worth it. It was here where the creative juices birthed and put me out of the box regarding possibilities, it is where the fun began. Then each week I headed to the market and sold them to our awesome customers who reported amazing dishes they prepared, this was nothing short of addicting.

So when thinking which ravioli to post, I remembered my journey and decided that I would marry my heritage with a twist on innovation for the filling and then top with a decadent shrimp sauce. I also decided to try my hand at angolotti because if you don’t want to invest in a ravioli stamp or cutter to form the pasta, these can be finished with a knife and a fork and have a really pretty half moon shape, plus I really like the name….I have a tendency to pick wine this same way, let me see the label, is it pretty? Perfect, I’ll take it! How many of you can relate?

Anyway, if you haven’t made ravioli before or are a seasoned pro, these are simply delish and while its winter outside and a little more time on our hands, give these a try…….

IMG_6420

IMG_6438

IMG_6426

Shrimp Plate

Fresh Ricotta and Caramelized Marsala Shallot Angolotti with Shrimp Butter Sauce
 
Print
Prep time
1 hour
Cook time
15 mins
Total time
1 hour 15 mins
 
Author: Michelle Michelotti-Martinez adapted from Lucinda Scala
Recipe type: Main
Cuisine: Italian
Serves: 6 servings
Ingredients
  • Filling:
  • 2 T butter
  • 3-4 shallots, thinly sliced
  • ¼ cup ricotta, preferably homemade, recipe below
  • Sauce:
  • 2 sticks of butter
  • 1½ lbs shrimp, shelled and devined
  • Olive oil
  • Salt and pepper
  • 1 recipe basic pasta, rolled to second to the thinnest setting on machine, recipe bellows
  • 1 bunch Italian parsley, finely chopped to yield ¼ cup
  • ¼ cup grated Parmigiano-Reggiano
  • Fresh Ricotta:
  • 6 cups organic whole milk
  • 2 cups organic heavy cream
  • 1 tsp salt
  • 3 T organic white wine vinegar
  • Fresh Egg Pasta:
  • 4 cups all purpose flour or caputo semolina flour (found on amazon)
  • 4 -5 large eggs
  • ½ teaspoon salt
  • water as needed
Instructions
  1. To Make Fresh Pasta:
  2. Make a mound of the flour in the center of a large wooden cutting board or in a bowl, whichever is more comfortable to you. Make a well in the middle of the flour and add the eggs and salt. Using a fork, beat together the eggs and begin to incorporate the flour starting with the inner rim of the well. As you expand the well, keep pushing the flour up to retain the well shape. Do not worry that this initial phase looks messy. The dough will come together when ½ of the flour is incorporated. If using a bowl, turn out onto a wooden cutting board now and start kneading the dough with both hands, using the palms of your hands primarily. Once you have a dough ball, remove its rom the board and scrape up any left over crusty bits. Lightly flour the board and continue kneading for 3 more minutes. If dry, add 1 T of water at a time and incorporate. The dough should be elastic and a little sticky. Continue to knead for another 3 minutes, remembering to dust your board when necessary. Wrap the dough in plastic and allow to rest for 30 minutes at room temperature. Note: do not skip the kneading or resting portion of this recipe, they are essential for a light pasta.
  3. To Make Filling:
  4. In a saucepan on stove over medium heat, put in the milk, cream, salt, and vinegar. Bring to a medium heat and boil where it starts to separate. Put in a mesh colander over a bowl until liquid is drained.
  5. On stove top, heat medium sauté pan and add 2 T butter and melt. Add shallots and cook down. Add ⅛ cup of marsala wine and cook until caramelized.
  6. Take ricotta and put in a bowl and fold in caramelized shallots. Mixture shouldn't need salt and pepper but season to taste. If it is a little "thin" fold in some freshly grated parmigiano cheese as you don't want a "runny filling".
  7. To Make Angolotti:
  8. Cut dough into 8 sections and cover unused portion with damp cloth to avoid drying out. With a hand pasta machine or kitchen aide attachment set at widest setting, take a piece of pasta and press flat and pass through rollers, dust with flour and repeat on same setting, fold in half and repeat again, change setting to next smallest and run pasta through twice. Dust pasta if needed and repeat process on all until pass through second to last setting. Repeat this for all of the pasta and put the strips on a floured work surface.
  9. To form agnolotti, take a strip of pasta and place 1 tablespoon of filling 1 inch from the edge and 2-3 inches apart down the pasta strip. Brush pasta dough edges and in-between filling lightly with water. Take the pasta and fold op of over filling and pinch closed. Press dough flat between lumps of filling. Using a pastry/pasta cutter, preferably fluted, cut half moons using folded part as flat side of moon. If your cutter is smooth or you are using a knife, go back and press lightly with a fork to make indents. Continue until pasta and filling are finished and put on floured trays.
  10. To Make Shrimp Sauce:
  11. Preheat oven to 400. Rinse shrimp and add to bowl. Put in some olive oil and salt and pepper and toss together. About 5 minutes before boiling ravioli, spread shrimp on a cookie sheet and put in oven for 10-11 minutes.
  12. On stove top in a medium sauce pan, add 2 sticks of butter (can add more if needed and depending on serving amount), melt on medium-low until starts to become a brown butter. Don't do this step too soon or the butter will continue to brown and get burnt. If you do ahead, pour into a bowl and then reheat when ready.
  13. When shrimp are done, add to butter and cover to keep warm while angolotti are cooking.
  14. To Cook Angolotti:
  15. In a wide dutch oven pot, fill about ¾ full with water and bring to a boil. Add salt (salty as the sea) and carefully put in angolotti. Becareful NOT to overcrowd so do in batches if necessary. Cook about 5 - 7 minutes or until tender and remove with a slotted spoon onto a tray or into pasta bowls. If using pasta bowls, heat them slightly in microwave so that pasta isn't going into cool bowl. Repeat until done. Spoon over shrimp sauce and top with fresh parmigiano and fresh parsley. Serve immediately.
3.2.2885

Shrimp3 

Filed Under: Fish and Seafood, Pasta, Pizza, and Polenta Tagged With: angolotti, Butter, caramelized, fresh, marsala, Parmigiano, parsley, pasta, ricotta, Shallots, shrimp

  • Page 1
  • Page 2
  • Next Page »

Primary Sidebar

Meet Michelle and Enrique

Eatentions is a way of being with our food experience. It is a thought-filled process starting with connection to source all the way through the finished creation. We like to call it "from root to experience". Its the entire thing, its that conscious. Thank you for popping by and welcome to our life.

Let’s Connect!

Archives

Categories


My Favorites

Arancini|Eatentions

Arancini

Torta Caprese

Torta Caprese

Lemon Pasta with Broiled Salmon and Charred Lemon|eatentions

Lemon Pasta with Broiled Salmon and Charred Lemon

Footer

Instagram

Instagram has returned invalid data.

Follow Me!

Connect With Us

  • Email
  • Facebook
  • Instagram
  • Pinterest
  • RSS
  • Twitter

We believe in celebrating amazing people, delicious food, great conversation, sustainability and experience. For us,our lives have always been about love, family, friends and sharing all things together. Connecting with people through food, sharing stories and supporting one another to live our dreams and our purpose is what inspires us daily.

My Favorites

Arancini|Eatentions
Torta Caprese

Copyright © 2026 · Foodie Pro & The Genesis Framework