• Skip to primary navigation
  • Skip to content
  • Skip to primary sidebar
  • Skip to footer

Eatentions

Organic * Local * Sustainable

  • Home
  • About Us
  • Recipes
  • Culinary Socials
  • CSM – Community Sourced Meals
  • Contact
  • Nav Social Menu

    • Facebook
    • Instagram
    • Pinterest
    • RSS
    • Snapchat
    • Twitter

Breads

Homemade Cinnamon Sticks

April 21, 2015 by Michelle Michelotti-Martinez

Cinnamon Sticks 4

Cinnamon Sticks 6

Cinnamon Sticks 1

I am sure by now you can tell that I love tradition and this very special family recipe takes me down memory lane as far back as I can recall. These homemade cinnamon sticks adorned our memories and palettes for years and years growing up and were a quintessential treat that my great grandmother and grandmother would always make us upon visiting. Now that I know the time and energy that went into them, I wonder how they felt when we gorged down the entire pan in less than 10 mintues……now that I think about it, that was probably the BEST complement they received.

The tradition for these cinnamon sticks continued at our house at Easter time. They were perfect Easter morning as they baked and smelled the house of butter, cinnamon, and sugar while we ran around and hunted our Easter eggs and tore into our Easter baskets. You would think the sugar high from all the candy would have sufficed but we all knew our favorite treat was really the cinnamon sticks waiting on the table.

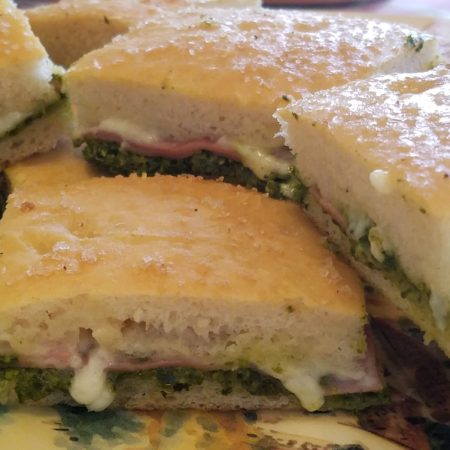
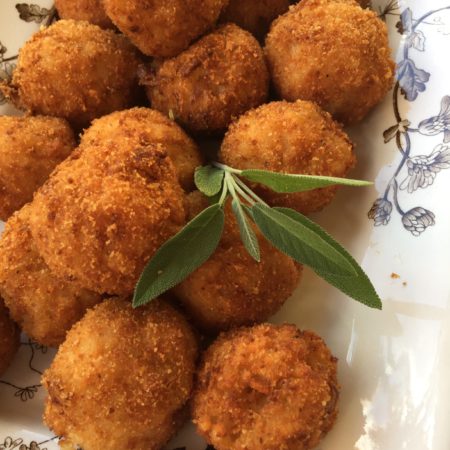
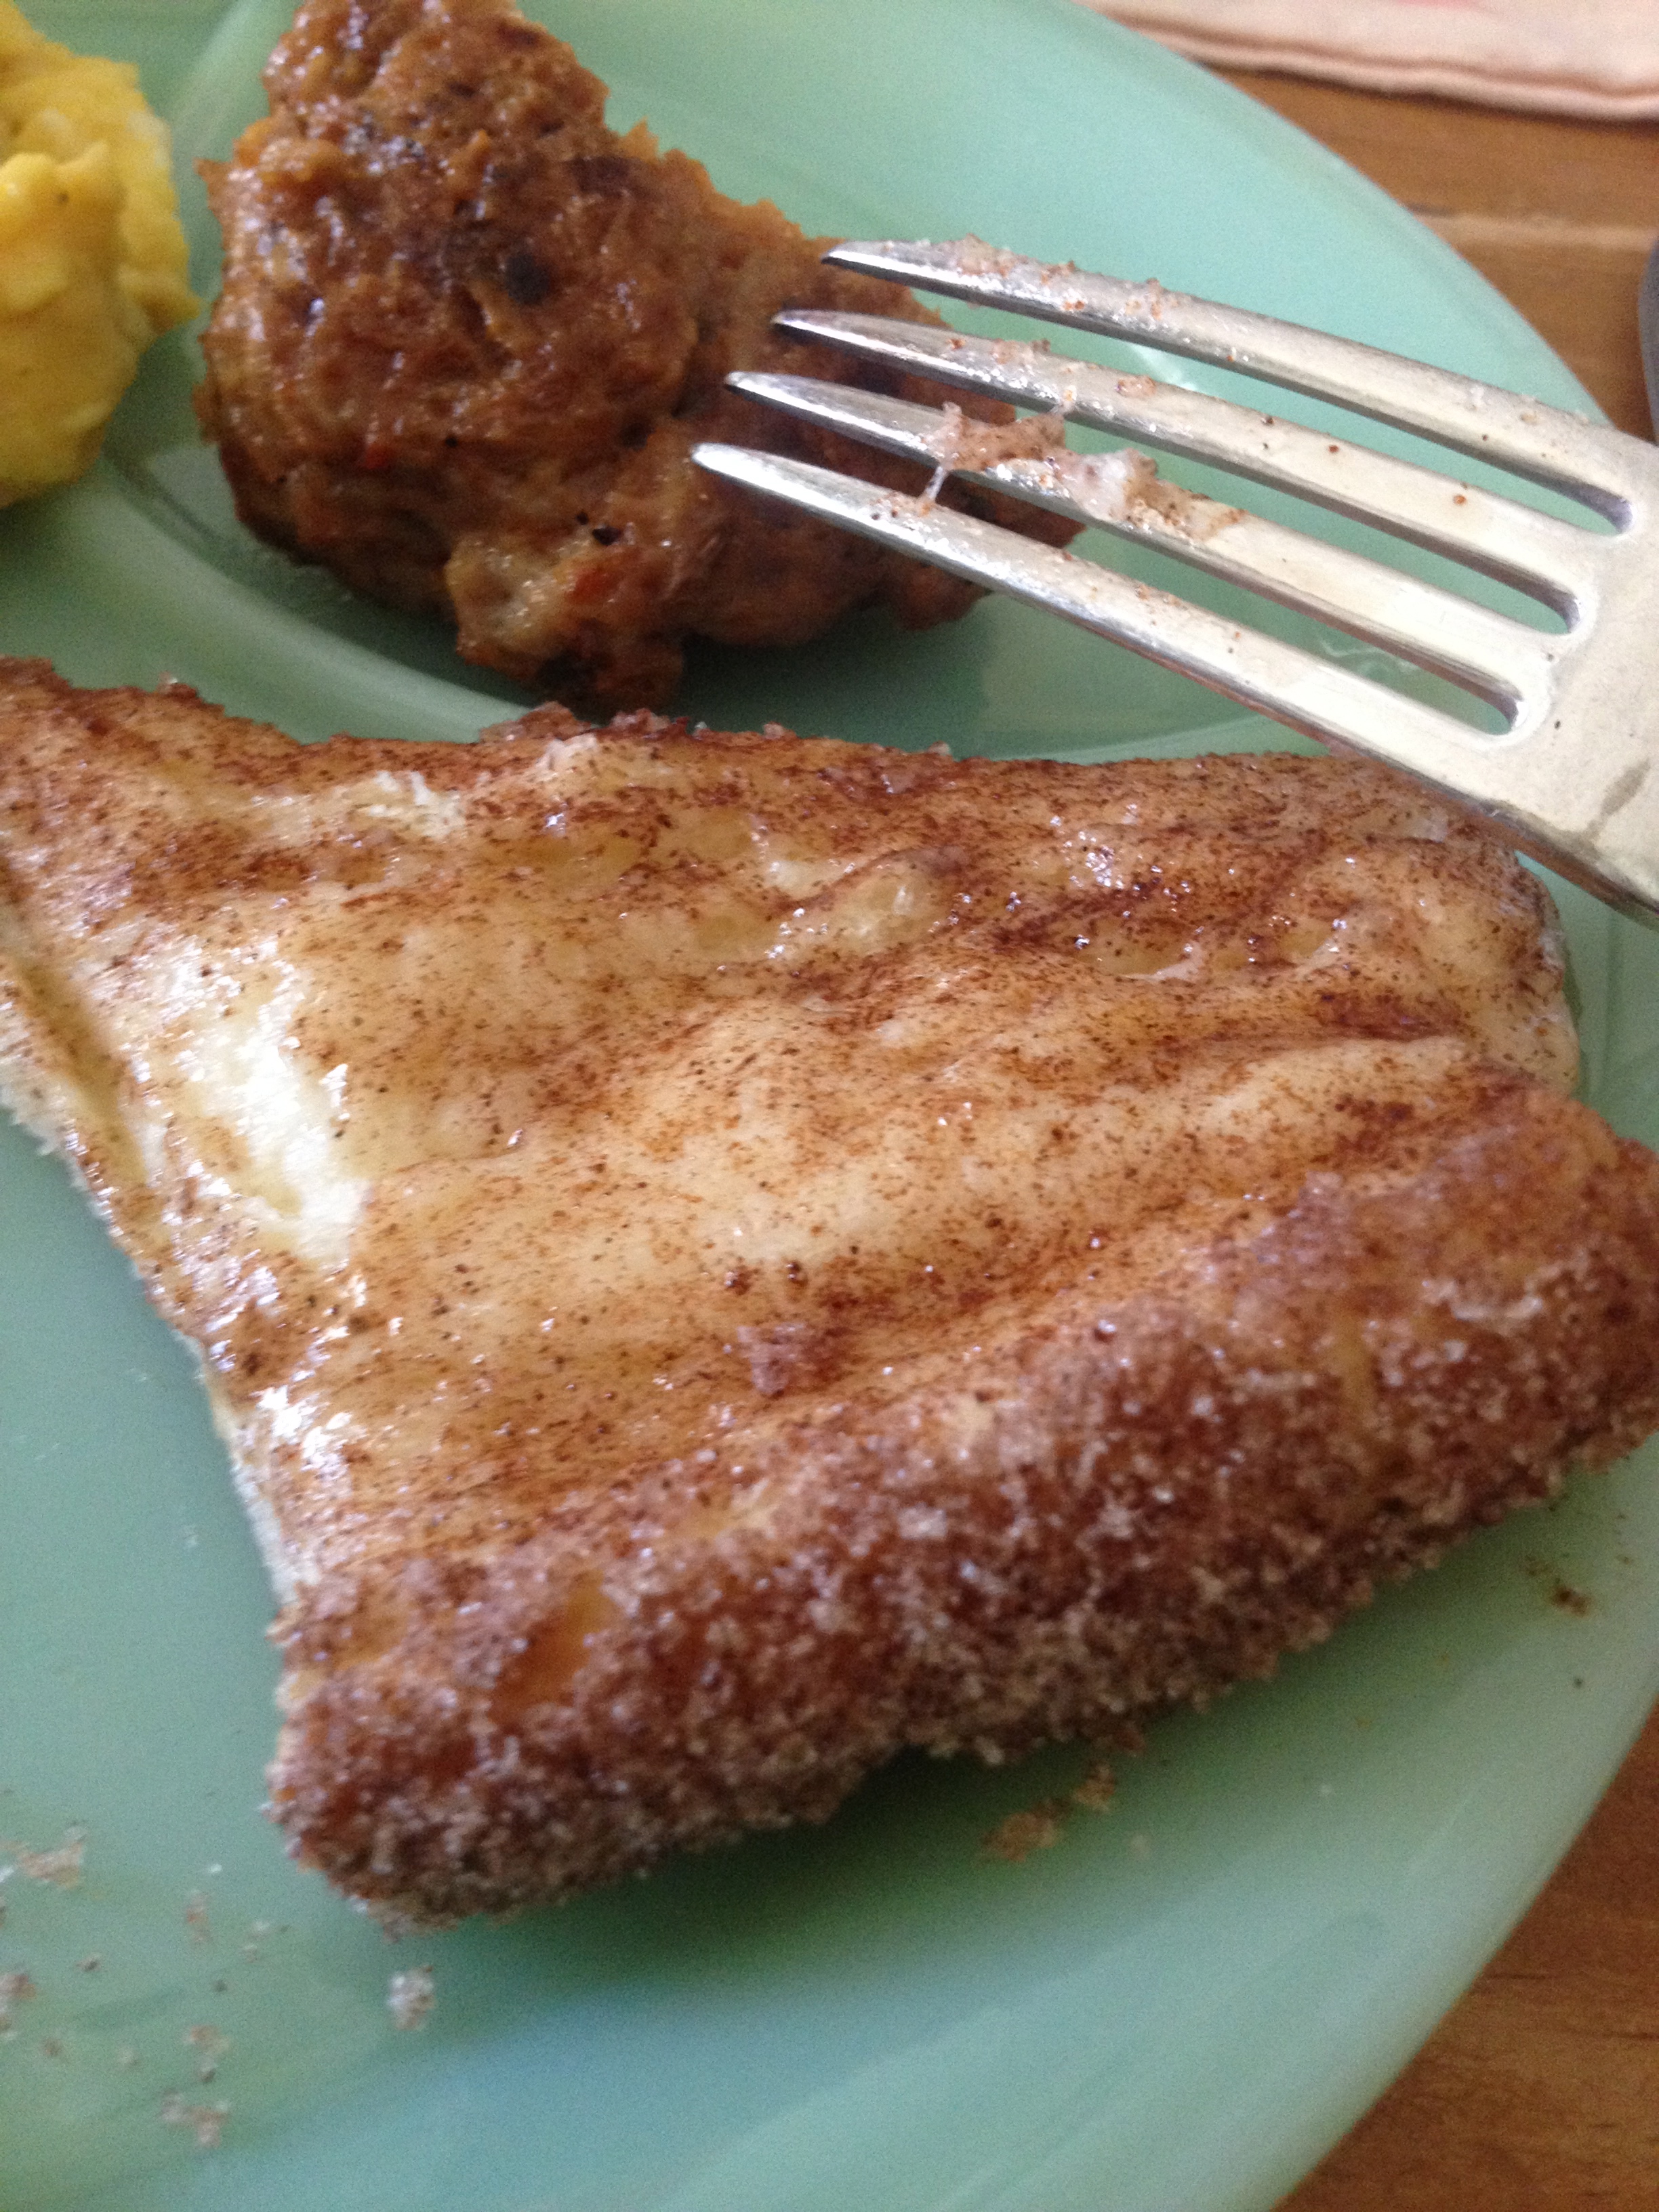
With the cinnamon sticks, mom served up hard-boiled eggs and homemade sausages sent down from the same grandmother who made the cinnamon sticks. They arrived right before Easter and paired a perfect savory sweet combination.

I look back and think about all the hard work, love, time that went in JUST for that Easter meal and treasure every moment and savor every memory. The joy now is the recreation and the honor of a bygone time and a revamp of old traditions. It really is what we have to pass down…….and it makes for the BEST table side conversation.

Cinnamon Sticks 2

5.0 from 1 reviews
Homemade Cinnamon Sticks
 
Print
Prep time
24 hours
Cook time
25 mins
Total time
24 hours 25 mins
 
This is an OLD family recipe from my Austrian great grandmother. It is a tradition of ours on Easter Sunday and they are SO good!!! I honestly don't know why we make them once a year only but with how many we eat, probably ALL we can afford!
Author: Michelle Michelotti-Martinez
Recipe type: Breads
Serves: lots!
Ingredients
  • Day before baking make dough:
  • 3½ tsp active dry yeast
  • ½ cup warm water
  • 1 cup scalded milk
  • ¾ cup butter, softened
  • ½ cup sugar
  • 1 cup potatoes, mashed through sieve
  • 2 fresh eggs
  • 1 tsp salt
  • 7 cups unbleached white flour
  • For topping:
  • 2 sticks butter
  • cinnamon and sugar mixed, equal parts
Instructions
  1. Dissolve yeast in warm water.
  2. Cool milk to lukewarm and add yeast water.
  3. In a mixer with mixing attachment, cream butter, sugar, mash potatoes, and eggs. Switch to a dough hook.
  4. Add salt and flour together and start with flour and add a little to butter mixture then add a little water. Alternate between flour and water but start and end with flour. As soon as mixture is pulling from side of bowl and wrapping around dough hook.
  5. Grease a large bowl with butter and add dough. Cover with towel and let rise in warm place til double in size. Punch down and cover with plastic wrap and leave overnight. (I leave out but can put in fridge but bring to room temperature)
  6. Morning of baking:
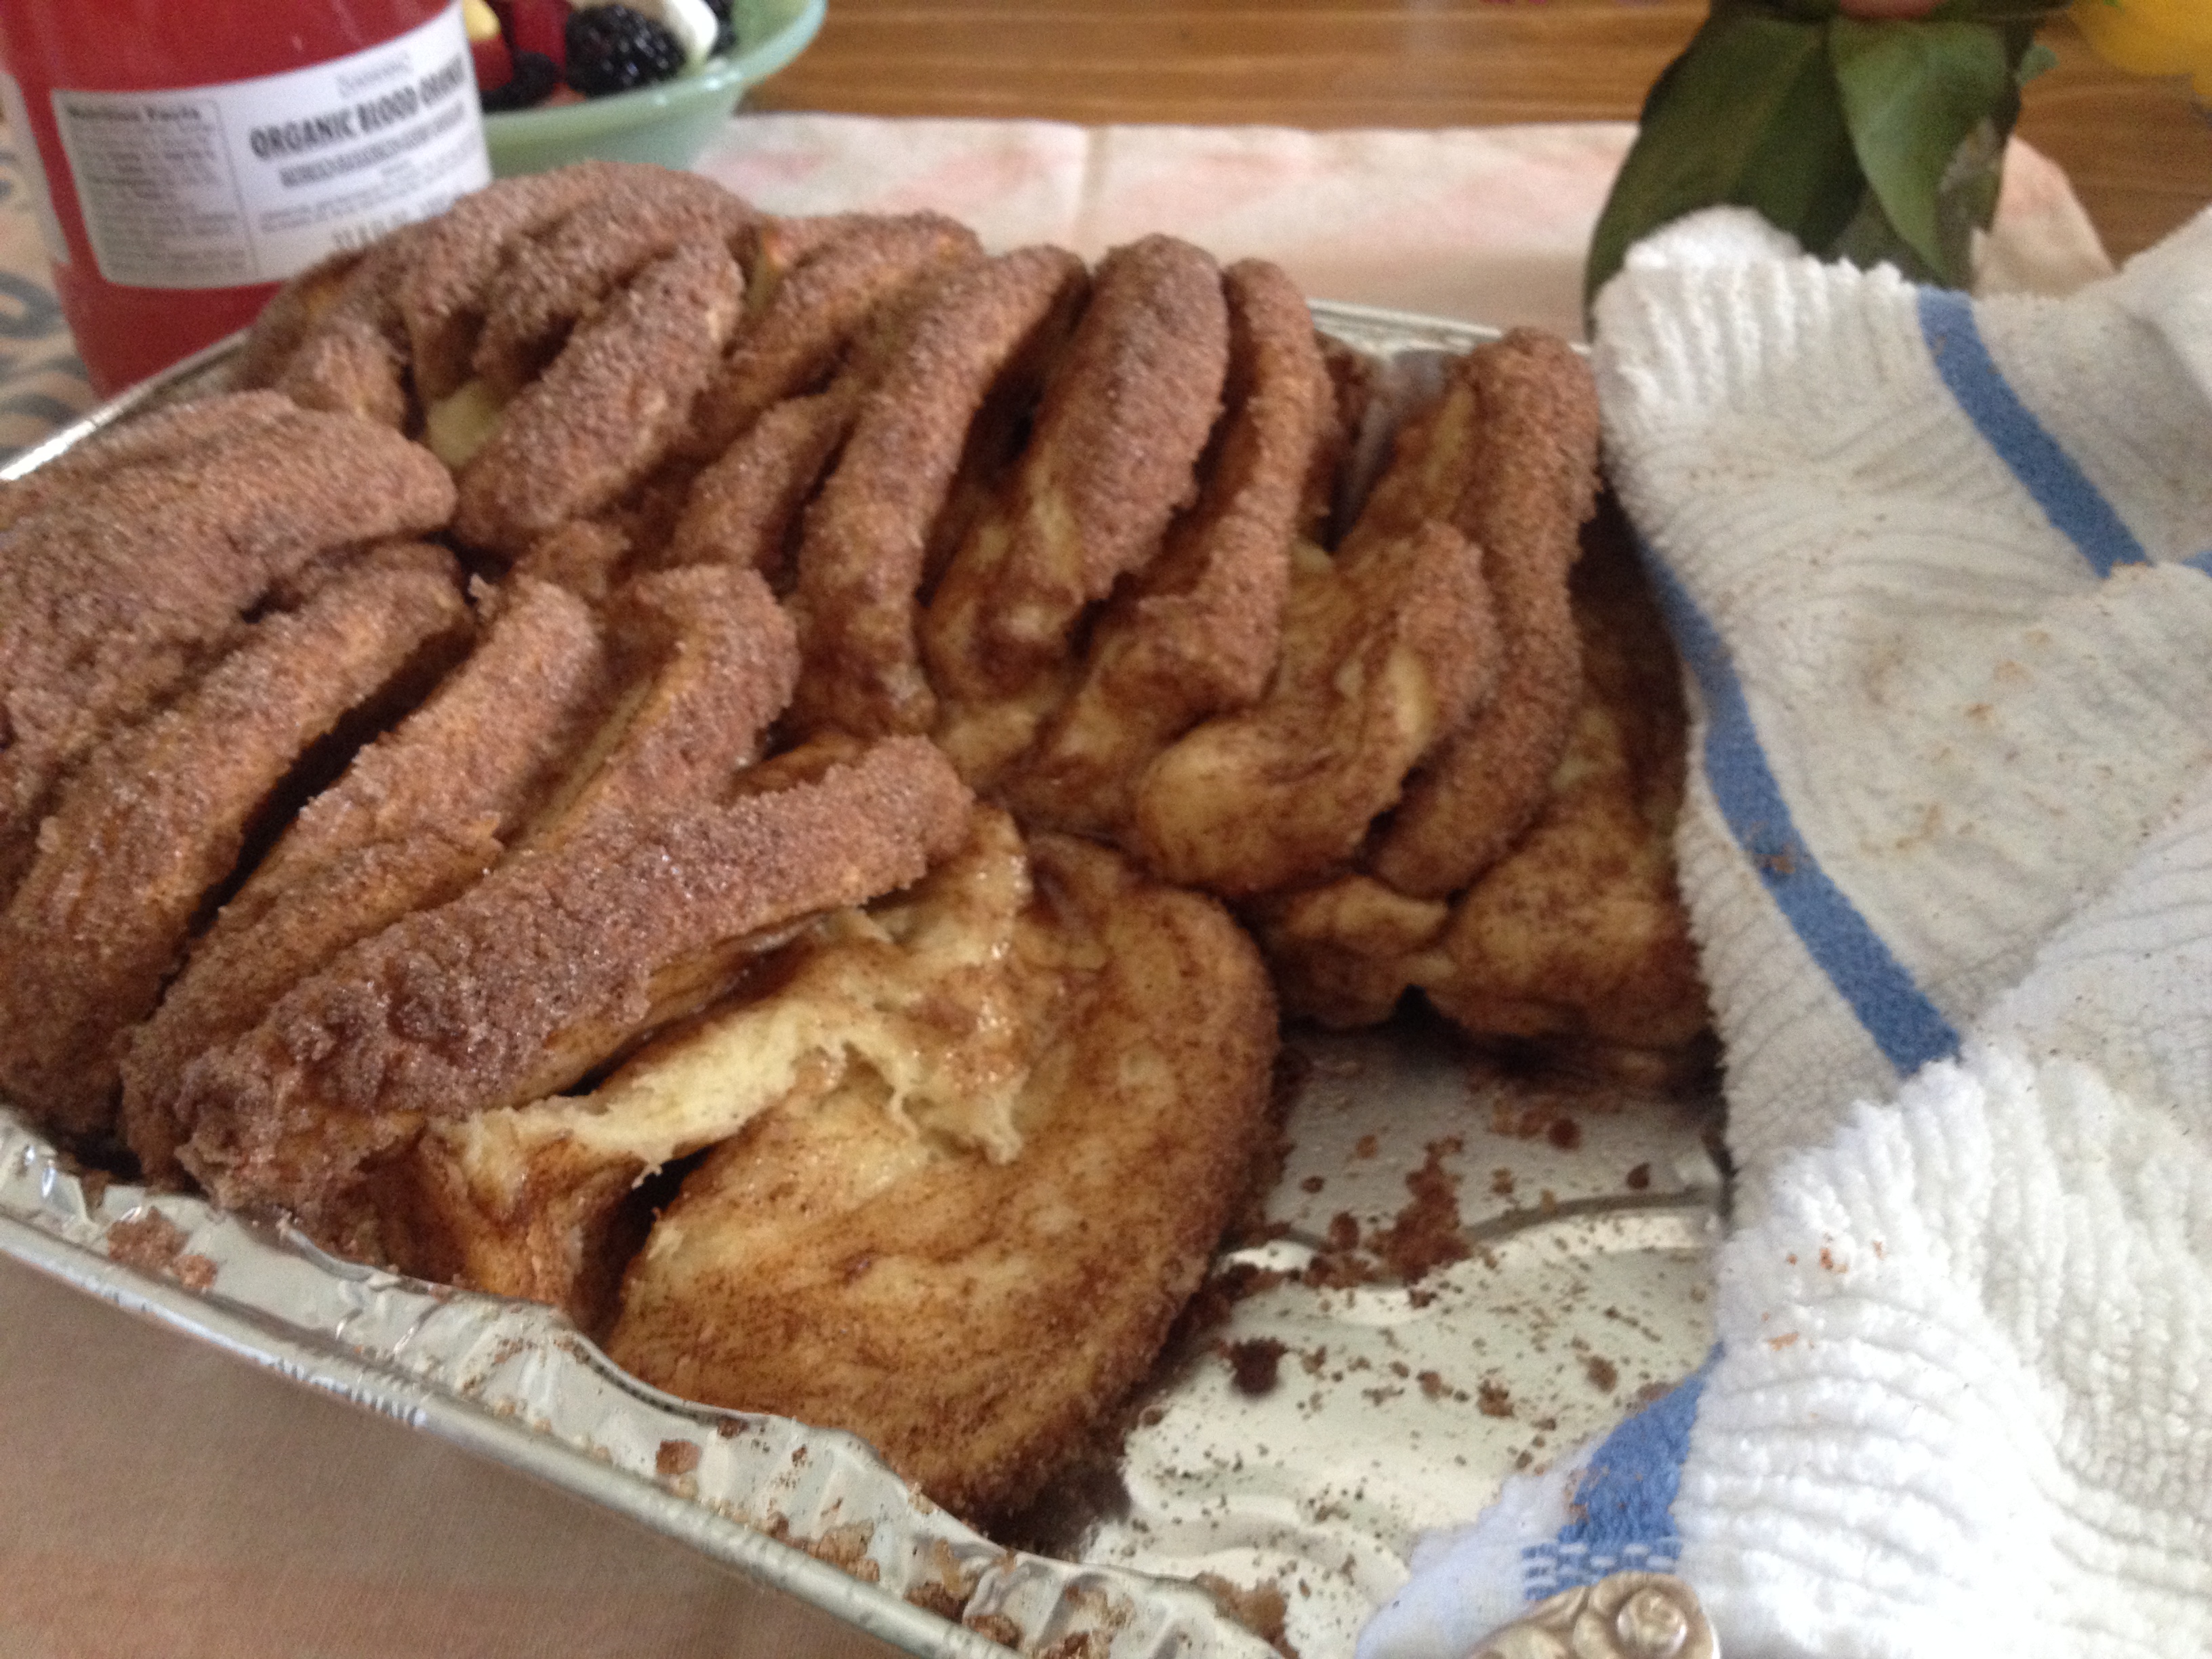
  7. Punch down dough and in a 9x13 pan, start with a little bit of dough and roll into a log shape, about 4 inches long by 1 inch thick. Dip into butter and then roll into sugar/cinnamon mixture and put in pan. Repeat this with all the dough and alternating sides you place them inside pan as you will make 2 rows. As you put them next to each other, just "push" a little against each other to pack in a little bit. Pan won't be totally full which is fine as they will rise again in oven
  8. Preheat oven to 400 degrees. Put a pan underneath 9x13 as it will spill over with sugar mixture. Bake for 25 minutes and check to see if they are done. They will be soft but easily pull apart.
  9. Serve immediately with butter. Best HOT and out of oven!
3.2.2929


Filed Under: Breads Tagged With: Butter, cinnamon, rolls, sticks, sugar

Schiacciata all’uva (Tuscan grape foccacia)

April 9, 2015 by Michelle Michelotti-Martinez

Grape Foccacia Schiacciata

I posted a picture of schiacciata all’ uva on my Facebook page the other day and realized how GORGEOUS this focaccia is so, time to share on my blog and tie it to a great memory of a cooking school in Tuscany.

It was a gift from the hubby on my 40th birthday, a 4-day cooking school in Tuscany. After all I needed something to sustain the blow of going into the 4 decade of life!

We booked the adventure for the fall of the following year, this is my favorite time to travel to Europe or anywhere for that matter, and the class existed of us and my dad. It was PERFECT and Elena was the quintessential master chef!

Each day encompassed the lesson of a 4-course Italian extravaganza, all inclusive of eating our delicious preparations accompanied by the wine made at the farm. Good thing the wine flowed with lunch and not before as I doubt any of us would have made it through the instruction of course 1 much less course 4!

It was simply one of the BEST experiences of my life! Elena would reel off instructions in Italian, forgetting I was the only one who understood her, and when the boys stood with a blank stare her response was “beh….VAI”! She didn’t understand why they weren’t jumping to her command so I would quickly “shoo” them away with the instructions she spoke and a smile would make its way to Elena’s face; I knew it was part of the entire package.

As we learned, prepped, and cooked, Elena would explain all the reasons for the dishes, the history, the ingredients, and occasion. Each one had a special cooking vessel and serving dish/platter, all which were handed down to her from those who passed on the secrets…..it was magnificent.

Day 3 of the venture was no different than the first except that the dessert we prepared  became a fast favorite of mine, the schiacciata all’uva. Not only was it delicious but also it was balanced so perfectly between savory with a dash of sweet and served with a beautiful Vin Santo dessert wine. This is one of the many reasons I love Italian food, the desserts are balanced and NOT sweet which leaves me so satisfied.

The schiacciata all’uva was made with grapes from the farm vineyard but throughout the year, could be substituted with blueberries, cranberries, raspberries, whatever you like but since I am in love with the traditional version, I freeze grapes from my sister’s vines and enjoy all year long.

So here’s to the memory of Elena, the 4-day cooking school, and the birthing of the 4th decade of my life….

Grape Foccacia Schiacciata 7

Grape Foccacia Schiacciata 12


Grape Foccacia Schiacciata 11

Grape Foccacia Schiacciata 1

5.0 from 1 reviews
Schiacciata all'uva (Tuscan grape foccacia)
 
Print
Prep time
2 hours
Cook time
40 mins
Total time
2 hours 40 mins
 
The schiacciata alluvia can be made with grapes from the farm vineyard but throughout the year, could be substituted with blueberries, cranberries, raspberries, whatever you like but since I am in love with the traditional version, I freeze grapes from my sister’s vines and enjoy all year long.
Author: Michelle Michelotti-Martinez adapted from Elena
Recipe type: Dessert
Cuisine: Italian
Serves: 8
Ingredients
  • 3 cups unbleached all-purpose flour
  • 1½ cups lukewarm water
  • 1½ tsp dried yeast
  • 1 tsp salt
  • a bunch (about 250 gr) of fresh concord or other sweet red grapes
  • 5-6 tablespoons caster or raw sugar
  • 3-4 tablespoons of extra virgin olive oil
Instructions
  1. For The Dough:
  2. Prepare the dough for the schiacciata, this should be done the night before you need to bake it.
  3. In a stand mixer fitted with dough hook, combine 1½ cup flour, yeast, and 1 cup water and mix on low until combined. This is a called a sponge. Cover the sponge with rest of flour, salt, and 2 T of olive oil, mix well and then slowly add the ½ cup water. You want the dough to be sticky so if you need more water, add bit by bit.
  4. Once dough comes together, turn mixer on high and let it go until it is smooth and elastic, leaving sides clean and hook covered. This will probably take about 5 minutes.
  5. Coat a large bowl with oil and put dough in and rub a bit more oil on top of dough. Cover with plastic wrap and put in a warm place and let rise. I let it go all night and if your more comfortable, put in fridge overnight.
  6. Assembling the Schiacciata:
  7. Turn oven to 350
  8. Wash and pat dry the grapes and separate them from the stem, no need to deseed them, Tuscans eat them with the seeds and all.
  9. When the dough has risen, line a rectangular baking pan with some baking paper
  10. Take the dough out of the bowl with well-floured hands as (if it is successful), it will be very sticky! Divide the dough into two balls, one slightly larger than the other. Roll out the larger ball on a well-floured surface roughly to the size of your pan, no more than 1cm thick. Lay the dough in the pan, pushing the dough to the corners and sides with your fingers if necessary.
  11. Divide about two thirds of the grapes and scatter them on top of the first dough layer and sprinkle half of the sugar over, with a drizzle of olive oil.
  12. Roll out the second ball of dough to the size of the pan and cover the grapes with this second layer of dough, rolling up the edges of the bottom layer of dough from underneath to the top, to close the schiacciata. Gently, with your fingers, push down on the surface of the dough to create little ‘craters’ all over.
  13. Cover the top with the rest of the grapes and sprinkle the remaining sugar over the top. Drizzle with olive oil and bake for about 35-40 minutes or until the dough becomes golden and crunchy on top and the grapes are oozing and cooked.
  14. Allow to cool completely. When ready to serve, cut into squares and dust generously with icing sugar, if using. This is best served and eaten the day of baking, or at the most the next day.
3.2.2929


Filed Under: Breads, Delectable Desserts Tagged With: bread, Foccacia, grape, schiacciata all'uva, tuscan

Brown Butter Sage Walnut Bread

December 17, 2014 by Michelle Michelotti-Martinez

IMG_6137

Everyone on my Christmas list this year got a loaf of this bread with our homemade apple butter. To me, there is nothing better than giving and receiving homemade gifts during the holidays or anytime for that matter. It takes time and love to create gifts and I completely appreciate the heartfelt effort.

Anyone who knows me realizes that I like treats that aren’t over the top sweet and this savory bread is SO good!  I didn’t want to bake traditional banana bread or cranberry bread but instead I wanted to kick things up a notch and get creative. My inspiration came from my LOVE of brown butter, I adore it with mash potatoes, over sweet potato ravioli, or sautéed with squash so I decided to try it in a bread and since sage is one of my all time favorite herbs, especially this time of year, I couldn’t imagine a better combination. It is such a surprise when you bite into a piece and taste the nutty flavor from the brown butter and the earthiness with the sage. There is just enough sugar to enhance the combinations and then add a great cappuccino to the menu and you have PERFECTION!!! So comfy food yum!

The list is endless with what you can add, bananas, pears, apples or dried figs….OMG can you imagine brown butter and bananas? Add some liquor and you can indulge in bananas foster breakfast style! Awesome!

So as I cranked out the loaves for Christmas gifts, I made some extras to freeze. After all winter is just starting and come those cold January mornings when you just want to lie in bed, I can grab a couple of slices of this, slather on my apple butter and curl up for hours.

Have fun experimenting, leave some comments, and let me know how your creative genius came out!

'Brown Butter Sage Walnut Bread
 
Print
Prep time
10 mins
Cook time
35 mins
Total time
45 mins
 
This is a really wonderful savory bread that can be served with apple butter or peach butter! If you want, add pears, apples, or bananas for a wonderful addition
Author: Michelle Michelotti-Martinez
Recipe type: Bread
Serves: 1 large loaf
Ingredients
  • ½ cup unsalted butter
  • 4 tablespoons sliced fresh sage leaves
  • 4 eggs
  • ½ cup vegetable or canola oil
  • ½ cup light brown sugar
  • 2½ cups flour
  • 2 teaspoon baking soda
  • 1 teaspoon baking powder
  • ½ teaspoon salt
  • 1 cup roughly chopped walnuts
  • Turbinado sugar for sprinkling
Instructions
  1. Heat the oven to 350.
  2. Grease and flour (or spray) a standard loaf pan.
  3. Toast the walnuts in a skillet over medium heat, then set them aside.
  4. Add the butter and sage to the skillet and cook until the butter browns - follow your nose, it should smell nutty and sagey and not at all scorched. Turn off the heat.
  5. In a mixer whisk the eggs and brown sugar together.
  6. Add in the oil and whisk that.
  7. Mix in the flour, soda, powder and salt.
  8. Stir in the browned butter, then fold walnuts. Its thick so don't worry.
  9. Scrape and spread into the loaf pan, sprinkle with the turbindo sugar, and into the oven for 35 minutes. Test for doneness, then cool a bit before you flip it out of the pan. Slice and eat!!!
3.2.2885

IMG_5973

Filed Under: Breads Tagged With: baking powder, baking soda, bread, breakfast, brown butter, christmas, Eggs, flour, oil, Sage, salt, sugar, walnut

Easy Homemade Ciabatta Bread

November 24, 2014 by Michelle Michelotti-Martinez

IMG_5450

Well this will probably be the SHORTEST post I ever do! Why???? Because it is about BREAD, yummo BREAD and I certainly don’t have to tell a story about my “inspiration” for this wondrous food! Who doesn’t love bread and this is my favorite kind CIABATTA or Italian “slipper bread”!

It’s the SIMPLEST recipe and with ALL the soups and stews being made right now, this is totally perfect! Also since it is holiday season and we are eating a ton of carbs anyway, this is so complementary to the Thanksgiving or Christmas table packed full of potatoes, dressing, and pie!!! Balance this out with some bread and butter and Whammo, carb HEAVEN!

Now don’t mistake me that you can’t make this year around because you can…it is SO good dipped in olive oil and pepper, made into a panini, or grilled and doused with garlic, olive oil, and salt then served with pasta or any other dish.

If you have a bread maker, even better because you put in ingredients, turn on to dough setting and your done with that part….if you don’t have a bread maker, no worries, this recipe explains how to make by hand.

Super Easy Ciabatta Bread
 
Print
Prep time
1 hour 20 mins
Cook time
25 mins
Total time
1 hour 45 mins
 
Author: Michelle Michelotti-Martinez
Recipe type: Bread
Cuisine: Italian
Ingredients
  • 
1½ cups warm water
  • 1½ teaspoons salt
  • 
1 teaspoon white sugar
  • 1 tablespoon olive oil
  • 
3¼ cups bread flour
  • 1½ teaspoons yeast
  • Rosemary or any other herb, roasted garlic, or sautéed onions, optional
Instructions
  1. In a mixer, mix together the flour, yeast, salt, and sugar (and herbs or other additions if choose). Pour in the warm water, and beat for 5 solid minutes. If you have a dough hook, use it and knead the mixture for an additional five minutes, until the dough is well combined, otherwise use beater blade.
  2. When the dough is well combined, flour your hands, put in the bowl, and pull parts of the dough up and fold it back down into the bowl. Do this for another 5 minutes. This will push air bubbles into the dough and create nice holes when it bakes which is signature for ciabatta. Dough will be "wet" and that is perfect.
  3. If you have a wooden cutting board or a regular cutting board, put on some flour and turn dough over. Knead a couple times so not too "sticky" and cover with a big glass bowl for 15 minutes.
  4. Oil a large bowl, then plop the dough into that bowl. Drizzle your olive oil over the top of the dough, then cover the bowl in plastic wrap and cover with at towel. Place the bowl in a warm spot and allow it to rise for 2 hours.
  5. Lightly flour a baking sheet, line it with parchment paper, or use a non-stick sheet. Form into an oval shape and place onto prepared sheets, lightly dust with flour. Cover with a cloth and let rise in a draft-free place for approximately 45 minutes.
  6. Preheat oven to 425 degrees F (220 degrees C).
  7. Place loaf in the oven, positioned on the middle rack. Bake until golden brown, 25 to 30 minutes.
3.2.2885

IMG_5436

IMG_5438

IMG_5458


Filed Under: Breads Tagged With: bread, ciabatta, flour, salt, sugar, water, yeast

Primary Sidebar

Meet Michelle and Enrique

Eatentions is a way of being with our food experience. It is a thought-filled process starting with connection to source all the way through the finished creation. We like to call it "from root to experience". Its the entire thing, its that conscious. Thank you for popping by and welcome to our life.

Let’s Connect!

Archives

Categories


My Favorites

Arancini|Eatentions

Arancini

Torta Caprese

Torta Caprese

Lemon Pasta with Broiled Salmon and Charred Lemon|eatentions

Lemon Pasta with Broiled Salmon and Charred Lemon

Footer

Instagram

Instagram has returned invalid data.

Follow Me!

Connect With Us

  • Email
  • Facebook
  • Instagram
  • Pinterest
  • RSS
  • Twitter

We believe in celebrating amazing people, delicious food, great conversation, sustainability and experience. For us,our lives have always been about love, family, friends and sharing all things together. Connecting with people through food, sharing stories and supporting one another to live our dreams and our purpose is what inspires us daily.

My Favorites

Arancini|Eatentions
Torta Caprese

Copyright © 2026 · Foodie Pro & The Genesis Framework