• Skip to primary navigation
  • Skip to content
  • Skip to primary sidebar
  • Skip to footer

Eatentions

Organic * Local * Sustainable

  • Home
  • About Us
  • Recipes
  • Culinary Socials
  • CSM – Community Sourced Meals
  • Contact
  • Nav Social Menu

    • Facebook
    • Instagram
    • Pinterest
    • RSS
    • Snapchat
    • Twitter

Michelle Michelotti-Martinez

Homemade Ricotta and Thyme Roasted Grapes

November 18, 2015 by Michelle Michelotti-Martinez

Sometimes you just need cheese.

Homemade Ricotta and Thyme Roasted Grapes

I don’t know about you but it isn’t ice cream or gelato that I reach for on “those nights”, you know which ones….”those” but instead, I crave homemade ricotta period.

For me, “those nights” come so unexpectedly, just kinda sporadically and on unassuming days where I wouldn’t expect it. Thank GOD for the ability to drown sorrows in creamy goodness. Now, don’t get me wrong, I love gelato (ice cream is okay but gelato rocks) but it isn’t a consistent fix for me and I need something reliable when I am feeling “the need”.

Fortunately or unfortunately I don’t just have this ricotta during the drowning of emotions, I have it on my pizza, pasta, or just cuz…lots of just cuz….

Homemade Ricotta and Thyme Roasted Grapes

Okay enough on why I need homemade ricotta, let’s get down to the recipe so you can indulge with me on “those nights” or just cuz….

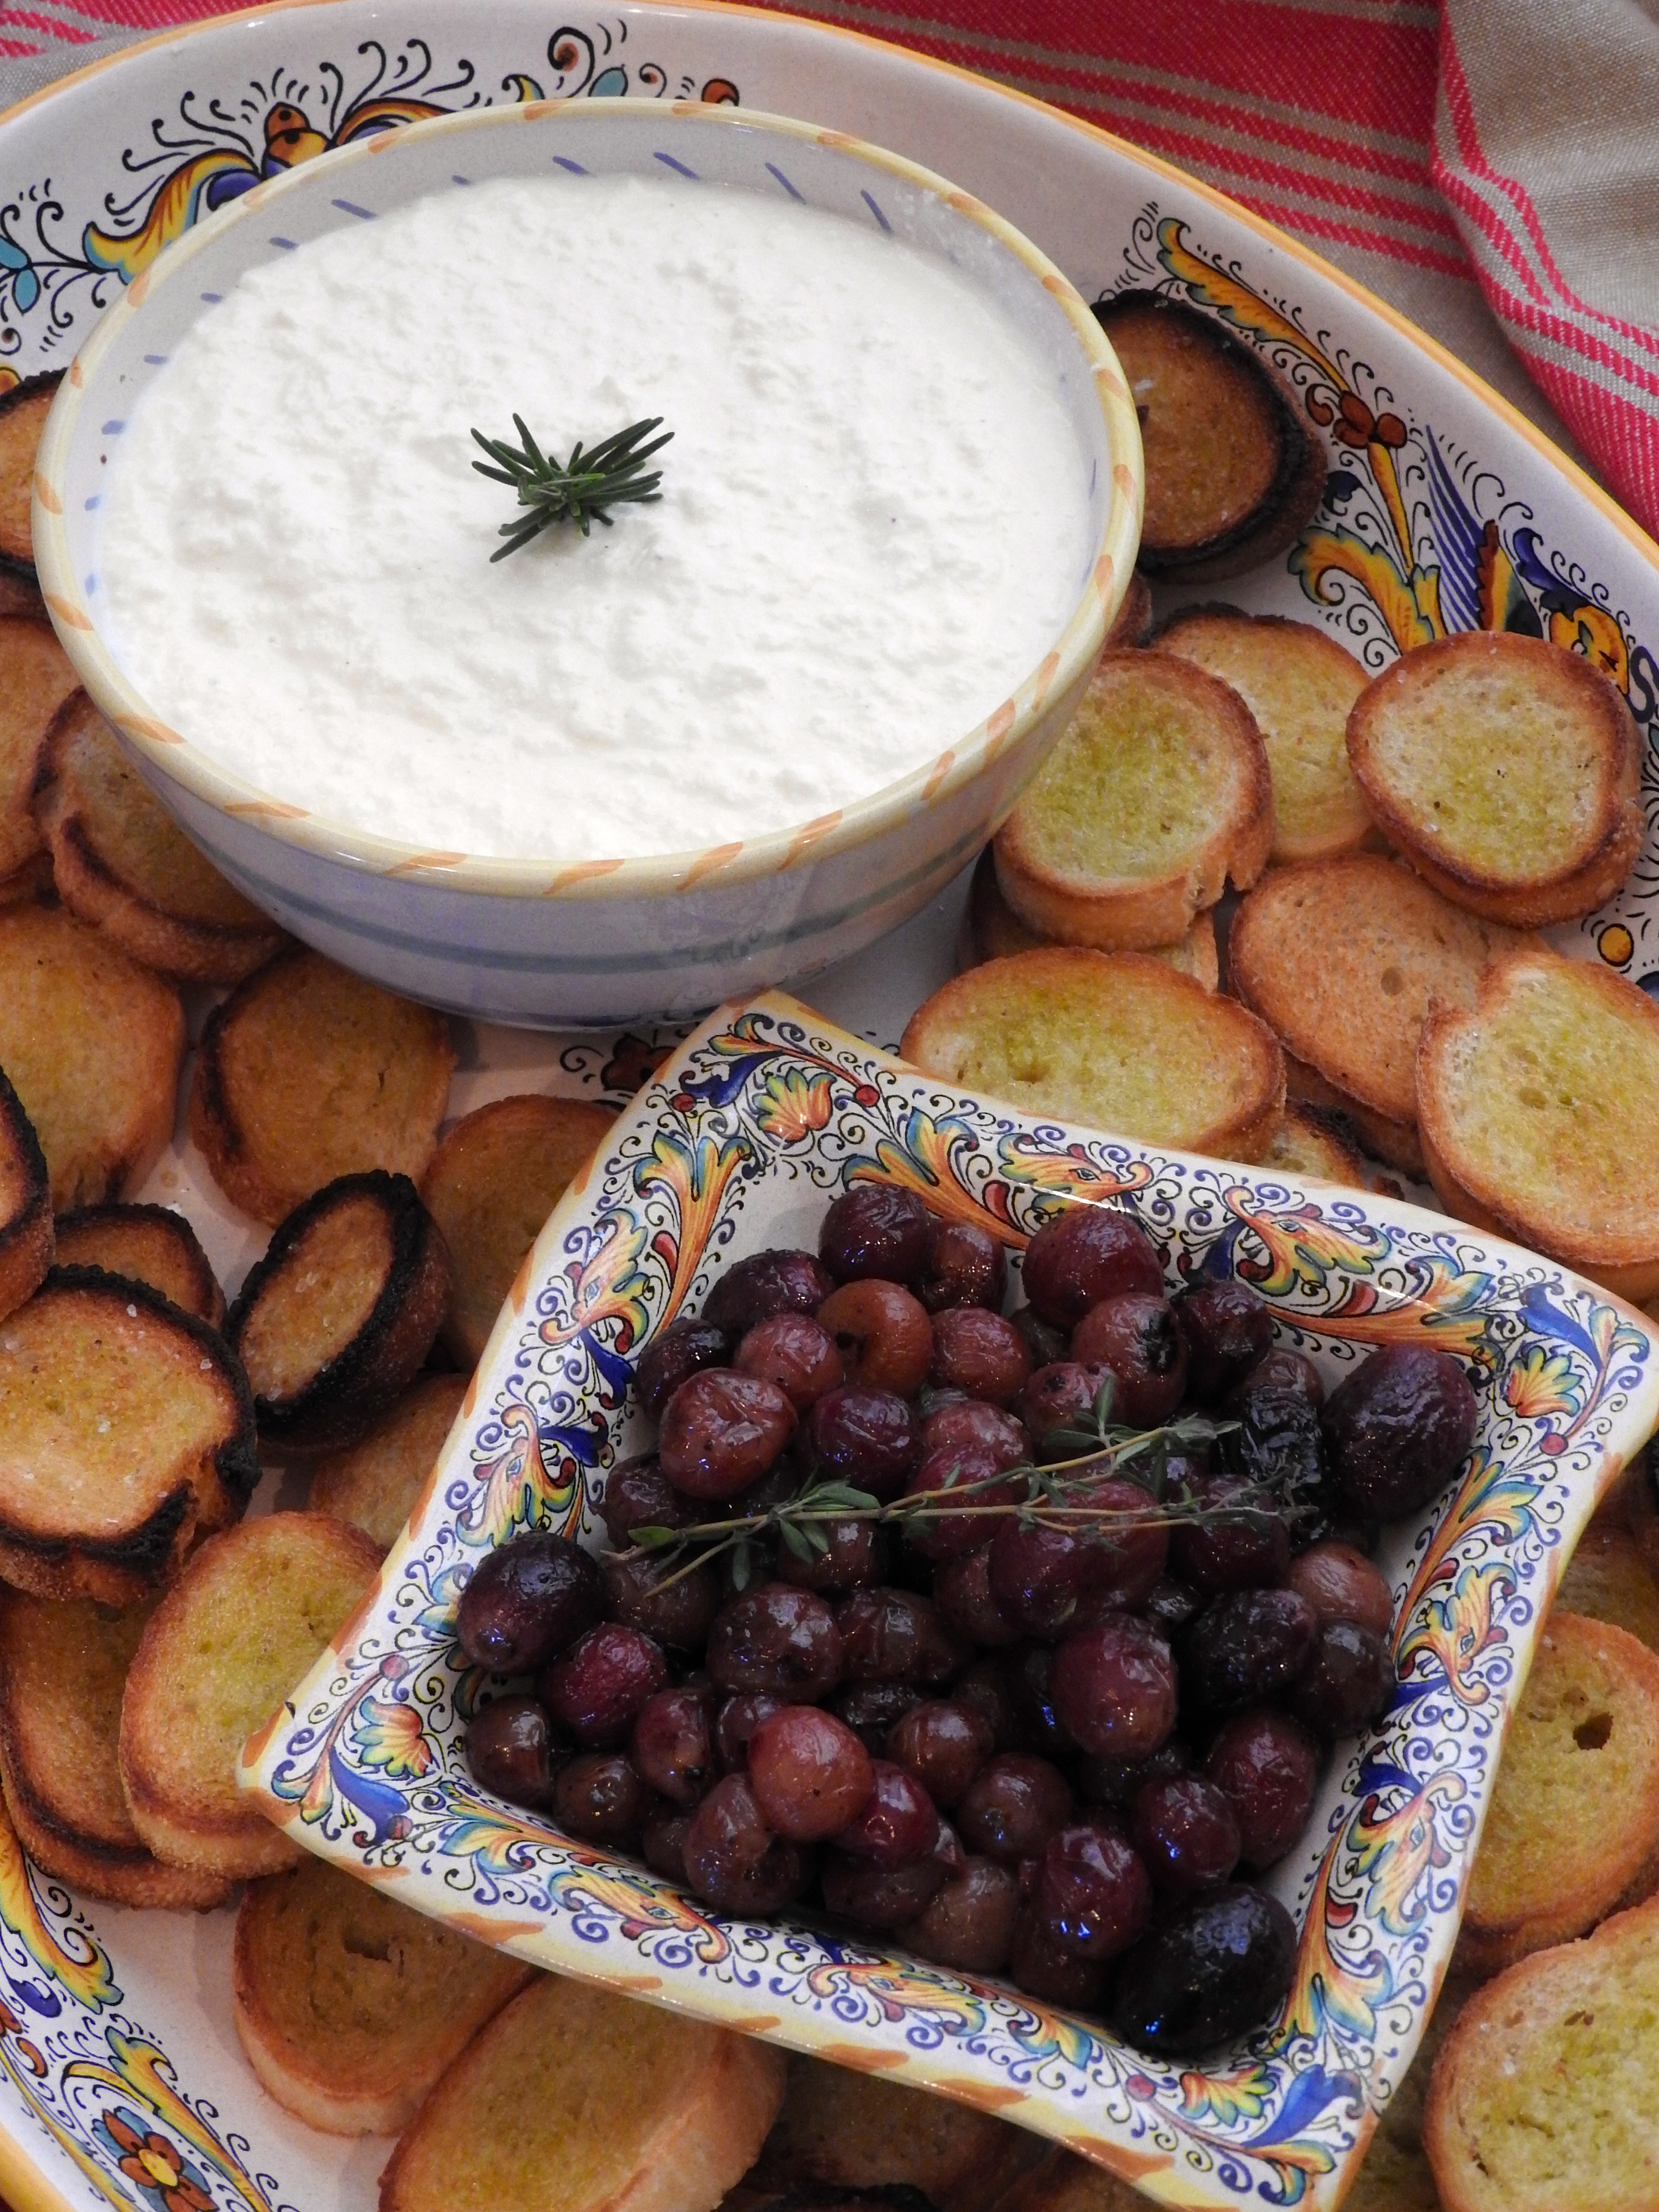
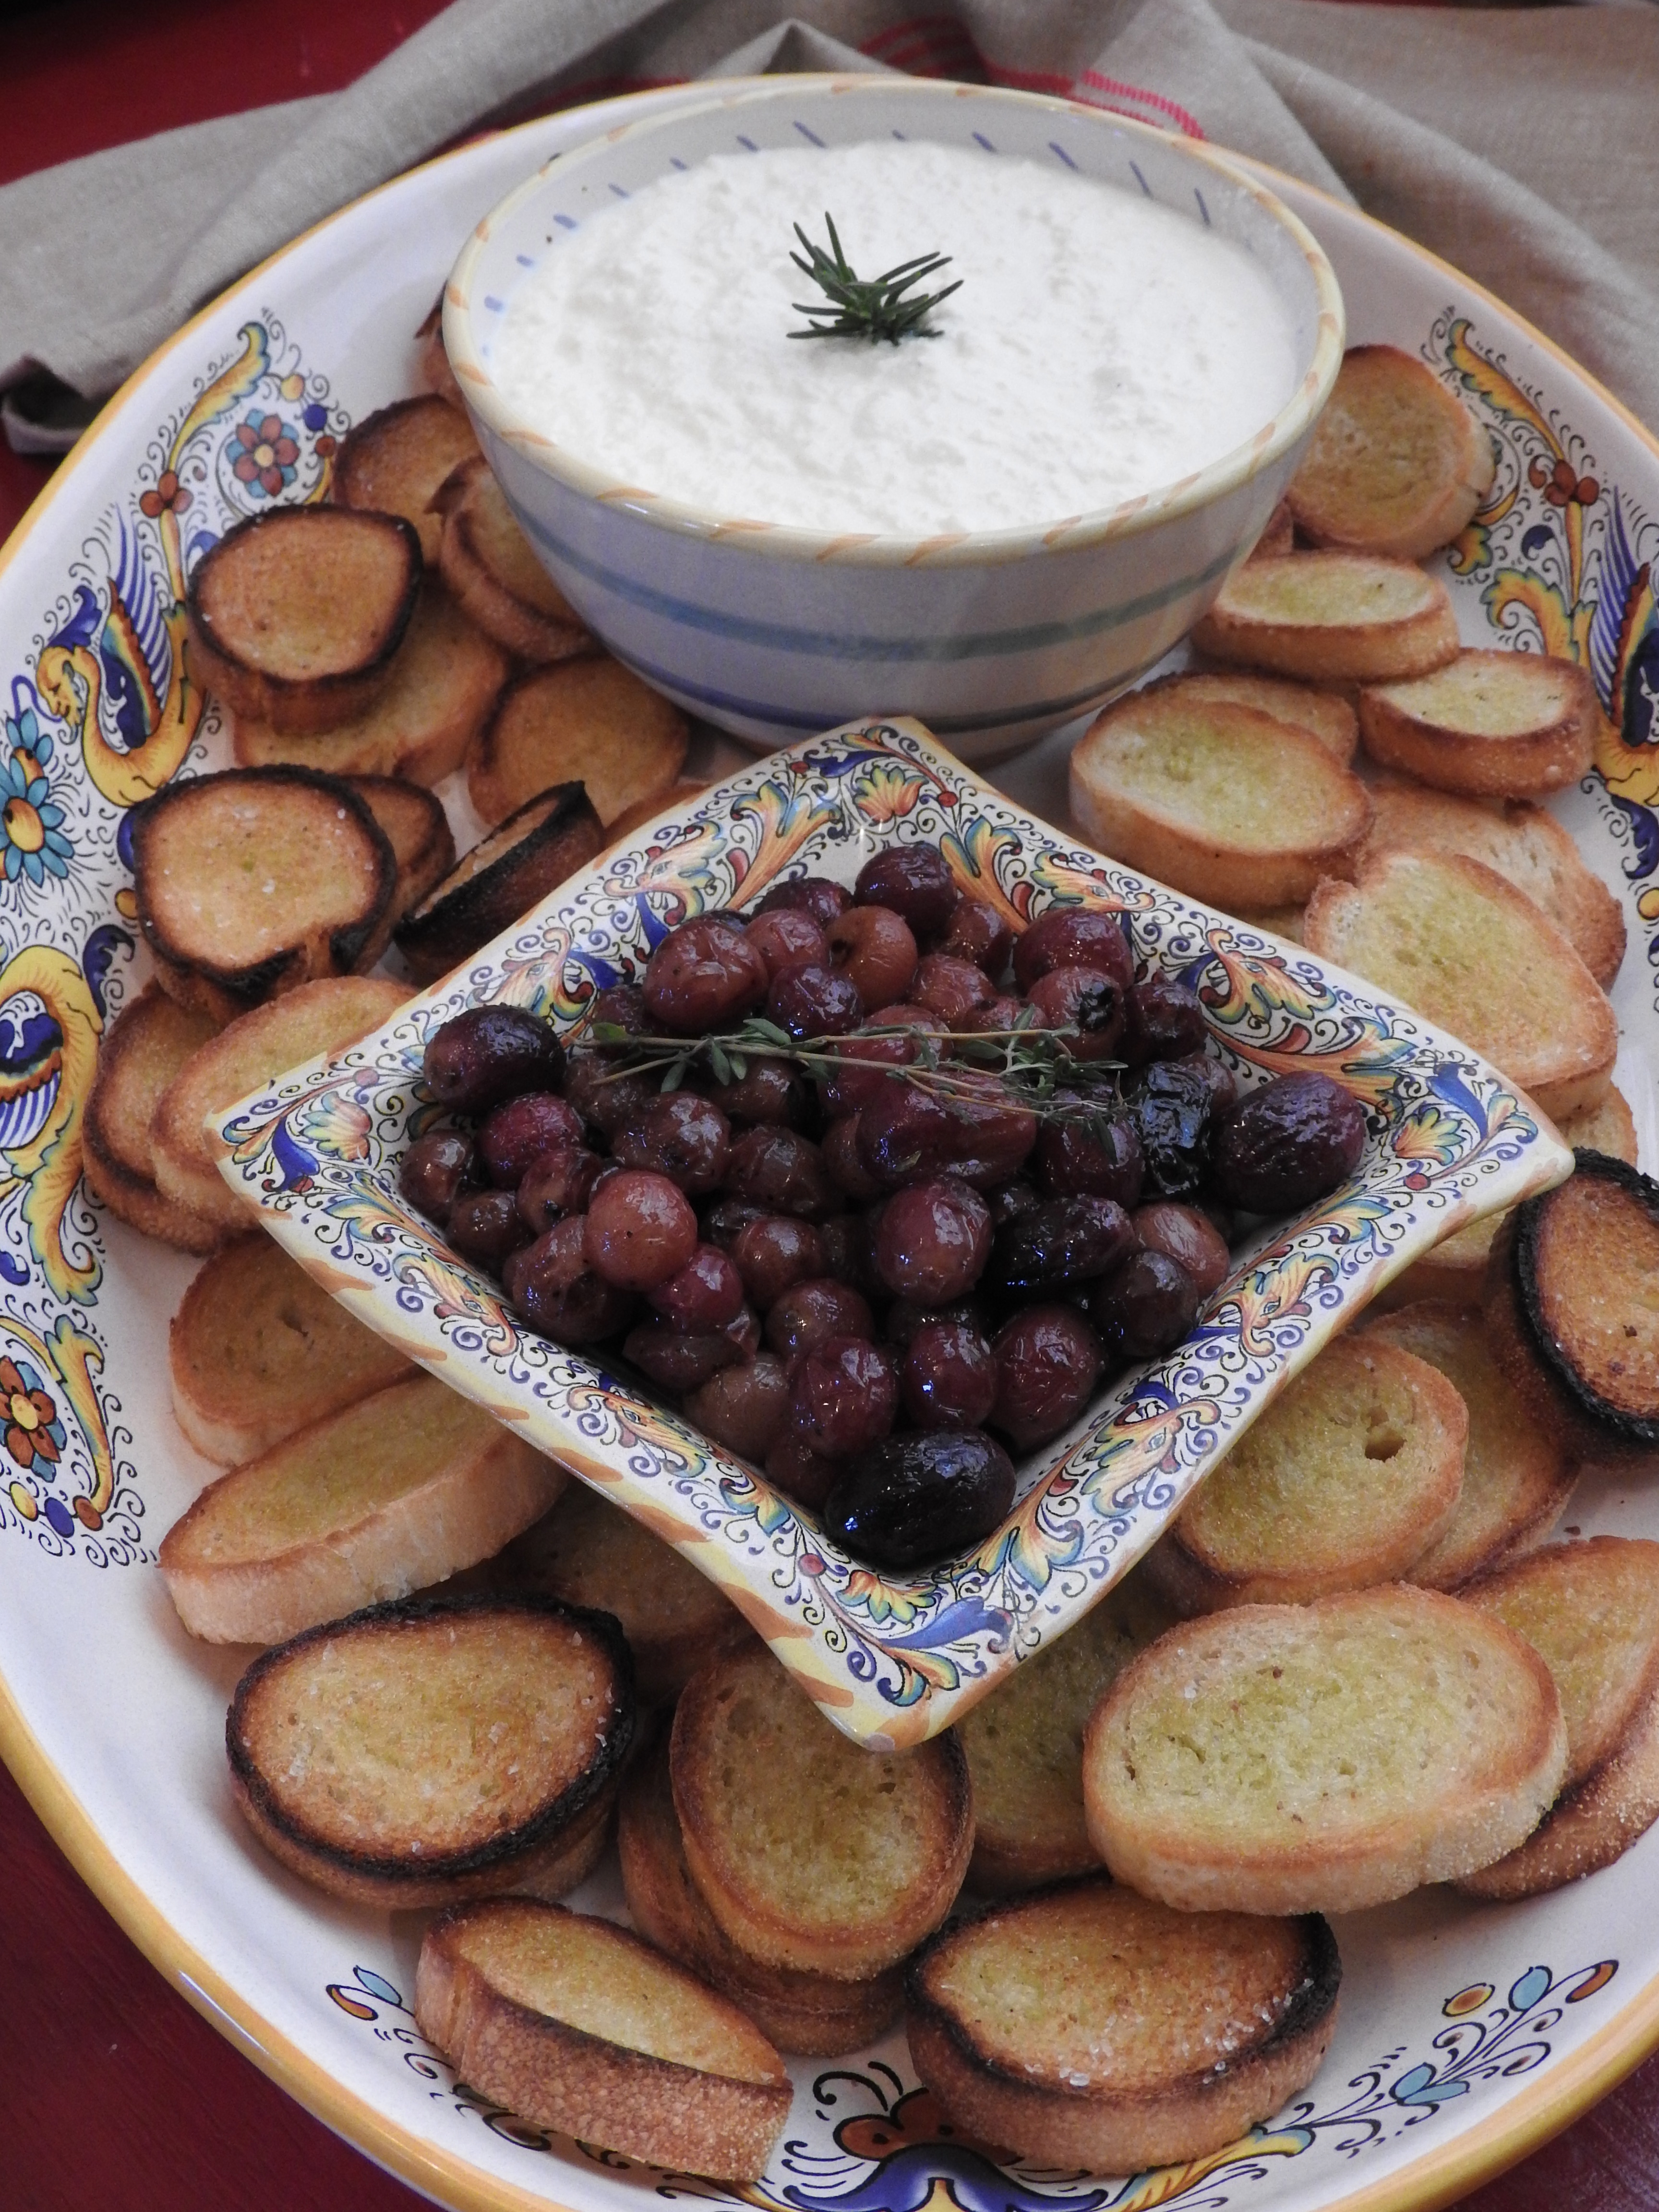
So, you ask, why bother? What could be THAT good to make ricotta from scratch AND roast grapes with thyme to add some sweetness? Welllll……I think the only answer I have is, it IS that good and you just have to experience it.

The BIGGEST key to this recipe is organic everything…organic whole milk, organic whipping cream, and organic white wine vinegar. It honestly creates the magic texture AND flavor, I don’t know exactly why, my best guess is the less added to the product, the better and it is probably as simple as that. Everytime I have used non-organic product, it just isn’t the same, it really isn’t. Also, take the time to let it come to a slow boil in order to separate the cheese from the whey (in other words, don’t get impatient, turn up the heat, and push the process) it will burn and not separate completely….and “old reliable” for “those nights” will become a quick failure. (HINT: perhaps just make some ahead…who needs to add frustration to life?)

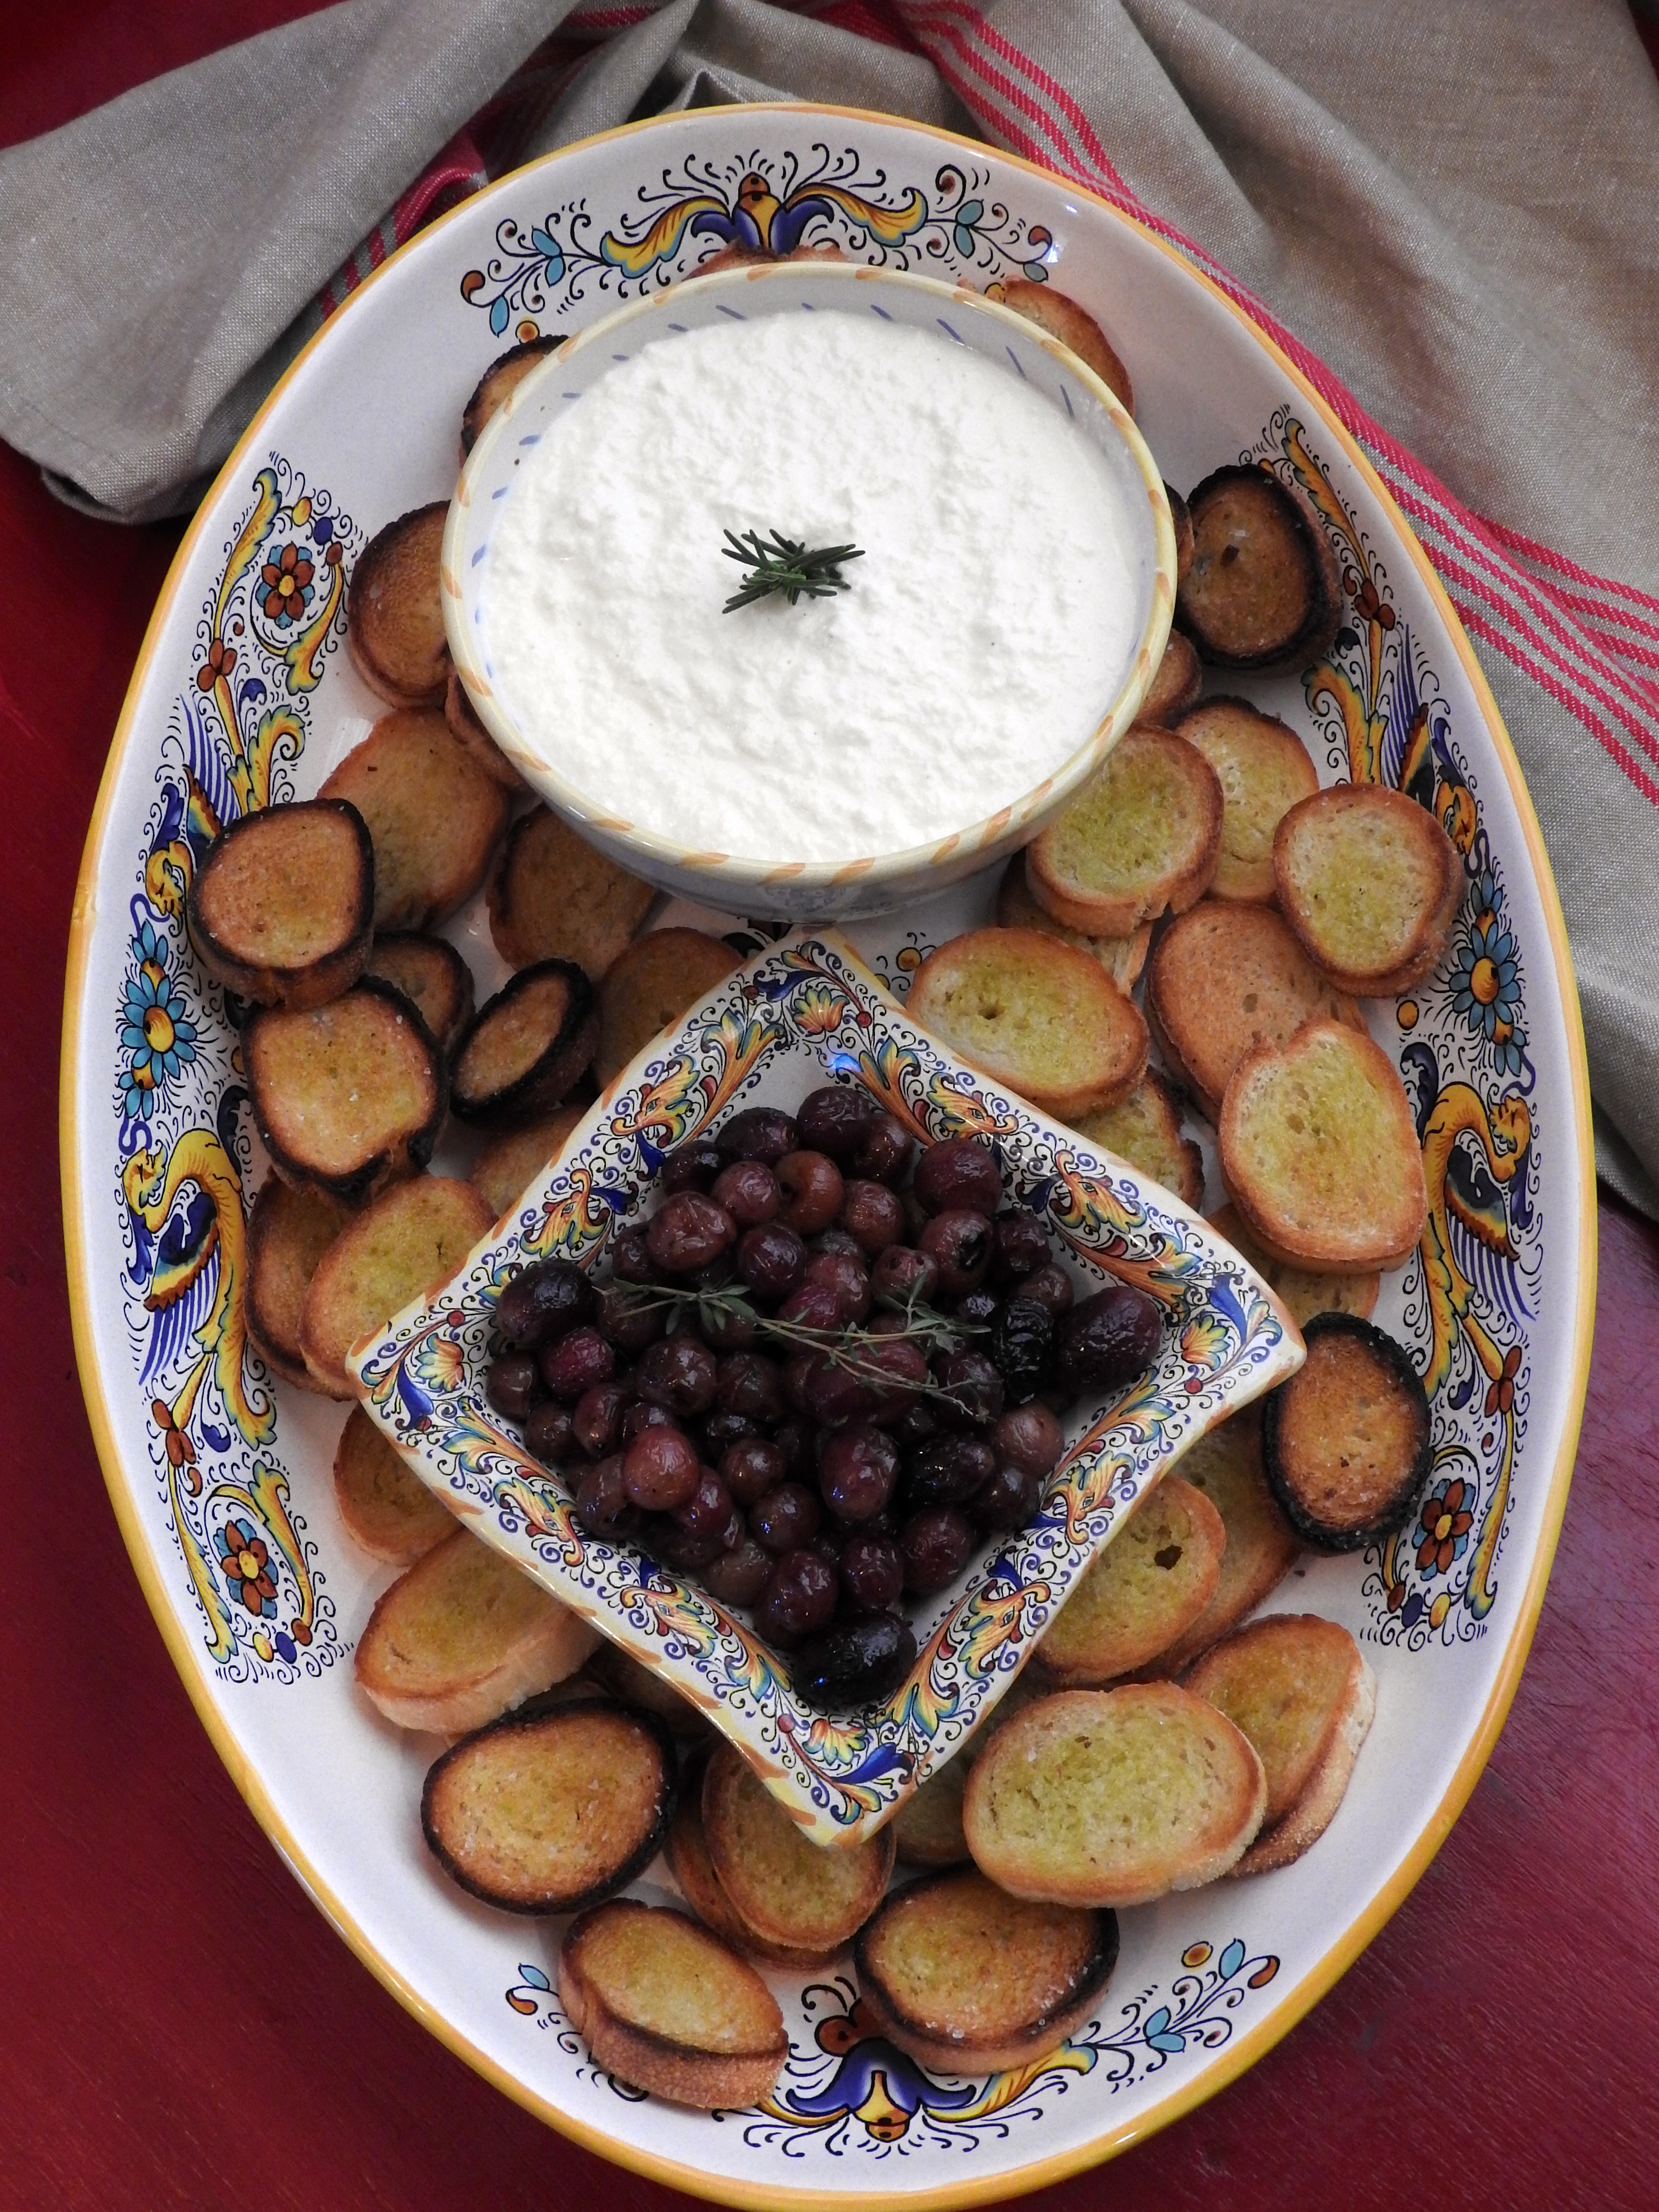
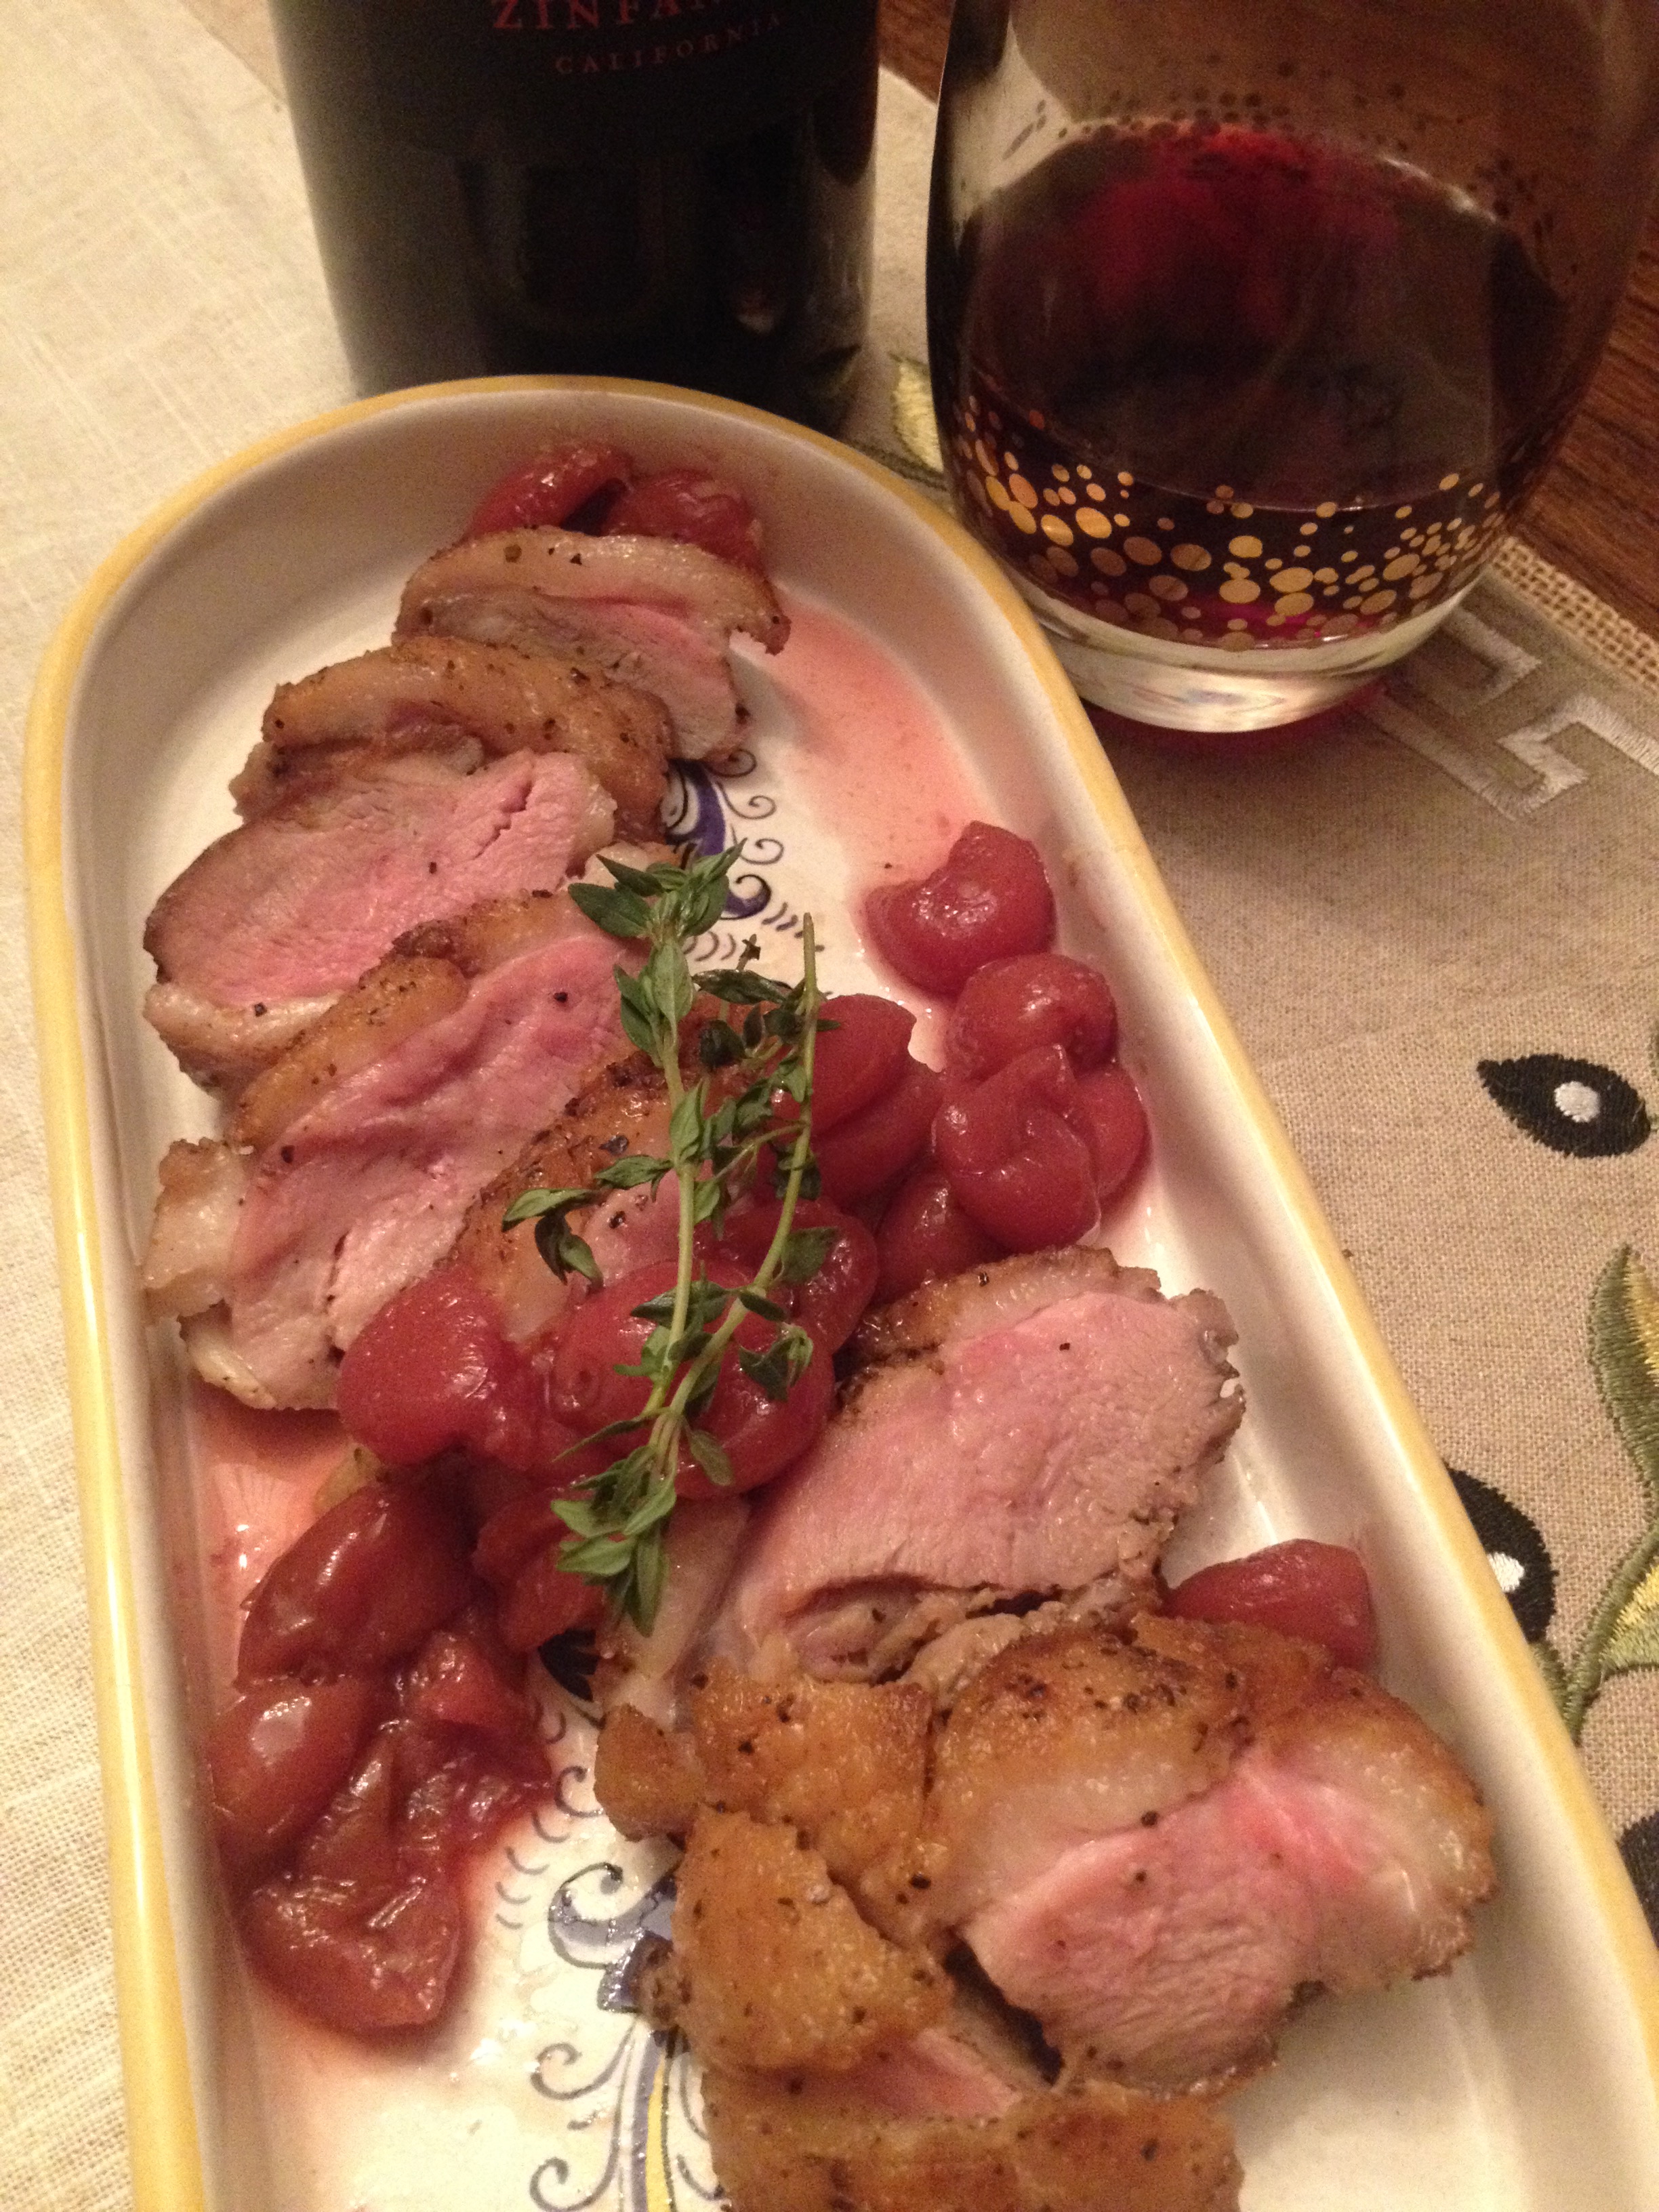
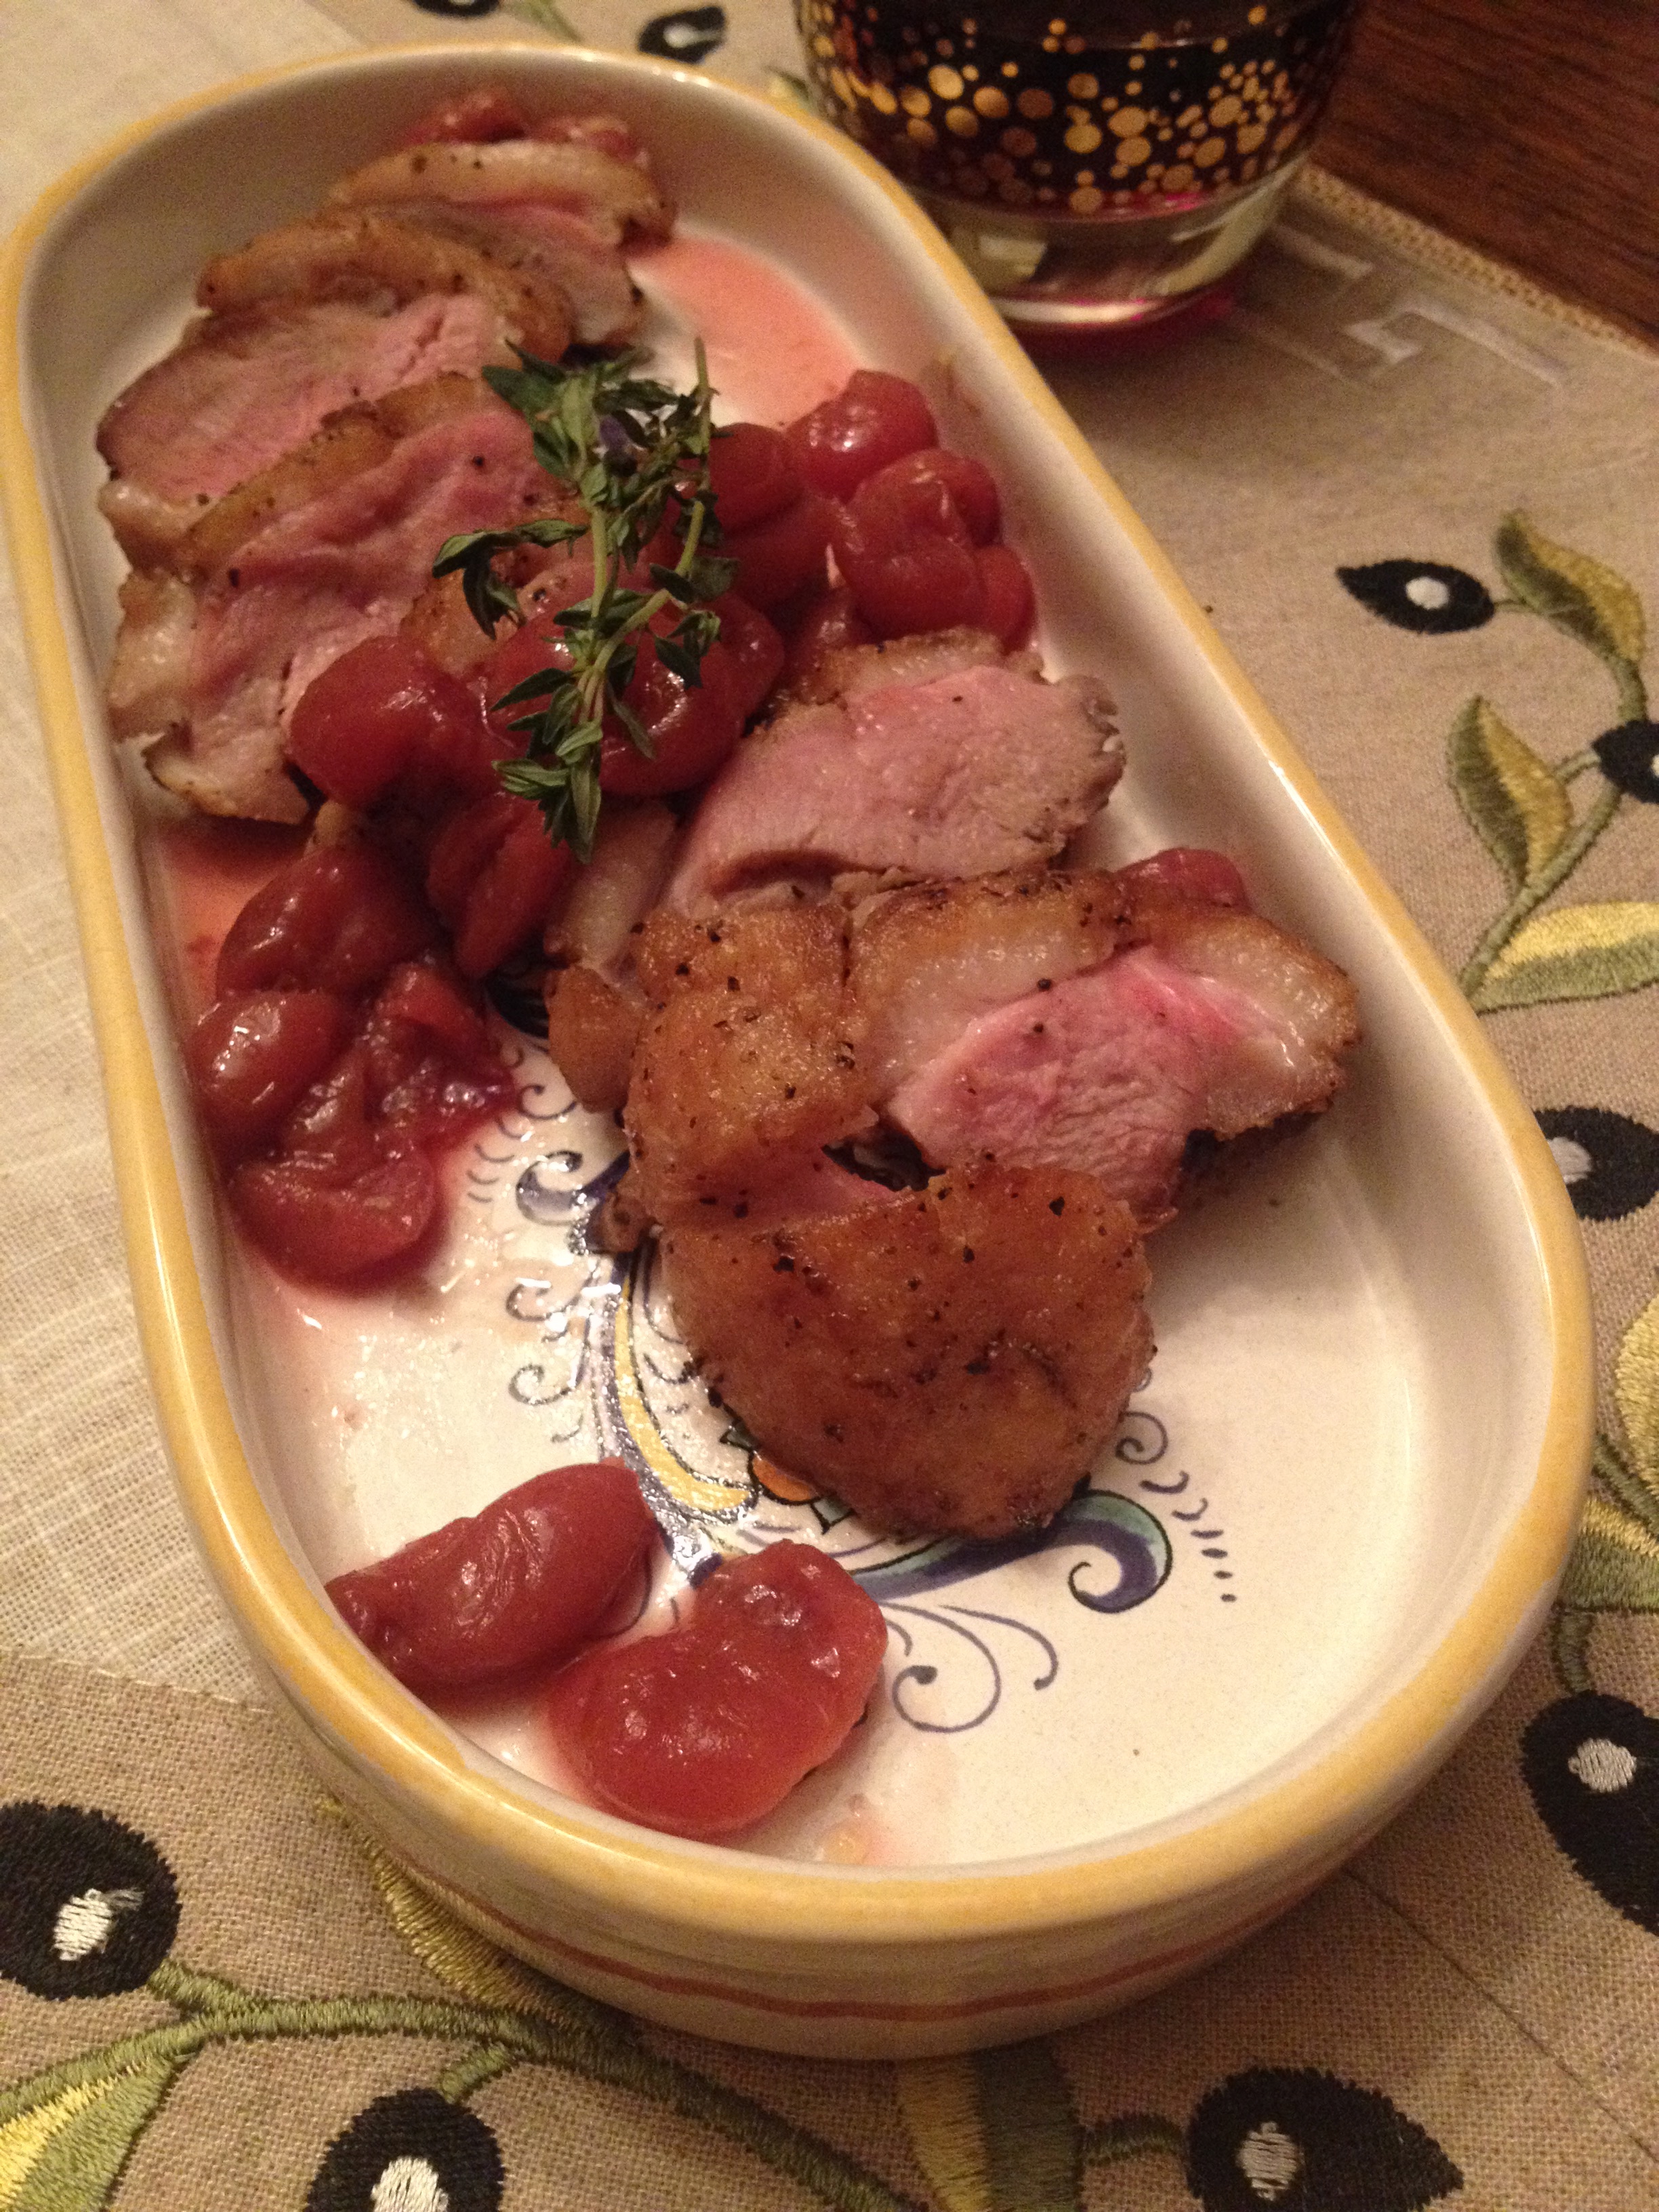
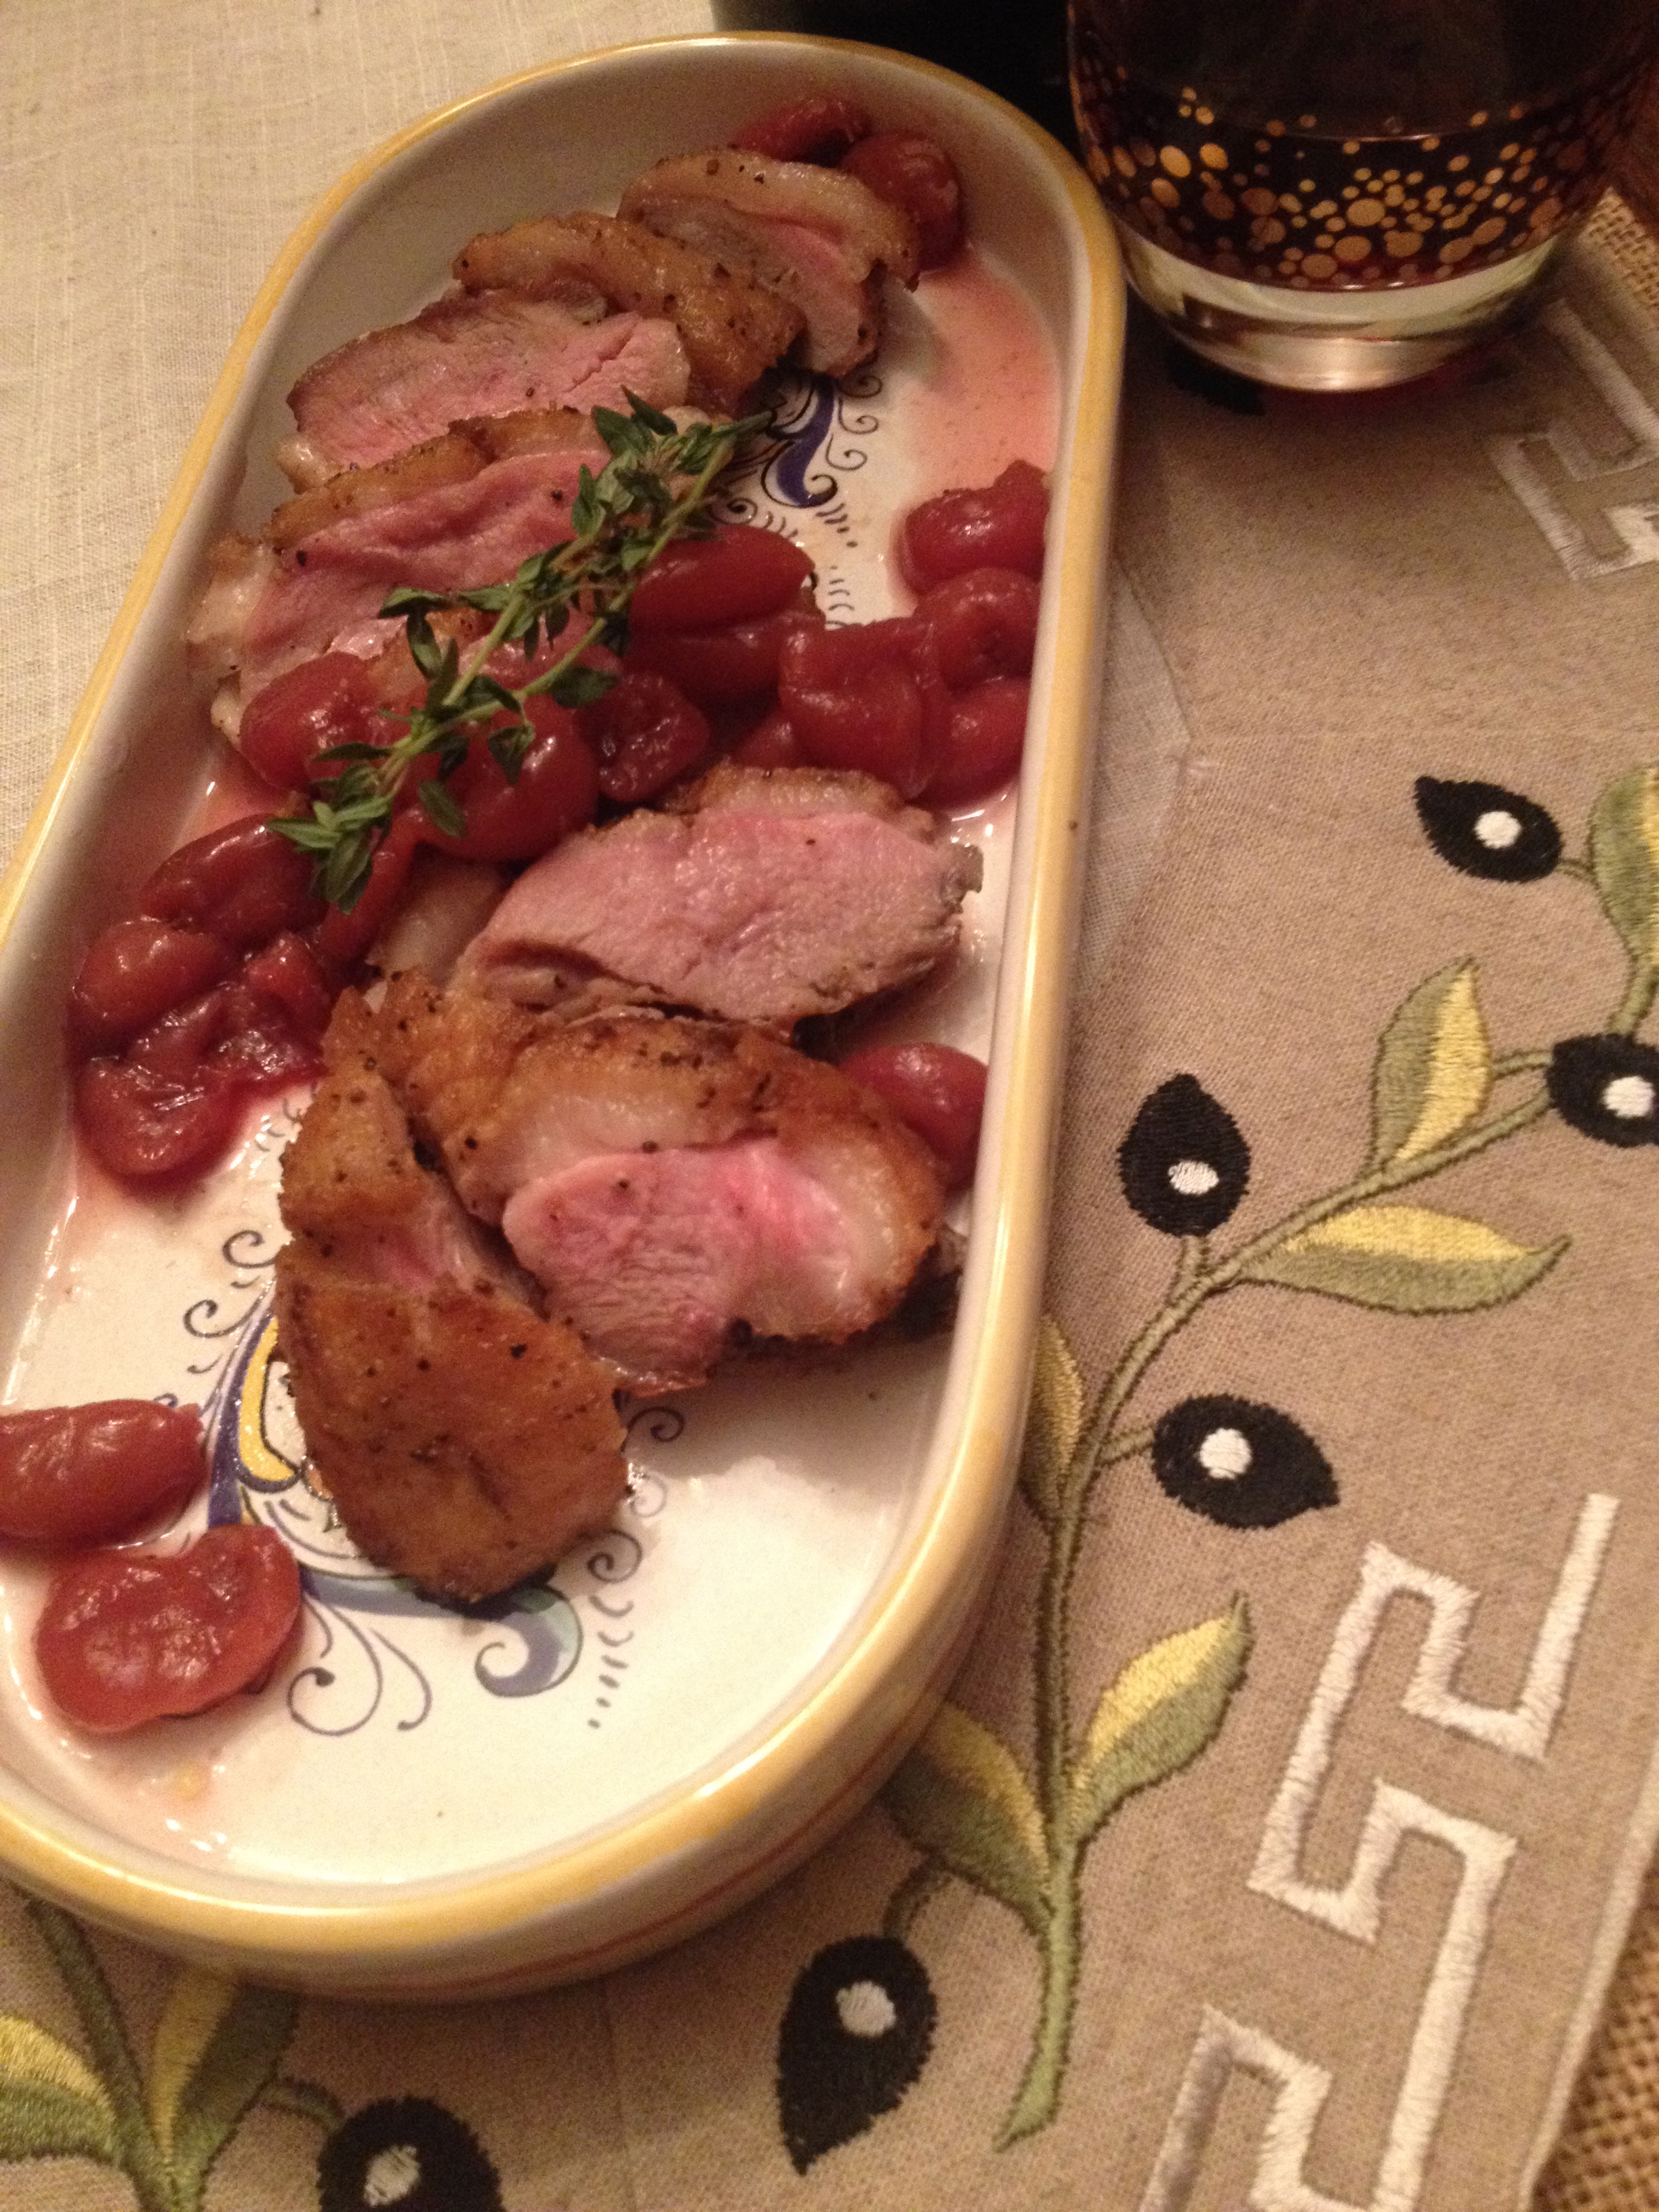
Okay, so the grapes are really easy and add such a special flavor for a simple appetizer. I do like to use the globe grapes but they aren’t always available but when they are, use them. Obviously fall rocks to do this recipe because grapes are in season and naturally sweet and if, that’s a big IF, I have any leftovers, I use them on roasted pork or roasted chicken…..totally works as a yummo condiment.

Homemade Ricotta and Thyme Roasted Grapes

Lastly, the crostini, you can make or just buy or use crackers. I won’t call you or blacklist you if these aren’t from scratch (but I will say it is yummier when they are LOL).

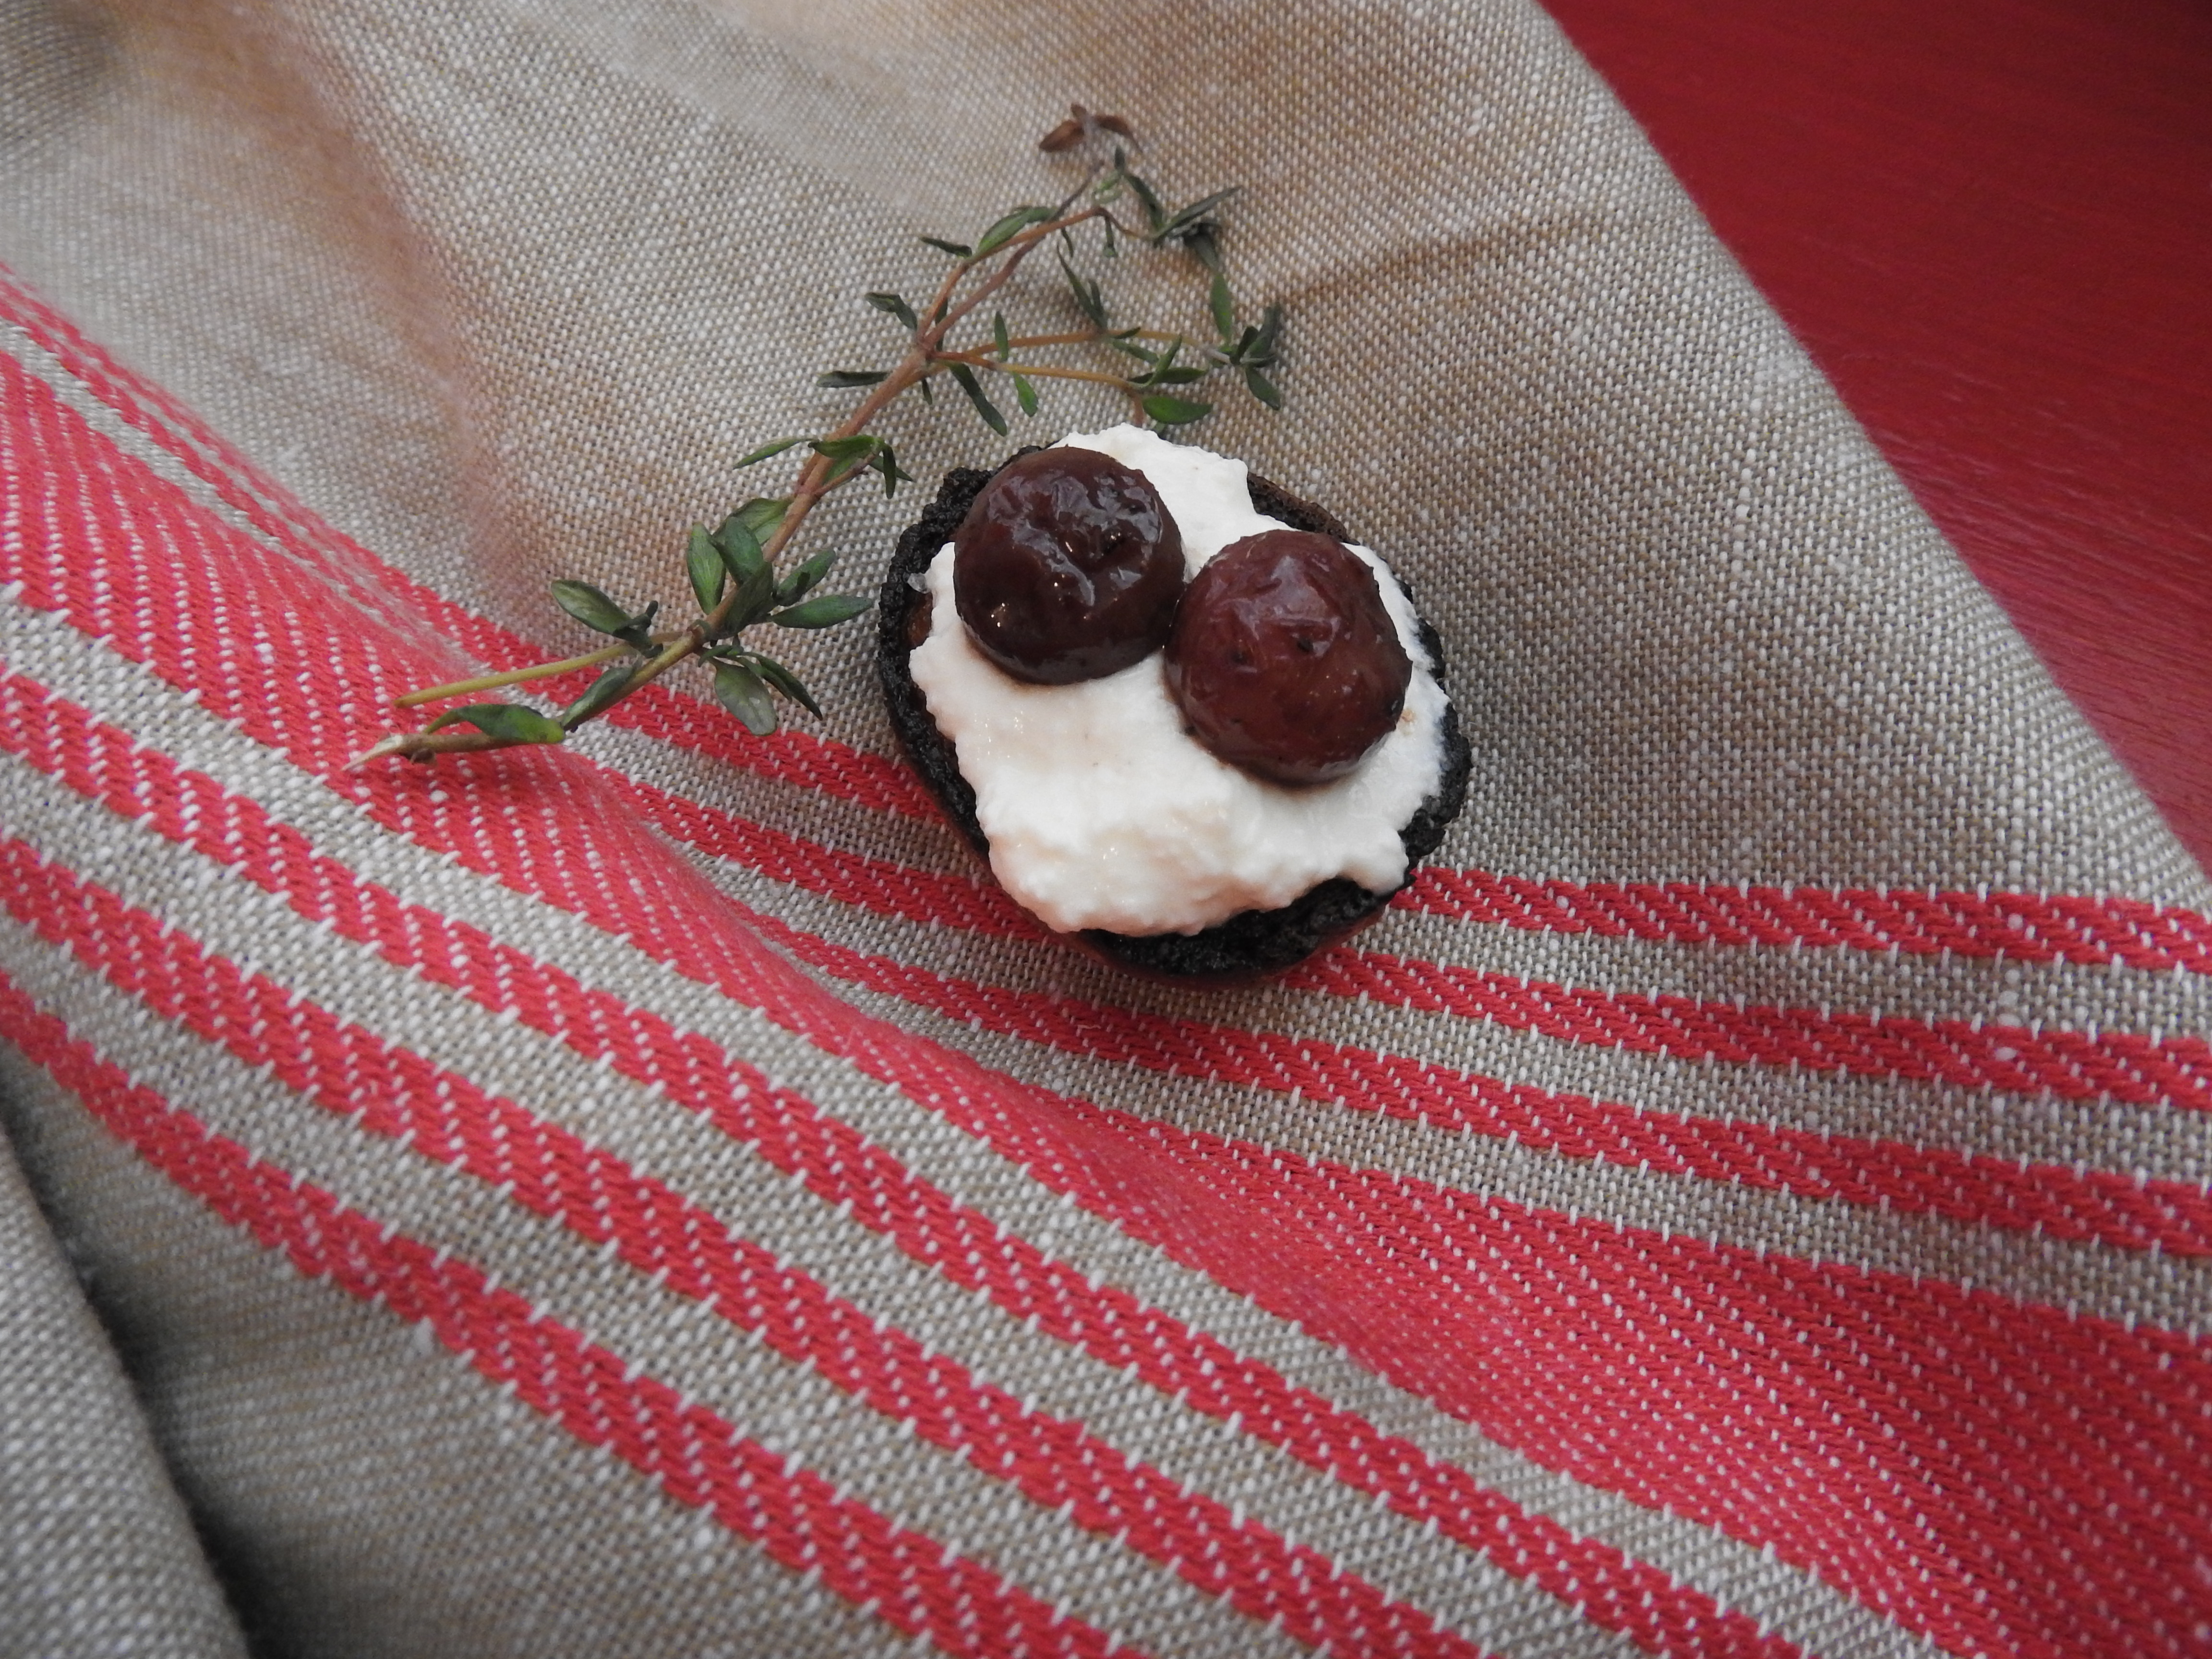
There you have it, all the philopshophy, tips, and ingredients to do this….so….just do it! You will thank me later! 🙂 P.S. Isn’t that the cutest crostini EVER? How could you resist?

5.0 from 1 reviews
Homemade Ricotta and Thyme Roasted Grapes
 
Print
Prep time
5 mins
Cook time
30 mins
Total time
35 mins
 
Serves: 10-12
Ingredients
  • Homemade Ricotta:
  • 6 cups organic whole milk
  • 2 cups organic heavy whip cream
  • 1 tsp salt
  • 3 T organic white wine vinegar
  • Thyme Roasted Grapes:
  • 1 bag of grapes
  • olive oil
  • salt and pepper
  • a pinch of sugar
  • parchment paper
  • 3-4 sprigs of fresh thyme
Instructions
  1. Homemade Ricotta:
  2. In a saucepan on stove over medium heat, put in the milk, cream, salt, and vinegar. Bring to a medium heat and boil where it starts to separate. Put in a mesh colander over a bowl until liquid is drained. Put into desired serving dish.
  3. Thyme Roasted Grapes:
  4. Preheat oven to 350
  5. Line a cookie sheet with parchment paper
  6. Wash and dry grapes and spread individually on cookie sheet. Pour some olive oil over grapes, season with salt and pepper and a little sugar. Turn to coat evenly. Top with thyme sprigs.
  7. Cook for 20-25 minutes. Let cool and put in desired serving dish and serve with ricotta and crostini.
3.5.3208

Homemade Ricotta and Thyme Roasted Grapes

Filed Under: Appetizers Tagged With: crostini, grapes, handmade, ricotta, roasted, thyme

Homemade Fettuccine with Brown Butter and Sage

November 4, 2015 by Michelle Michelotti-Martinez

Fettuccine with Butter and Sage

Fettuccine with Butter and Sage

Fettuccine with Butter and Sage

Fettuccine with Butter and Sage

It’s November, it is really November; clocks even went back so we know we are full on now….only 20 days till Turkey time and the gorging bliss of the holidays begin!

I don’t know why but all this has taken me by surprise. BUT (always gotta jump into the positive aspect) after my post about duck breasts last week and all the comfy food talk, I’m ready to keep embracing the fall flavor profile and post one of my absolute favorite pasta recipes…..fettuccine with butter and sage! If I want it to sound REALLY yummy (and a little sexier) I would say fettuccine con burro e salvia (because everything sounds better in Italian)!

Okay enough with the Italian lesson as we have fettuccine con burro e salvia to talk about! Yep, essentially, flour, egg, butter, sage, parmigiano. Would you ever think that 5 ingredients could create SUCH MAGIC? Well they do and with ALL the pasta I have had over the years with ALL the different sauces, this one reigns at the top. It is perfect (of course it’s perfect, it’s pasta) but seriously, in my little world it’s perfect.

For me, the key to this recipe is to brown the butter and grow your own sage. I know, maybe the growing sage is a stretch but if you have ANY urge to be a little farmer like myself, growing herbs is an awesome starting point.

Why brown the butter? Well, the nutty flavor infuses into the pasta with the sage and the combination is INCREDIBLE, I mean INCREDIBLE! Just be careful not to overbrown because it can get a “burnt” flavor. What I do is to just get it to a “light” brown color and pull it off the burner. Then while the pasta is cooking for a couple minutes in the pot (cuz I like fresh pasta) I put the butter back on to brown up some more and add fresh sage leaves. If you leave them whole, they make a really pretty statement. Remember sage is a strong herb so use on the lighter side. (If you don’t want to make your own pasta, of course fresh pasta from the store works as does dried).

The last KEY step with this (or any pasta dish) is to put the semi-cooked pasta in the saucepan with the butter (or sauce) and let it finish cooking with the sauce (always add a little pasta water to help bind together).

I made this dish for my sister’s birthday dinner last week and served it out of roasted butternut squash bowls. After filling these cute bowls (which when pulled out of the oven are an ingenious way to keep the pasta nice and warm), I just sprinkled the top of the pasta with parmigiano cheese and a hunk of dense, artisanal bread with butter. I presented them to the table and time stopped, it was perfection.

Homemade Fettuccine with Brown Butter and Sage
 
Print
Prep time
1 min
Cook time
10 mins
Total time
11 mins
 
Author: Michelle Michelotti-Martinez
Recipe type: Main
Cuisine: Italian
Serves: 6
Ingredients
  • Fresh Egg Pasta:
  • 4 cups all purpose flour or caputo semolina flour (found on amazon)
  • 4 -5 large eggs
  • ½ teaspoon salt
  • water as needed
  • 2 sticks of butter
  • Handful of sage
  • Parmigiano cheese
Instructions
  1. To Make Fresh Pasta:
  2. Make a mound of the flour in the center of a large wooden cutting board or in a bowl, whichever is more comfortable to you. Make a well in the middle of the flour and add the eggs and salt. Using a fork, beat together the eggs and begin to incorporate the flour starting with the inner rim of the well. As you expand the well, keep pushing the flour up to retain the well shape. Do not worry that this initial phase looks messy. The dough will come together when ½ of the flour is incorporated. If using a bowl, turn out onto a wooden cutting board now and start kneading the dough with both hands, using the palms of your hands primarily. Once you have a dough ball, remove its rom the board and scrape up any left over crusty bits. Lightly flour the board and continue kneading for 3 more minutes. If dry, add 1 T of water at a time and incorporate. The dough should be elastic and a little sticky. Continue to knead for another 3 minutes, remembering to dust your board when necessary. Wrap the dough in plastic and allow to rest for 30 minutes at room temperature. Note: do not skip the kneading or resting portion of this recipe, they are essential for a light pasta.
  3. To cut pasta:
  4. With a hand crank machine or kitchen aide attachment start with setting 1. Cut off ¼ of the ball and flatten out. Dust with flour as to not let it stick while passing through machine (you may have to do this periodically). Pass through once and then fold in thirds, turn and pass again. Do this 2 more times and then pass it straight through an additional 2 times. Put on setting 2 and pass through twice. Repeat with setting 3 and 4. When you get to setting 5, put through once and set sheet aside and repeat with remaining dough.
  5. Put sheets through fettuccine cutter and put onto a floured cookie sheet. Toss to keep strands separate. Do this periodically while drying and add a little flour each time if necessary.
  6. To make brown butter sauce:
  7. In a large sauce pan, place butter. On medium heat cook until a slightly brown color begins. Remove until ready to cook pasta. While pasta is cooking partially (1-2 min), return to heat and add sage. Watch as to not over brown.
  8. To boil:
  9. In a large dutch oven, fill three-quarters of the way full with water and put in salt (salty as the sea). Bring to a boil and add pasta. Cook 1-2 minutes and drain (reserving 2 cups of water) and put immediately into browned butter to finish cooking, about 1-2 minutes more. Serve immediately topped with parmigiano cheese and more to pass at table.
3.5.3208

Fettuccine with Butter and Sage

Fettuccine with Butter and Sage

Filed Under: Pasta, Pizza, and Polenta Tagged With: Brown, Butter, Fettuccine, homemade, italian, Main, pasta, Sage

Seared Duck Breast with Rosemary Cherry Sauce

October 28, 2015 by Michelle Michelotti-Martinez

Seared Duck Breast with Rosemary Cherry Sauce

Seared Duck Breast with Rosemary Cherry Sauce

OHHHH it’s finally fall…I fight the transition, I really do; not QUITE ready to let those lazy summer days go but then bounty kicks in, harvest keeps me busy and from one day to the next I am full on into it, FULL ON and then as the days get shorter and the air crisper I dream of making all those fall comfy foods that make us all happy….

Okay enough about transition because we have seared duck breasts to chat about today! Yep duck breasts. You might have thought I was leading into some more comfy type foods (I have all fall and winter to do that)…besides I have a party this weekend and I need to do some WOWING (is that a word?)

Anyway, not only does seared duck breasts sound really like a sexy and fancy main dish, I plan on serving a delicious rosemary cherry sauce to serve on top. Seriously, I think we all know that duck and cherries are like two peas in a pod, they just make each other super happy.

Seared Duck Breast with Rosemary Cherry Sauce

The most difficult part of this recipe is that you have to “score” the skin of the duck breast. I don’t mean rate it like in a literally score but have to cut a crisscross pattern into the skin (Please don’t cut the meat at all) so that the fat near the skin can render and become super yummy crispy!

As for the fancy cherry sauce, it is super simple too and if you don’t have access to fresh cherries (it’s sorta past season in fall unless you are a nut case like me and have some that have been canned) just use frozen, they are a super substitute.

So back to the duck breasts. After you score them, season with salt and pepper and put in a nicely heated cast iron skillet (if you have one) with the butter and sear away (leave it until there is a nice browned skin and super crispy). When you turn them over, turn it down to medium and finish up.

Now the magic rosemary cherry sauce! You will use the same skillet cuz there is some yummo goodness in that pan. There are only 4 ingredients (seriously good 4 ingredients) and they all cook together, reduce, and create a tart-sweet sauce to drizzle or drench (your total preference) over the duck breast.

The last tidbit of info to make your guests think you are over the top awesome is to thinly slice the duck breast, fan them onto a pretty plate and put the cherry sauce over the top and whoa la…there is nothing more to say!

5.0 from 1 reviews
Seared Duck Breast with Rosemary Cherry Sauce
 
Print
Prep time
10 mins
Cook time
30 mins
Total time
40 mins
 
Author: Michelle Michelotti-Martinez
Recipe type: Main
Serves: 4-6
Ingredients
  • 4 duck breasts
  • 4 tablespoons butter, divided
  • 1 cup halved pitted sweet red cherries, fresh or frozen, thawed
  • ¼ cup good red wine
  • 4 T tablespoons honey
  • 2 T chopped rosemary
Instructions
  1. Take the duck breasts and using sharp knife, score skin in ¾-inch diamond pattern (do not cut into flesh).
  2. Melt 2 tablespoon butter in heavy large skillet over medium-high heat. Sprinkle duck with salt and pepper. Add duck, skin side down, to skillet and cook until skin is browned and crisp, about 5 minutes. Turn duck breasts over, reduce heat to medium, and cook until browned and cooked to desired doneness, about 4 minutes longer for small breasts and 8 minutes longer for large breast for medium-rare. Transfer to work surface, tent with foil to keep warm, and let rest 10 minutes.
  3. Meanwhile, pour off all but 2 tablespoons drippings from skillet. Add cherries, wine, rosemary and honey. Increase heat to high and boil until sauce is reduced to glaze, stirring often, about 3 minutes. Whisk in 1 tablespoon cold butter. Season sauce to taste with salt and pepper.
  4. Thinly slice duck. Fan slices out on plates. Spoon sauce over and serve.
3.4.3177

Seared Duck Breast with Rosemary Cherry Sauce


Filed Under: Meat and Poultry Tagged With: breasts, cherry, duck, sauce, seared

Roasted Delicata Squash Rings with Herbed Yogurt

October 15, 2015 by Michelle Michelotti-Martinez

Roasted Delicata Squash Rings with Herbed Yogurt 4

Roasted Delicata Squash Rings with Herbed Yogurt 11

Roasted Delicata Squash Rings with Herbed Yogurt 14

Roasted Delicata Squash Rings with Herbed Yogurt 17

Roasted Delicata Squash Rings with Herbed Yogurt 19

When fall arrives and harvest is in full swing I could be a complete vegetarian, I swear. During the autumn bounty I over shop and spend all my hours creating new dishes all the while stuffing my freezer as if I will run out of food 2 months from now! I am worse than a kid in a candy store eating their way through the experience and giddy as the day is long….ohhh life’s simple pleasures. I am sure Enrique is thrilled I have this addiction….after all there are so many other vices I could take up…:)

This recipe of roasted delicata squash rings with herbed yogurt is as good as any sweet experience you can buy, in fact it’s better. The caramelization creates the BEST layer of sugary sweet and combined with the smooth tangy flavor of the yogurt you have a exquisite culinary experience…take it up a notch and add the crunchy tartness of pomegranate and a lemony wood herb combination and it immediately transports into a magical experience.

The best part of this dish, other than consumption, is how EASY it is to prepare. Honestly, 5 minutes prep and the rest is oven time…that’s it. Serve it up with any protein you like or keep the meal vegetarian and pair it with an ancient grain like freekeh or farro. Make it for a party and your friends will think you totally rock. It’s a fabulous appetizer, side dish or main, just do your own creation and happiness will abound.

If nothing else, just devour it.

5.0 from 1 reviews
Roasted Delicata Squash Rings with Herbed Yogurt
 
Print
Prep time
5 mins
Cook time
25 mins
Total time
30 mins
 
Author: Michelle Michelotti-Martinez
Serves: 2-4
Ingredients
  • 1-2 Delicata Squash, cut into rings and seeded
  • Olive Oil
  • Sea Salt
  • Fresh Ground Pepper
  • 1 Cup Greek Yogurt
  • 4 T Fresh Herbs, sage, parley, tarragon
  • Pomegranate Seeds
Instructions
  1. Heat oven to 350
  2. Slice Delicata Squash into rings and seed. Place on baking sheet and drizzle with olive oil, salt and pepper
  3. Cook for 20-30 minutes or until caramelized and tender
  4. Meanwhile, mix yogurt and most of herbs (reserve a little to top yogurt and put on delicata squash once out of oven).
  5. Once squash is done, arrange on platter, sprinkle with a little fresh herbs and pomegranate seeds. Serve with yogurt sauce
3.4.3177

Roasted Delicata Squash Rings with Herbed Yogurt 26

Roasted Delicata Squash Rings with Herbed Yogurt 20


Filed Under: Vegetables Tagged With: Delicata, fall, harvest, Herbed, roasted, squash, Yogurt

  • « Previous Page
  • Page 1
  • …
  • Page 4
  • Page 5
  • Page 6
  • Page 7
  • Page 8
  • …
  • Page 18
  • Next Page »

Primary Sidebar

Meet Michelle and Enrique

Eatentions is a way of being with our food experience. It is a thought-filled process starting with connection to source all the way through the finished creation. We like to call it "from root to experience". Its the entire thing, its that conscious. Thank you for popping by and welcome to our life.

Let’s Connect!

Archives

Categories


My Favorites

Arancini|Eatentions

Arancini

Torta Caprese

Torta Caprese

Lemon Pasta with Broiled Salmon and Charred Lemon|eatentions

Lemon Pasta with Broiled Salmon and Charred Lemon

Footer

Instagram

Instagram has returned invalid data.

Follow Me!

Connect With Us

  • Email
  • Facebook
  • Instagram
  • Pinterest
  • RSS
  • Twitter

We believe in celebrating amazing people, delicious food, great conversation, sustainability and experience. For us,our lives have always been about love, family, friends and sharing all things together. Connecting with people through food, sharing stories and supporting one another to live our dreams and our purpose is what inspires us daily.

My Favorites

Arancini|Eatentions
Torta Caprese

Copyright © 2026 · Foodie Pro & The Genesis Framework